
1. Introduction
DevTools now has better support for CSS grid debugging!
When an HTML element on your page has display: grid or display: inline-grid applied to it, the Elements panel offers a number of options to help you to better inspect the grid.
What you'll learn
This codelab will teach you how to debug CSS Grid with Chrome DevTools.
- How to toggle Grid debugging feature from the Elements panel
- How to customize the grid overlay settings in the Layout pane
- How to edit the styles with help of grid overlays
What you'll need
- A working computer and realiable wifi
- Chrome 87 and above.
- [Optional] A basic understanding of the CSS Grid.
What you'll do
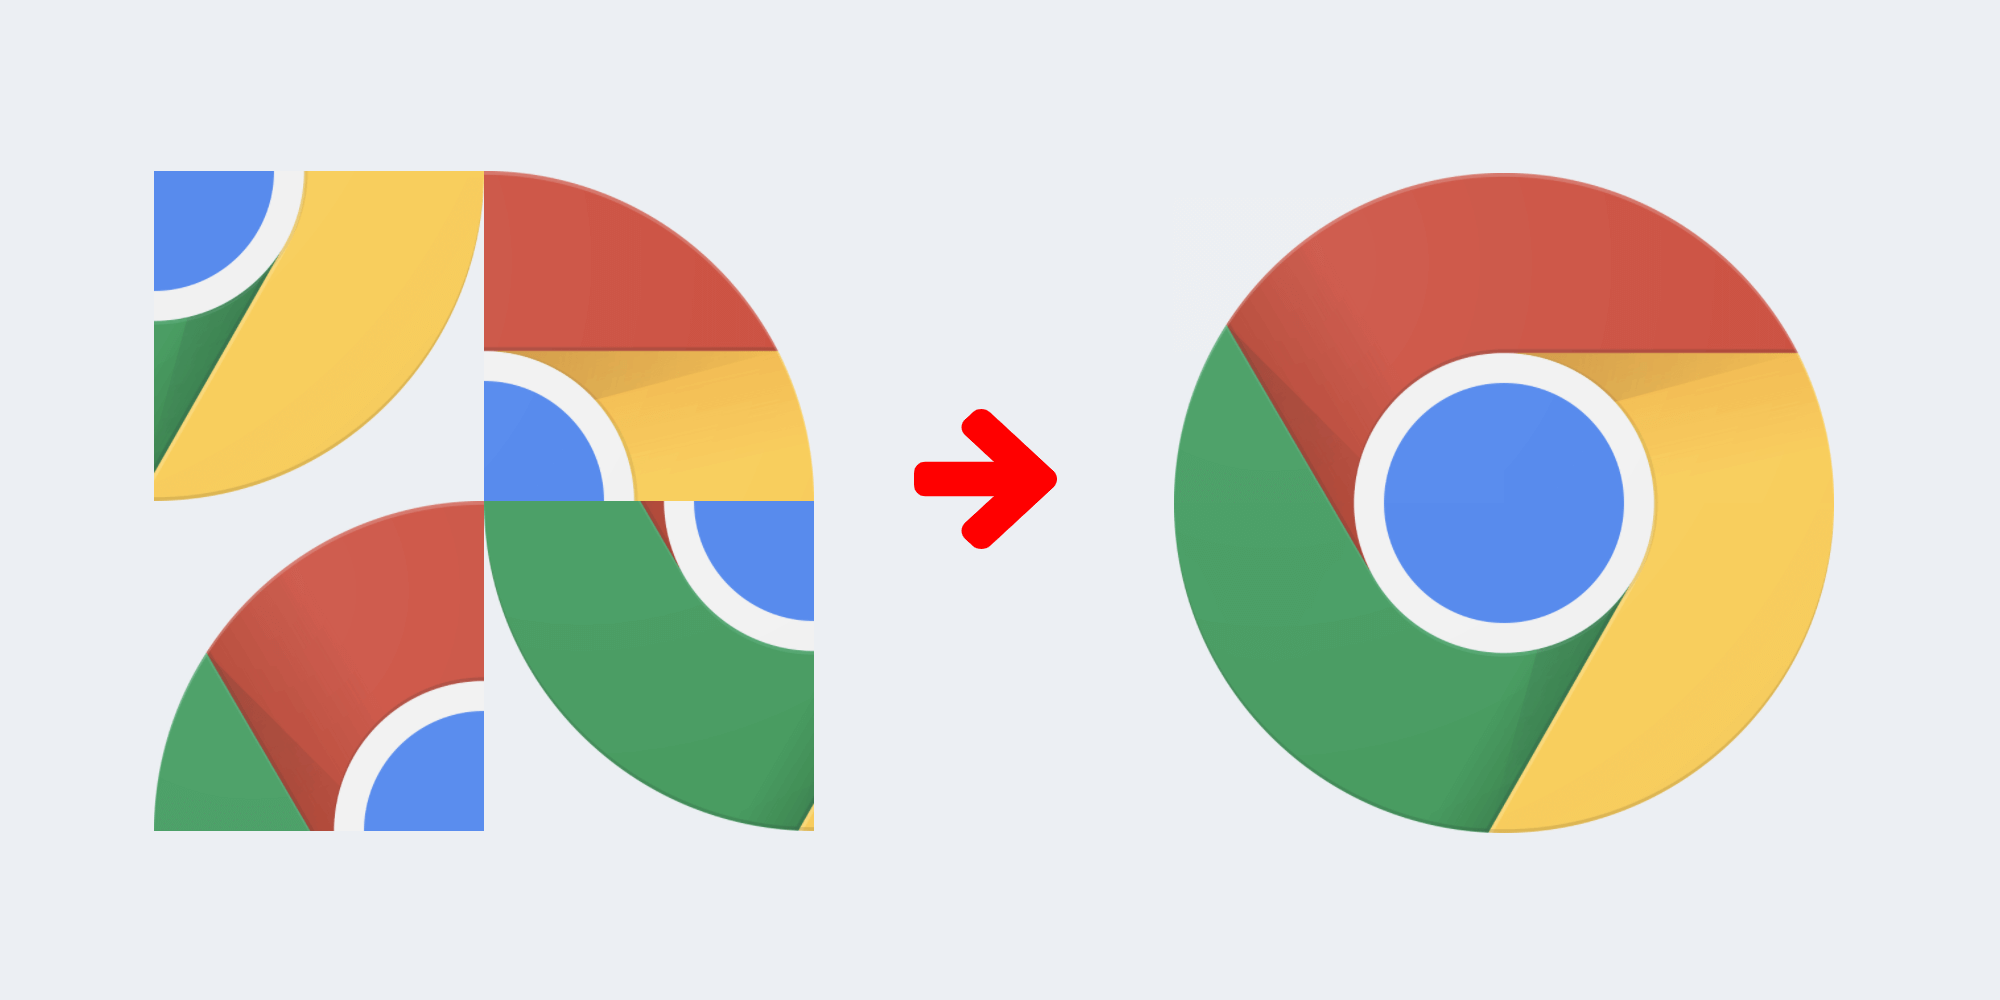
You will solve this puzzle with the help of the CSS Grid debbuging tools.
2. Start
Click the following link to open the puzzle page:
Next, on the puzzle page, open the Chrome DevTools.
3. Enable the grid overlay
Inspect the puzzle in the Elements panel. Click and focus on the puzzle container node:
<div class="chrome-puzzle">
In the Elements panel, notice that there is a grid badge next to the puzzle container. Click on it to toggle the grid overlay.
This video demos how to complete the steps above.
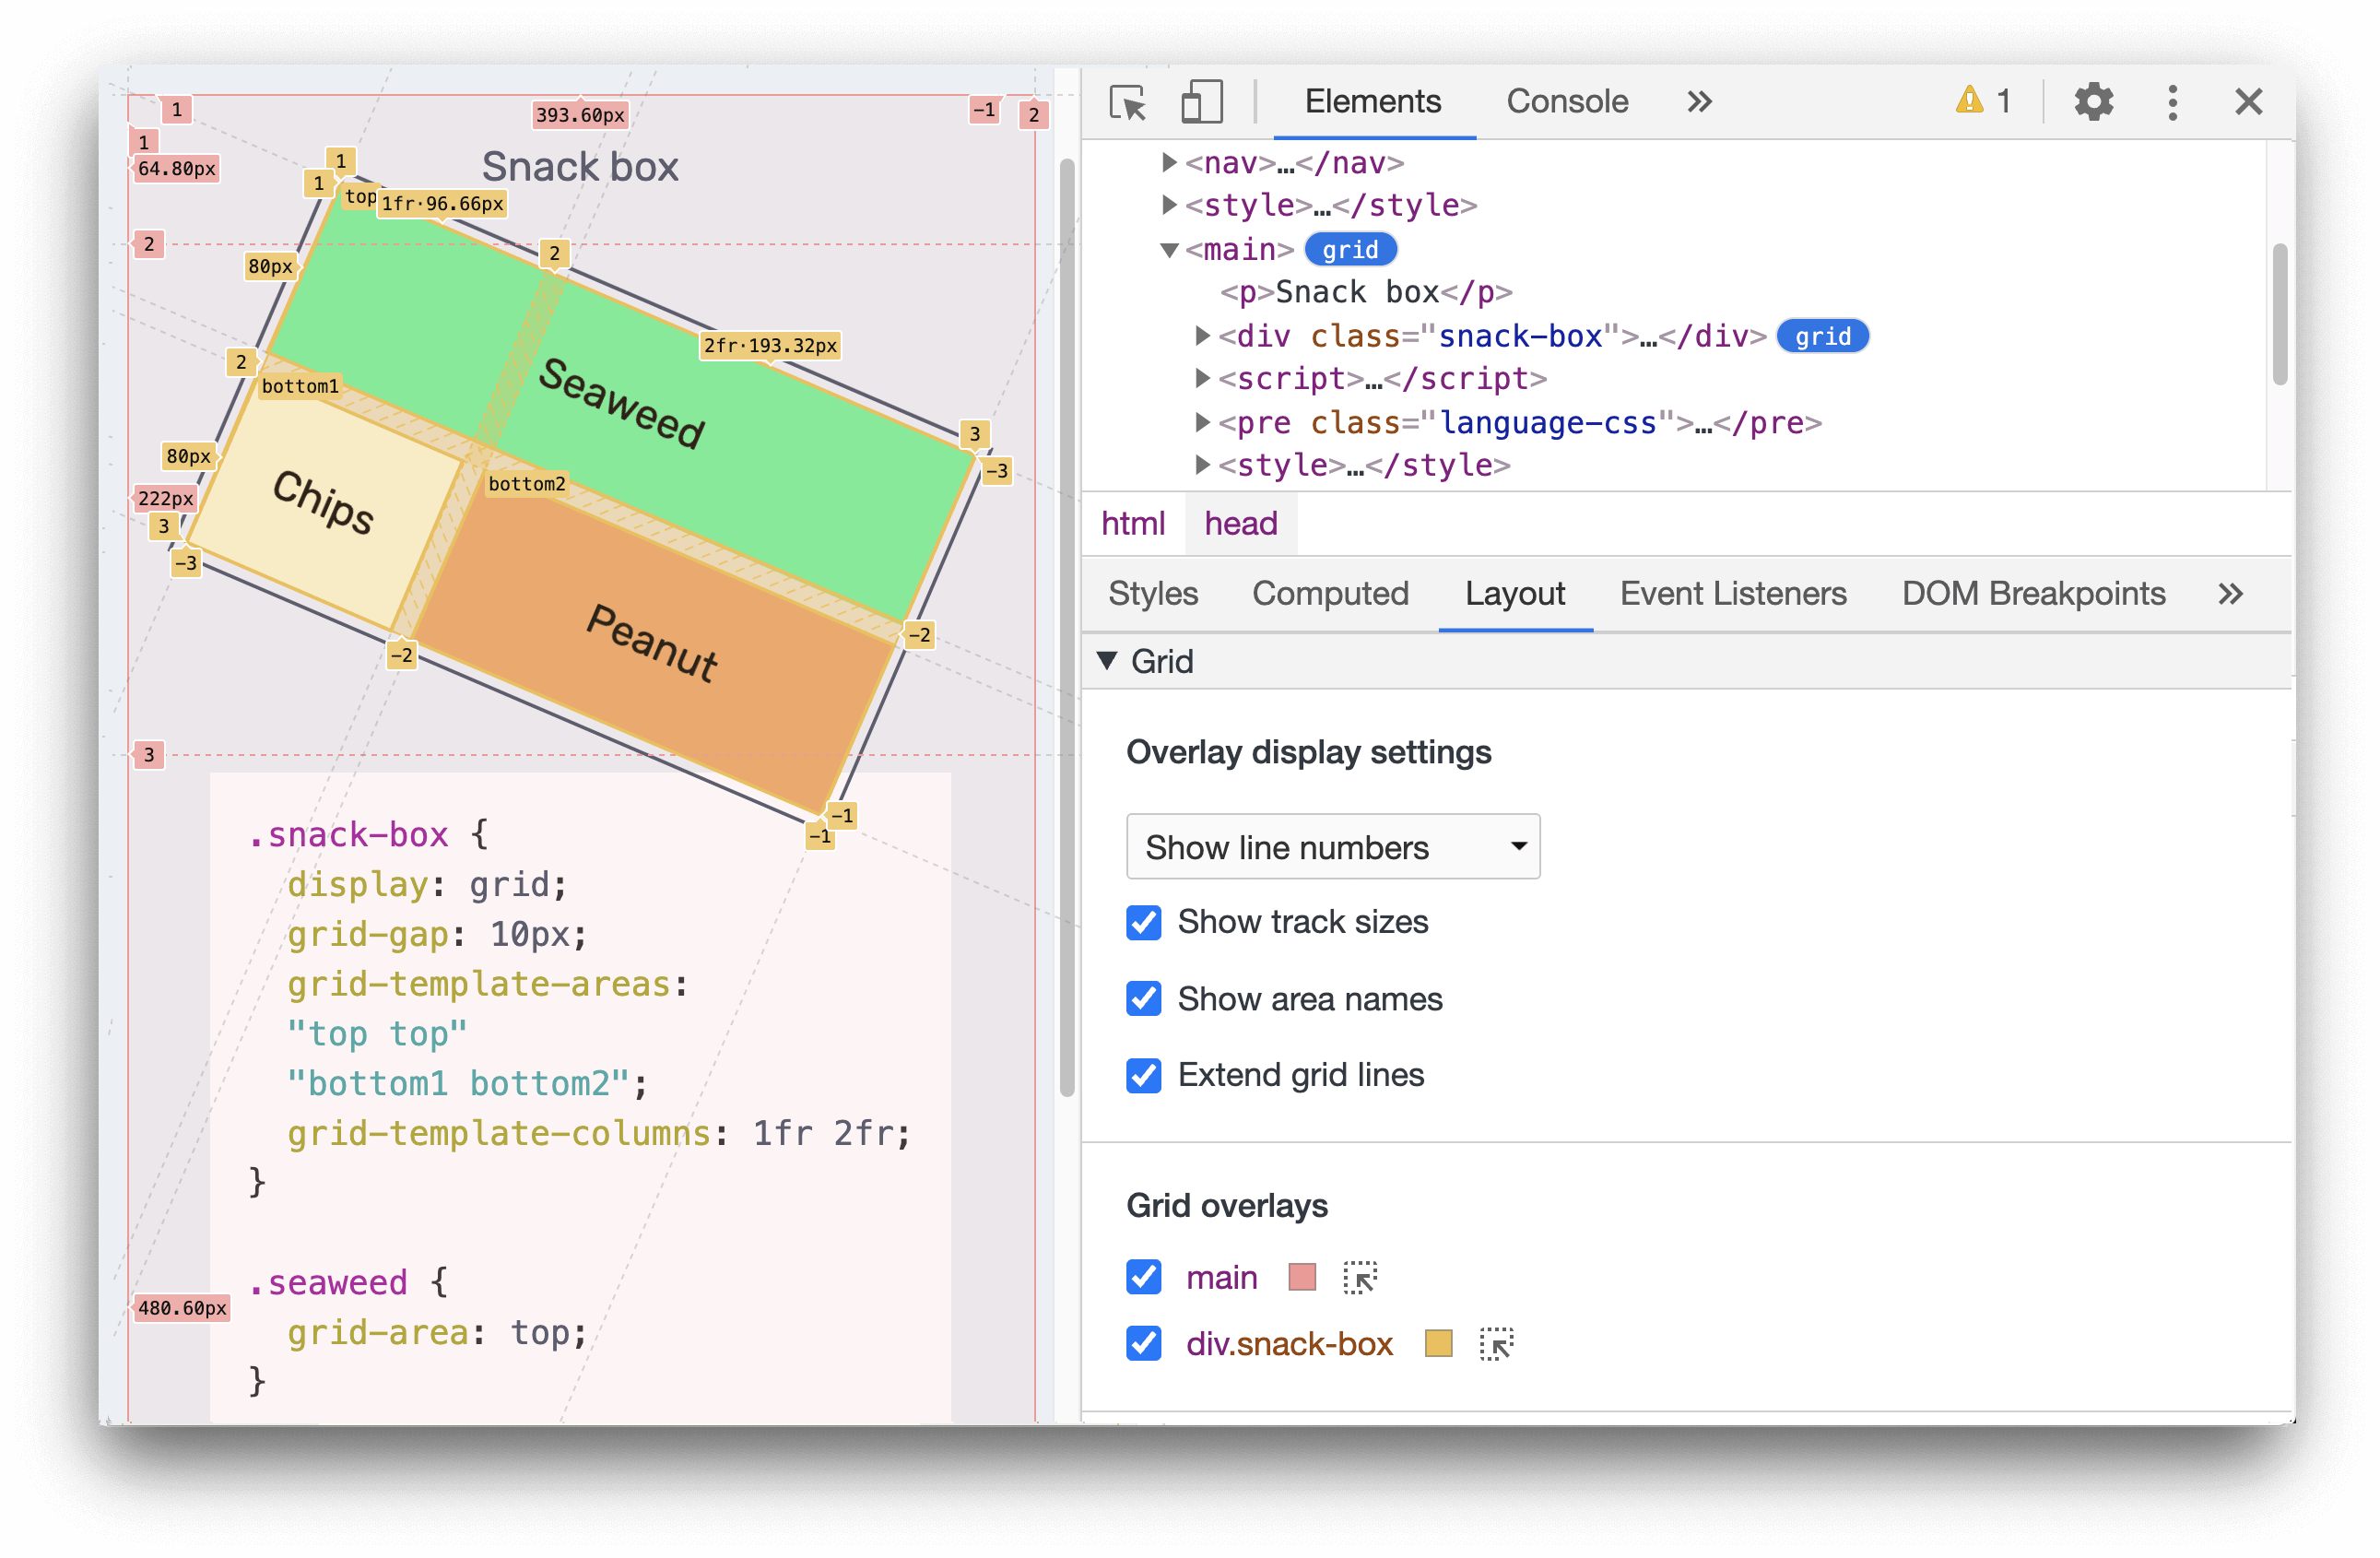
4. Customize grid overlay display
At the moment, the grid overlay display with the line numbers. Let's customize the display further to help us solve our puzzle.
Click on the Layout pane, select Hide line labels in the dropdown to hide the line numbers on the grid overlay.
Now, go to the Styles pane, examine the puzzle container CSS. It contains a grid-template-areas property:
.chrome-puzzle {
  grid-template-areas:
    "top-left top-right"
    "bottom-left bottom-right";
}
The area names are useful for us to solve the puzzle! Let's update the settings to display them on screen.
Go back to the Layout pane, enable the Show area names checkbox.
Ta-da! The grid overlay now shows the area names of each puzzle pieces.
This video demos how to complete the steps above.
5. Solve the puzzle
With the area names display on screen, we can start working on the puzzle.
Let's place each puzzle pieces into the correct area.
We can start by inspect the first puzzle piece.
<img src="...-grid-4.png" class="piece-4">
In the Styles pane, locate the piece's CSS class:
.piece-4 {
    grid-area: auto;
}
The grid-area is currently set to auto. You can update that with the correct area name.
Which area should this piece belong to? Let's says the correct area of this piece is top-right, you can then replace the value auto with top-right. Visualize the changes right away. The piece is now placed in the top-right area.
This video demos how to complete the steps above.
Update the grid-area of each pieces until you solve the puzzle!
6. Congratulations!
Congratulations! You've successfully complete this codelab!
Here is the documentation if you want learn more about the CSS Grid debugging tools.