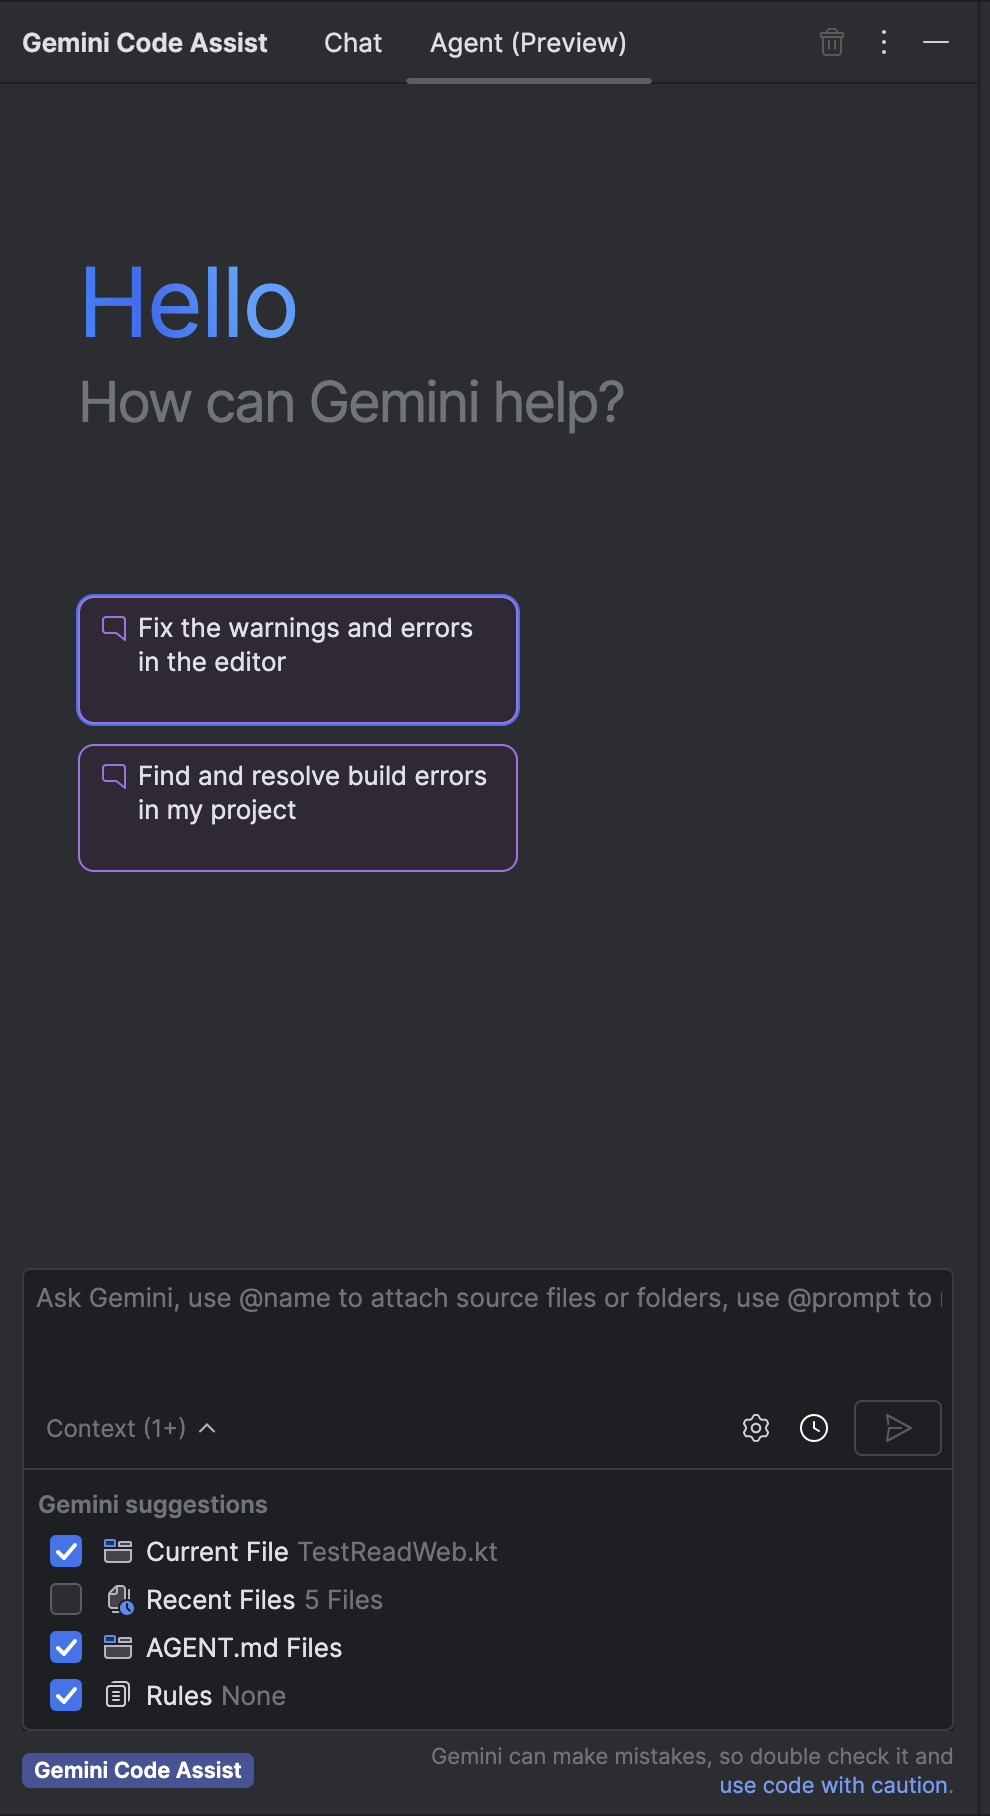
In diesem Dokument wird der Agent-Modus in Gemini Code Assist beschrieben.
Der Agent-Modus ist in den integrierten Entwicklungsumgebungen (Integrated Development Environments, IDEs) VS Code und IntelliJ verfügbar. Informationen zur Verwendung des Agent-Modus finden Sie unter Gemini Code Assist-Agent-Modus verwenden.
Der Agent-Modus in VS Code basiert auf der Gemini-Befehlszeile.
Im Agent-Modus in IntelliJ wird die Gemini-Befehlszeile nicht verwendet.
Im Agent-Modus haben Sie folgende Möglichkeiten:
- Fragen zu Ihrem Code stellen
- Kontext und integrierte Tools nutzen, um generierte Inhalte zu verbessern
- MCP-Server konfigurieren, um die Funktionen des KI-Agenten zu erweitern
- Lösungen für komplexe Aufgaben mit mehreren Schritten erhalten
- Code aus Designdokumenten, Problemen und
TODO-Kommentaren generieren - Das Verhalten des Agents steuern, indem Sie Pläne und die Verwendung von Tools während der Ausführung kommentieren, bearbeiten und genehmigen
Funktionsweise des Agent-Modus
Im Agent-Modus wird Ihr Prompt zusammen mit einer Liste der verfügbaren Tools an die Gemini API gesendet. Die Gemini API verarbeitet den Prompt und gibt eine Antwort zurück. Die Antwort kann eine direkte Antwort oder eine Anfrage zur Verwendung eines verfügbaren Tools sein.
Wenn ein Tool angefordert wird, bereitet sich der Agent auf die Verwendung des Tools vor und prüft, ob die Verwendung des Tools mit oder ohne explizite Berechtigung zulässig ist:
- Bei Toolanfragen, die das Dateisystem ändern oder Mutationen an Ressourcen vornehmen, werden Sie von Gemini um Erlaubnis für den Vorgang gebeten, sofern Sie Gemini nicht so konfiguriert haben, dass das Tool oder die Tools immer zugelassen sind.
- Bei schreibgeschützten Toolanfragen wird möglicherweise keine Berechtigung angefordert, bevor die Aufgabe abgeschlossen wird.
Wenn Sie aufgefordert werden, die Verwendung eines Tools zuzulassen, können Sie den Vorgang erlauben oder ablehnen. Der Agent bietet Ihnen möglicherweise auch Optionen, um ein Tool oder einen Server immer zu erlauben oder ähnliche Vorgänge zuzulassen. Weitere Informationen finden Sie unter Agent-Aktionen immer zulassen.
Sobald die Berechtigung zur Verwendung des Tools erteilt oder selbst erteilt wurde, verwendet der Agent das Tool, um die erforderliche Aktion auszuführen. Das Ergebnis dieser Aktion wird an die Gemini API zurückgesendet. Gemini verarbeitet das Ergebnis der Toolaktion und generiert eine weitere Antwort. Dieser Zyklus aus Aktion und Bewertung wird fortgesetzt, bis die Aufgabe abgeschlossen ist.
Bei komplexen Aufgaben zeigt Gemini möglicherweise einen allgemeinen Plan zur Genehmigung an. Sie können den Plan optimieren und im Chat Fragen stellen, bevor Sie mit dem Vorgang beginnen. Wenn Sie mit dem Plan einverstanden sind, können Sie ihn genehmigen. Nachdem Sie den Plan genehmigt haben, beginnt der Agent mit der ersten Aufgabe und bittet Sie bei Bedarf um Erläuterungen oder Berechtigungen.
Kontext des Agent-Modus
Kontext ermöglicht es einem Agent, bessere Antworten auf einen bestimmten Prompt zu generieren. Der Kontext kann aus Dateien in Ihrer IDE, Dateien in Ihren lokalen Systemordnern, Toolantworten und Ihren Promptdetails stammen.
Je nach IDE und Einstellungen sind möglicherweise verschiedene Kontexte für den Agent verfügbar.
Auf den folgenden Tabs wird beschrieben, wie Kontext für verschiedene IDEs erfasst wird.
VS Code
Die folgenden Methoden zum Abrufen von Kontext sind in der Regel für Gemini Code Assist im Agent-Modus verfügbar:
- Informationen in Ihrem IDE-Arbeitsbereich
- Toolantworten von integrierten Tools wie „grep“, „terminal“, „file read“ oder „file write“
- Antworten der Google Suche
- Inhalte einer bestimmten URL, die in einem Prompt oder von einem Tool angegeben wird
- Kontextdateien, die Sie in Markdown erstellen
IntelliJ
Die folgenden Methoden zum Abrufen von Kontext sind in der Regel für Gemini Code Assist im Agent-Modus verfügbar:
- Informationen in Ihrem IDE-Projekt, einschließlich Ihrer Dateien, indexierter Symbole und der Verwendung von Symbolen in Ihrem Projekt
- Tool-Antworten von integrierten Tools wie „grep“, „file read“ oder „file write“
- IntelliJ-Versionsverwaltung
- Konfigurierte MCP-Server und ‑Tools
- Kontextdateien, die Sie in Markdown erstellen
Den Kontext, der dem Agent zur Verfügung steht, können Sie im Kontextbereich des Chat-Prompt-Bereichs des Agent-Modus einsehen.
Tools
Tools stellen eine umfassende Kategorie von Diensten dar, die ein Agent für den Kontext und die Aktionen in seiner Antwort auf Ihren Prompt nutzen kann. Mit Tools können Agents über Funktionsaufrufe an API-Endpunkte oder an andere Agents auf aktuelle Informationen zugreifen. Tools bieten möglicherweise nur eine Funktion oder mehrere ähnliche Funktionen.
Beispiele hierfür sind integrierte Tools wie „grep“, und „file read“ oder „file write“, lokale oder Remote-MCP-Server (Model Context Protocol) und ihre ausführbaren Funktionen sowie RESTful API-Aufrufe.
Integrierte Tools
Im Agent-Modus hat Gemini Zugriff auf Ihre integrierten Systemtools. Wählen Sie Ihre IDE aus, um eine Liste der integrierten Tools aufzurufen, die Gemini im Agent-Modus zur Verfügung stehen.
VS Code
Alle in die Gemini-Befehlszeile integrierten Tools sind im Agent-Modus von Gemini Code Assist verfügbar.
IntelliJ
read_file- Ruft den Textinhalt einer Datei über ihren absoluten Pfad ab.
write_file- Schreibt den angegebenen Text in eine bestimmte Datei und erstellt die Datei, wenn sie noch nicht vorhanden ist.
analyze_current_file- Analysiert die geöffnete Datei im Editor auf Fehler und Warnungen.
find_files- Sucht den absoluten Pfad zu Dateien anhand eines Dateinamens oder eines Teils des Pfads.
grep- Sucht alle Dateien im Projekt, die ein bestimmtes Textmuster oder einen regulären Ausdruck enthalten.
list_files- Listet alle Dateien und Verzeichnisse in einem bestimmten absoluten Pfad auf.
resolve_symbol- Löst eine bestimmte Symbolreferenz in ihre ursprüngliche Deklaration auf.
find_usages- Sucht im Projekt nach allen Verweisen auf eine bestimmte Symboldeklaration.
git- Führt einen Befehlszeilenbefehl für die Git-Befehlszeile aus und gibt das Ergebnis zurück.
list_vcs_roots- Gibt alle VCS-Stämme (Version Control System, Versionsverwaltungssystem) wie Git-Repositories im aktuellen Projekt zurück.
Beschränkungen
Einige Funktionen des Standard-Chats von Gemini Code Assist sind im KI-Agentenmodus möglicherweise nicht verfügbar oder funktionieren anders als im Standard-Chat.
Die Rezitation ist im KI-Agentenmodus nicht verfügbar. Im Agent-Modus werden keine Quellen zitiert und Sie können keine Codevorschläge deaktivieren, die mit zitierten Quellen übereinstimmen.