Project IDX provides a collaborative, cloud-based development environment that simplifies the process of building applications with an almost limitless combination of frameworks and libraries.
After you set up an IDX workspace, you can share a fully-functional, flexible development environment with your team in seconds: IDX workspaces are accessible from any device and come with integrated tools to streamline your development process.
To get started:
- Enable third-party cookies in your browser.
- Set up IDX for your first use.
- Create a workspace.
- Configure your workspace.
Before you begin
Before you get started, you might need to enable third-party cookies for your browser. Project IDX requires third-party cookies in most browsers to authenticate workspaces.
Chrome
- Open Settings.
- Open the Privacy and Security tab.
- Make sure Allow all cookies is enabled.
- Open idx.google.com.
- Click the visibility icon in the address bar visibility_off to open the Tracking Protection panel. Turn on the Third-party cookies setting to temporarily allow third-party cookies. This enables cookies on IDX for 90 days.
Safari
- Open Safari > Settings....
- Turn off the following settings:
- Advanced > Block all cookies
- Privacy > Prevent cross-site tracking
- Open idx.google.com.
Firefox
You don't need to enable third-party cookies for Firefox. Go to idx.google.com.
Opera
- Open idx.google.com.
- Open the menu and click Settings.
- Go to the Privacy & Security section and expand the Third-party cookies option.
- Select Block third-party cookies in Incognito mode or Allow third-party cookies.
- Open idx.google.com.
Arc
- Go to arc://settings.
- Go to the Privacy and security section and expand the Third-party cookies option.
- Select Block third-party cookies in Incognito mode or Allow third-party cookies.
- Open idx.google.com.
Brave
You don't need to enable third-party cookies for Brave. Go to idx.google.com.
Set up IDX

If this is the first time you're using IDX, you'll need to initialize IDX. If you've already used IDX with your current account, you can proceed to Create a workspace.
To set up IDX for the first time:
Open Project IDX.
The first time you open IDX, you're prompted to read and accept the terms of service.
Review the Google Terms of Service and Android SDK Terms and Conditions and, if you accept, enable I accept the Google Terms of Service and the Android SDK Terms and Conditions incorporated herein checkbox.
Optionally, opt into receiving product updates and announcements and participating in research studies to improve IDX.
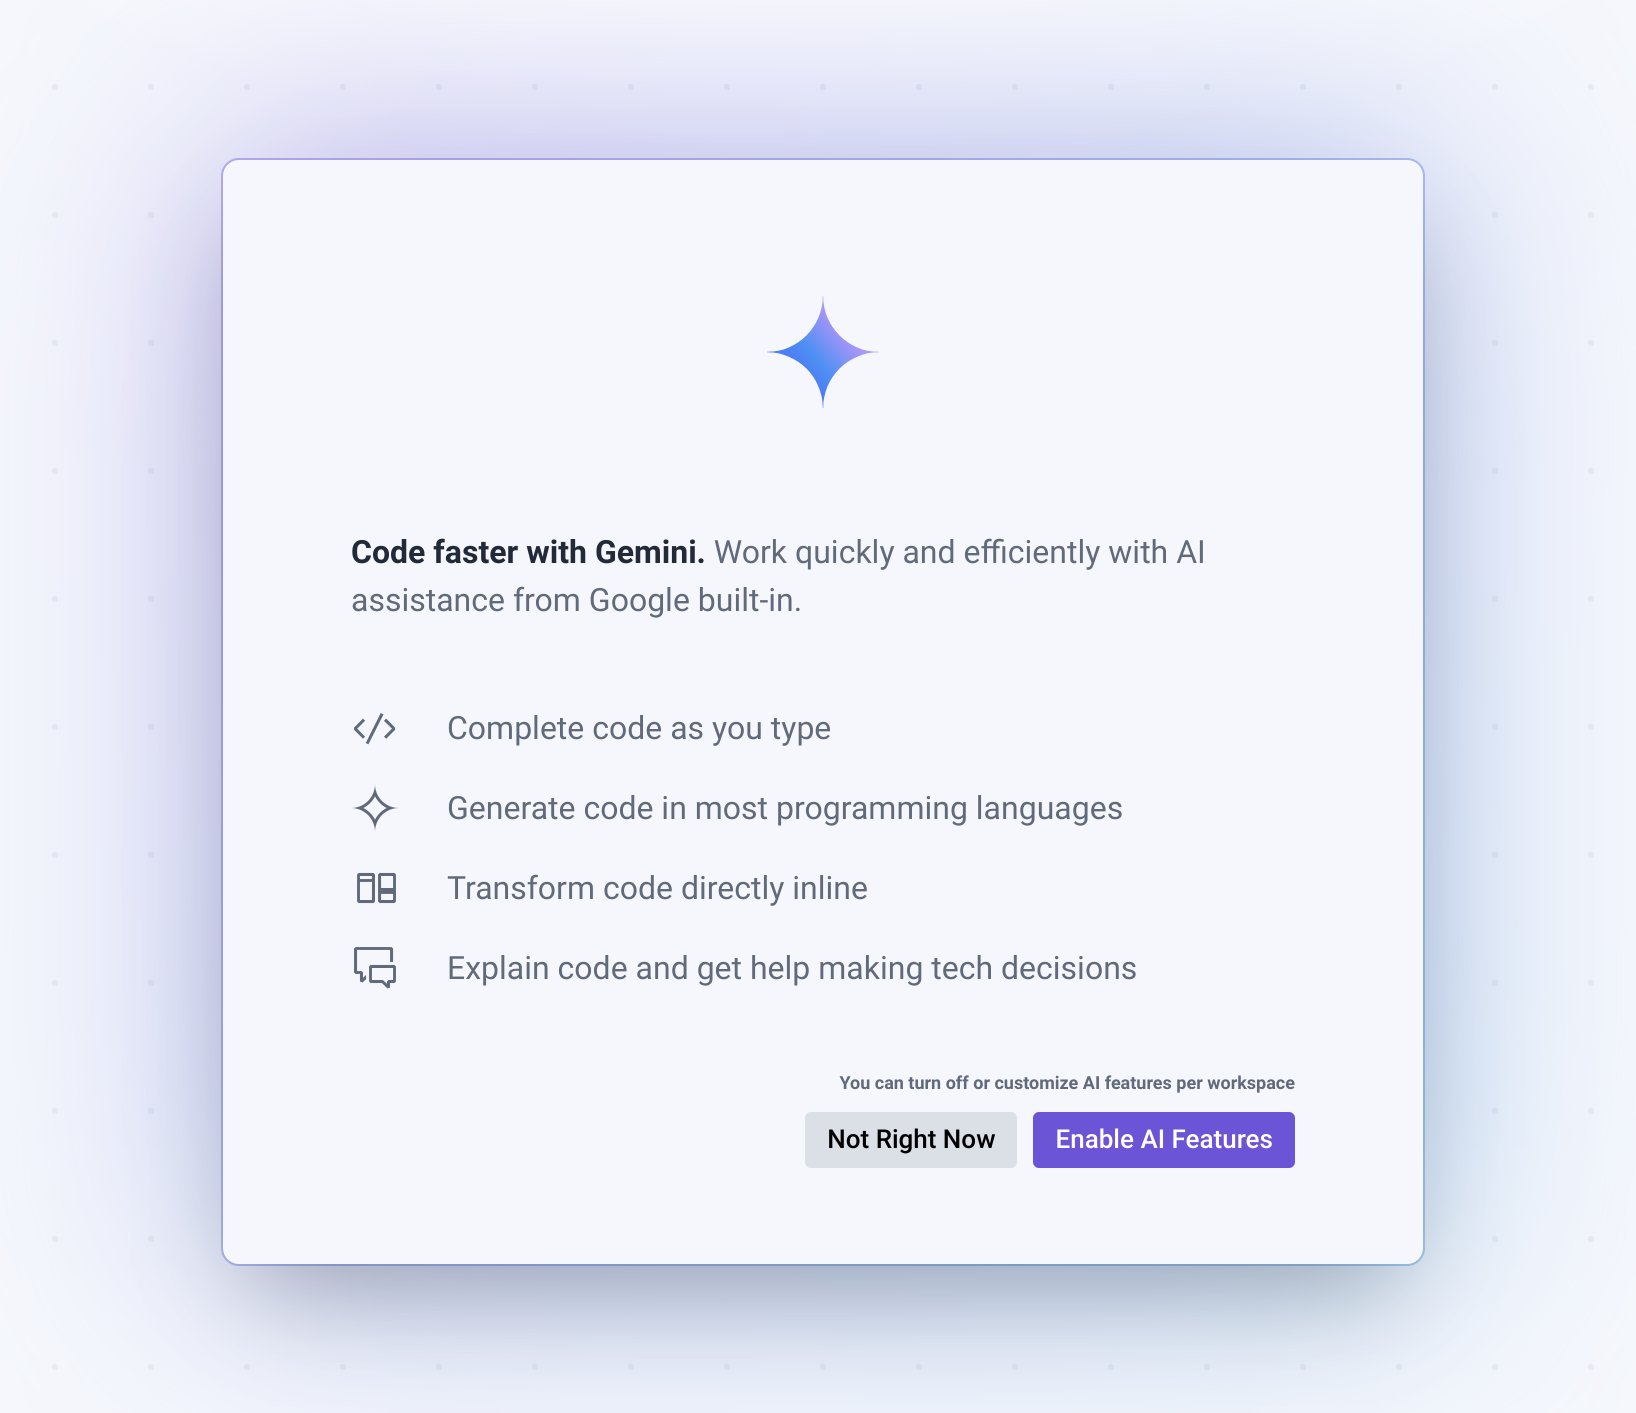
When prompted to enable AI features:
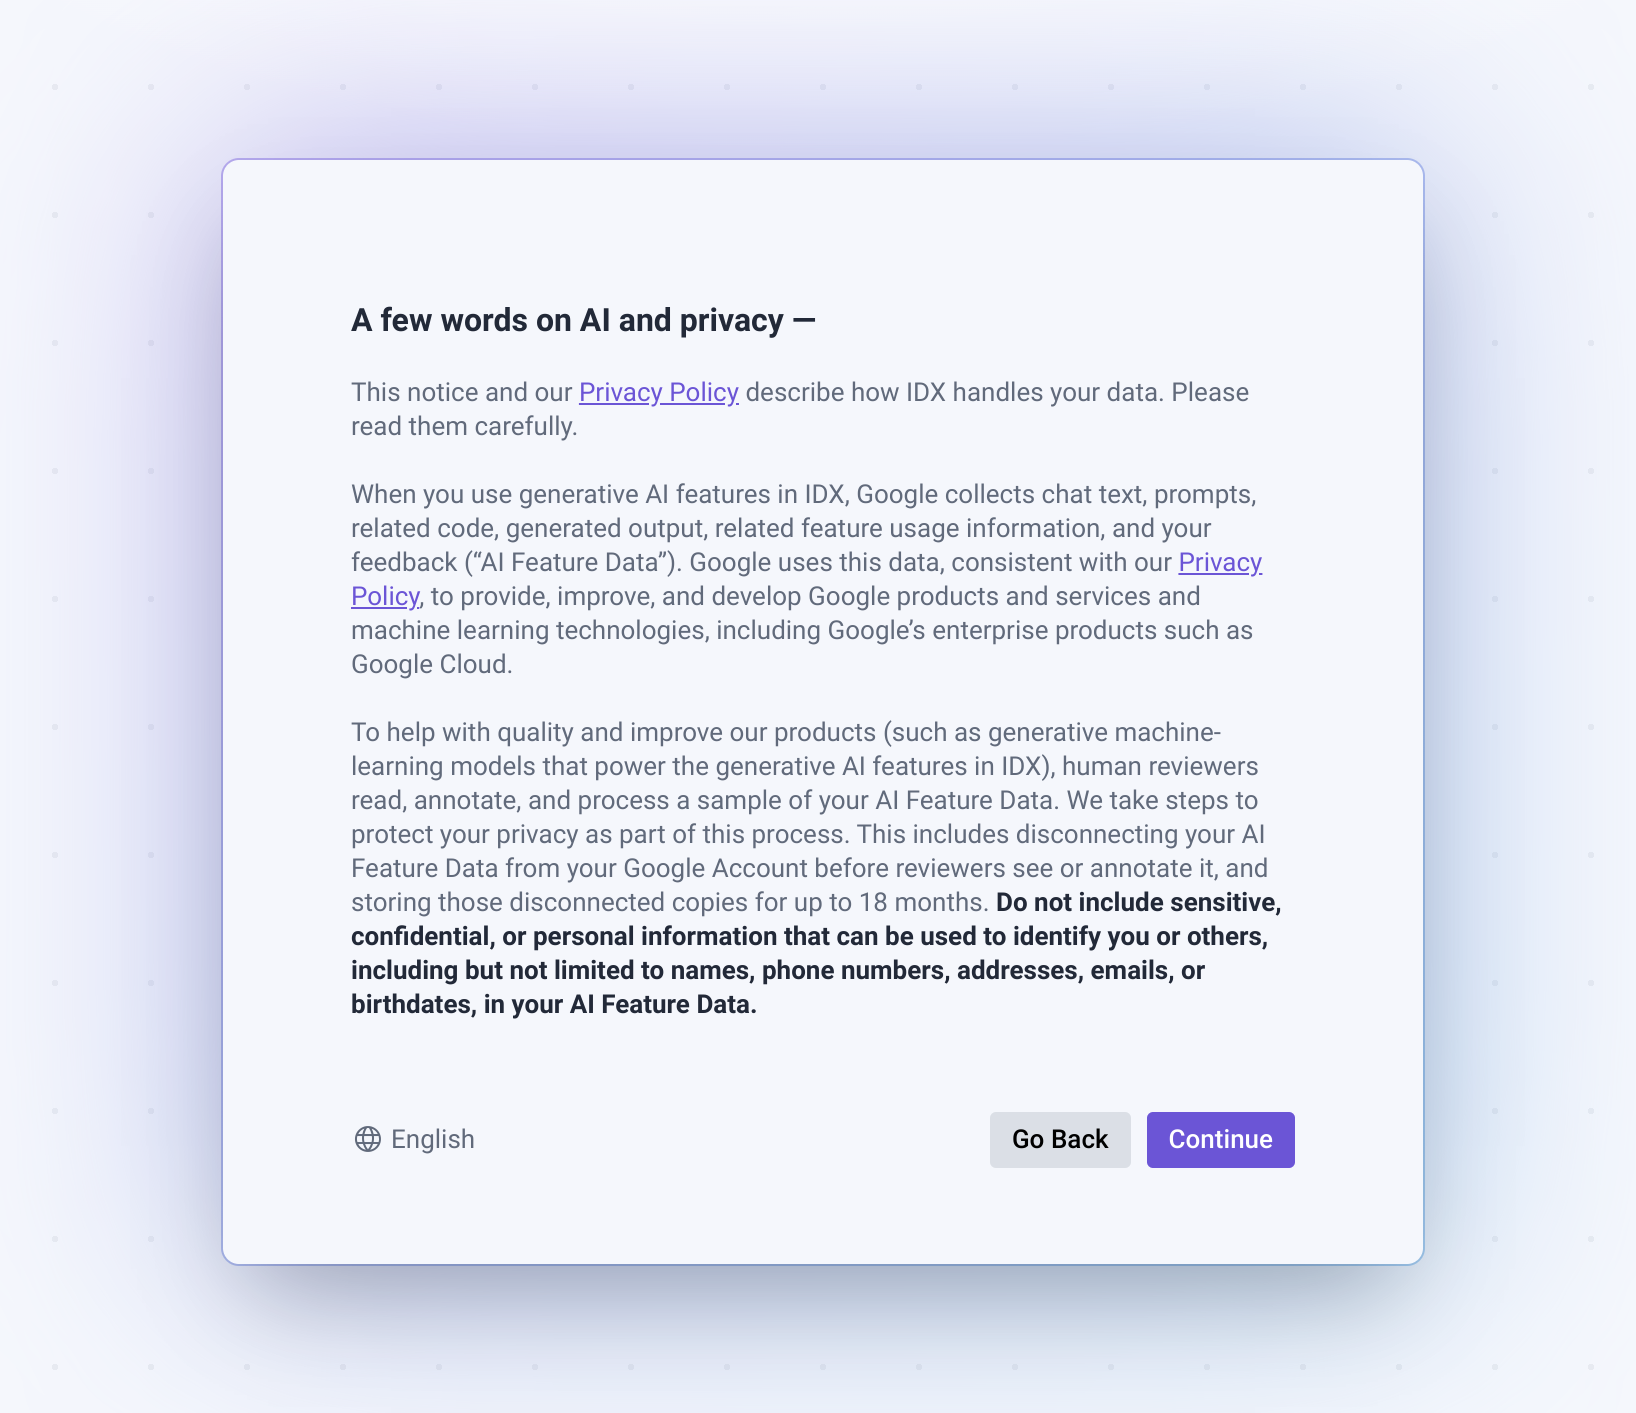
To set up AI assistance in IDX for all workspaces, click Enable AI Features. Review the note on AI and privacy and click Continue to enable AI features and open IDX or click Go back.
To defer AI assistance, click Not right now.
The IDX dashboard loads. You're now ready to create a workspace.
Create a workspace
A workspace in IDX is a development environment that contains everything you need to develop your application. It contains your code, a code editor (with plugins relevant to your project), and toolchains that support app development. It's just like creating a new project in your local desktop development environment, except you have an entire computer and operating system pre-configured and dedicated exclusively to building your application, running on your browser in the cloud, accessible wherever you are.
Project IDX workspaces are optimized to contain a single codebase, so you can keep the environments and system-level dependencies of different applications isolated from each other. You can create multiple workspaces to use with different applications and frameworks.
To create a new workspace, follow these steps:
Open Project IDX.
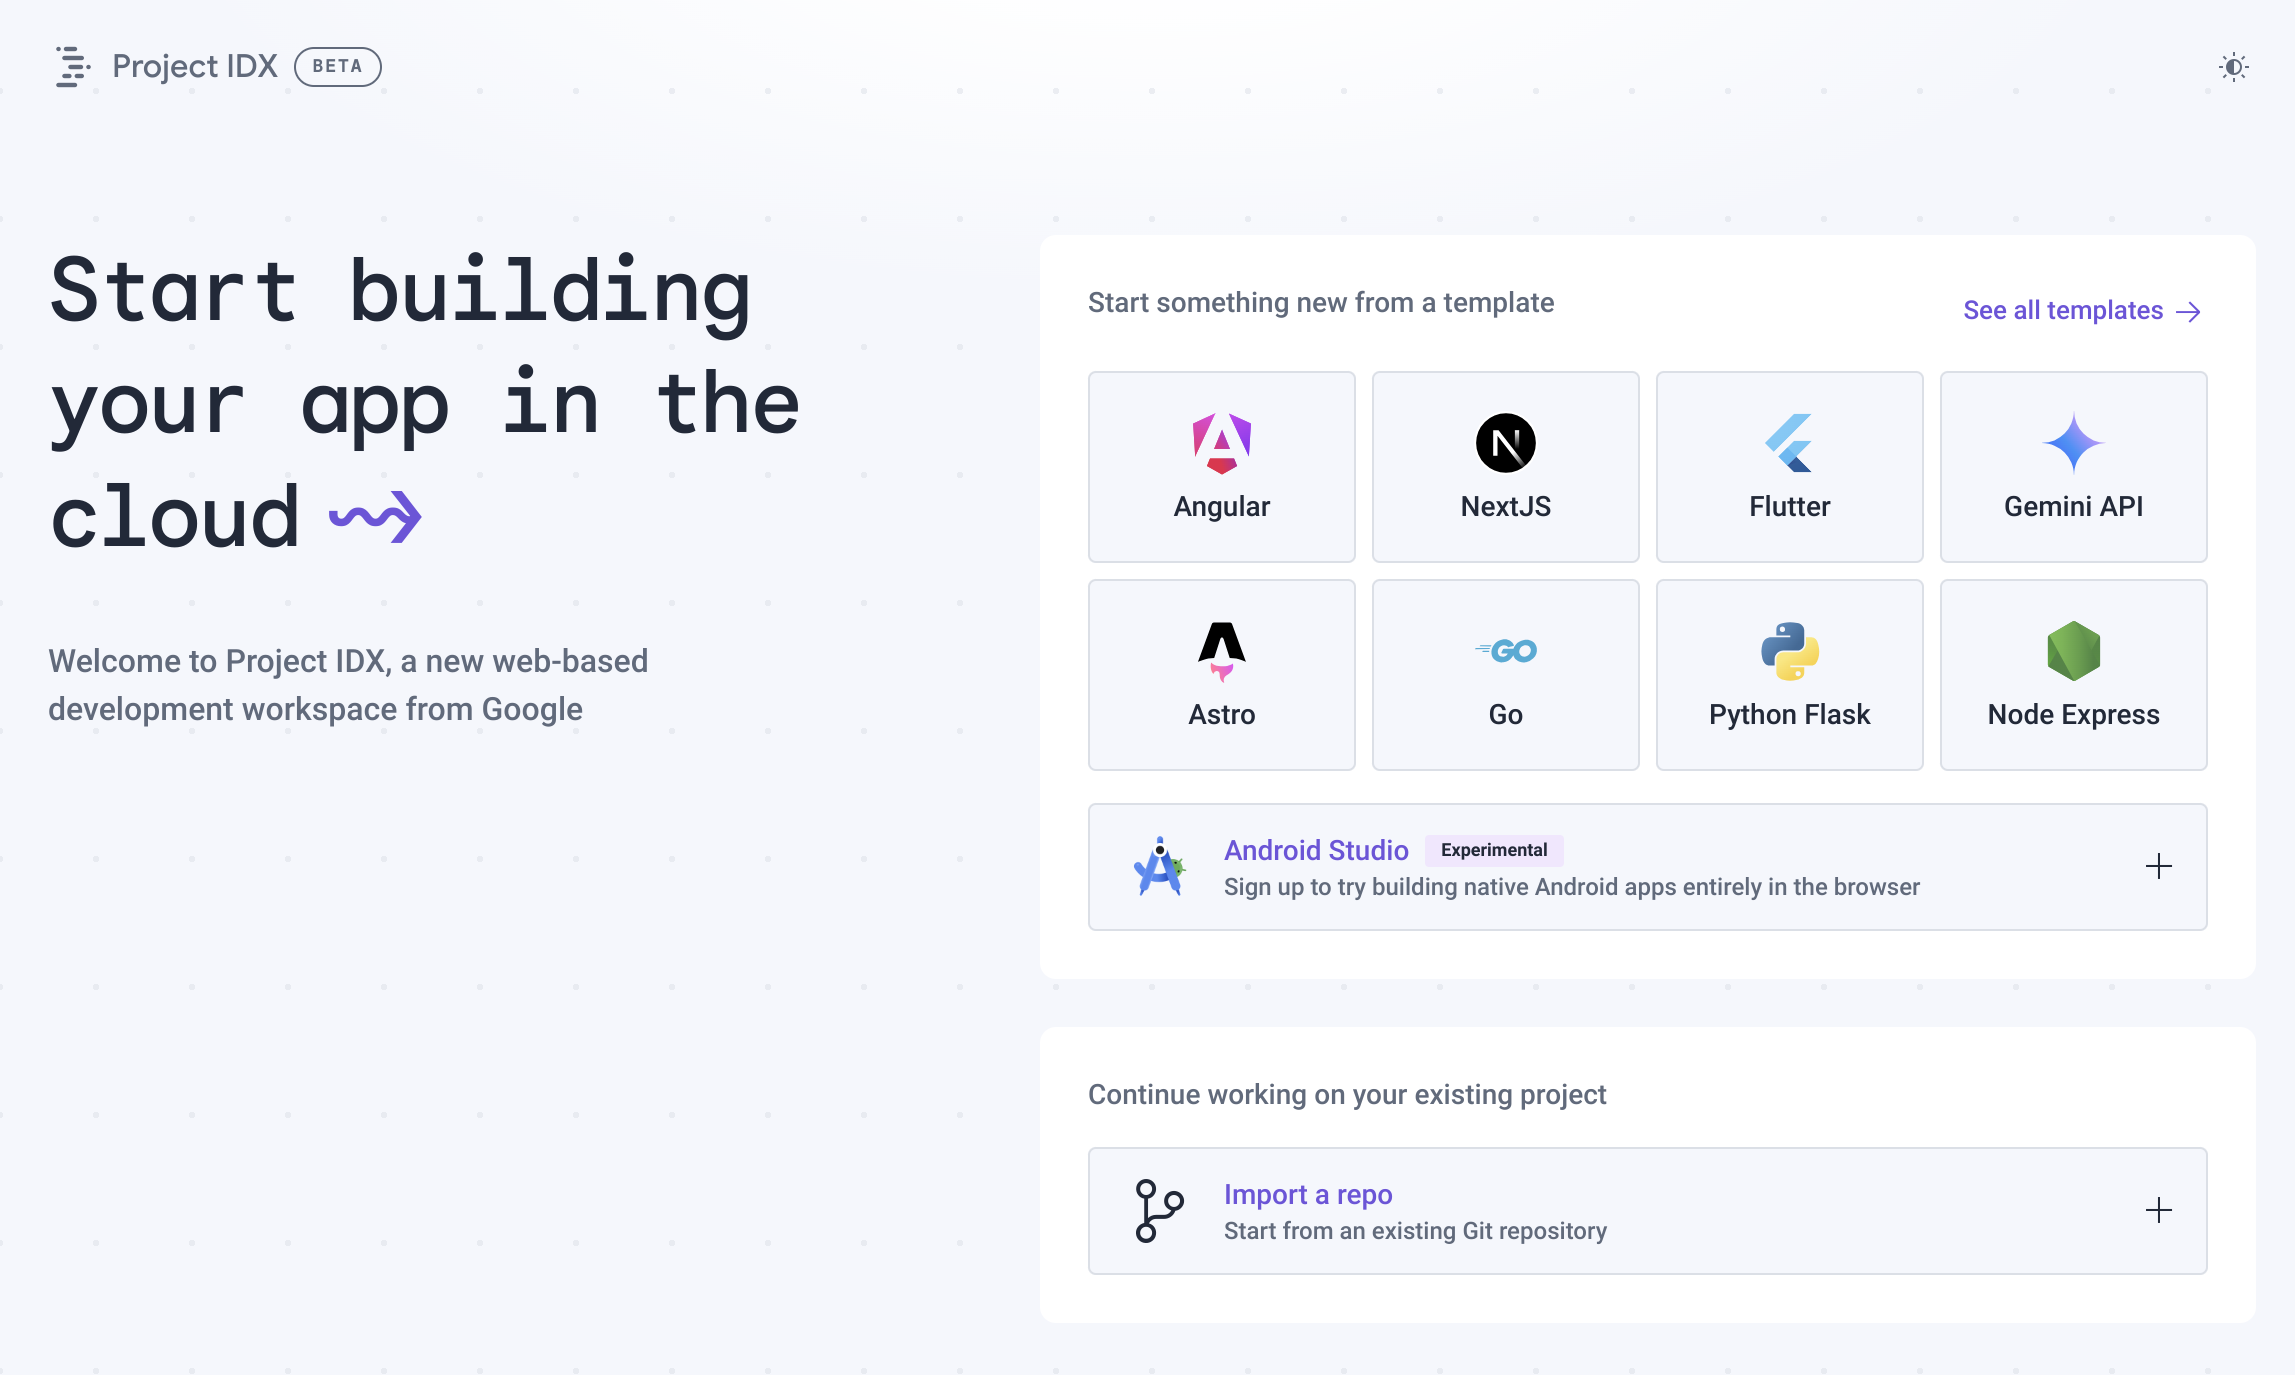
Decide which method you want to use to initialize a new workspace. If you're building a new app, you can quickly create a new workspace using the following methods:
Use an official IDX template: Project IDX provides officially-supported templates that pre-load your workspace with the basic files, packages, and dependencies you might need. You can select from templates for web apps, server apps, mobile apps, AI & ML services, databases, and more, including a Blank workspace that initializes a workspace with minimal dependencies.
Import a GitHub repository: You can choose to import a repository directly from GitHub.
Use a Community template. Project IDX maintains Community templates, which are open for community contributions. If you use a community template, we encourage you to share any helpful modifications or new templates you create.
Official templates
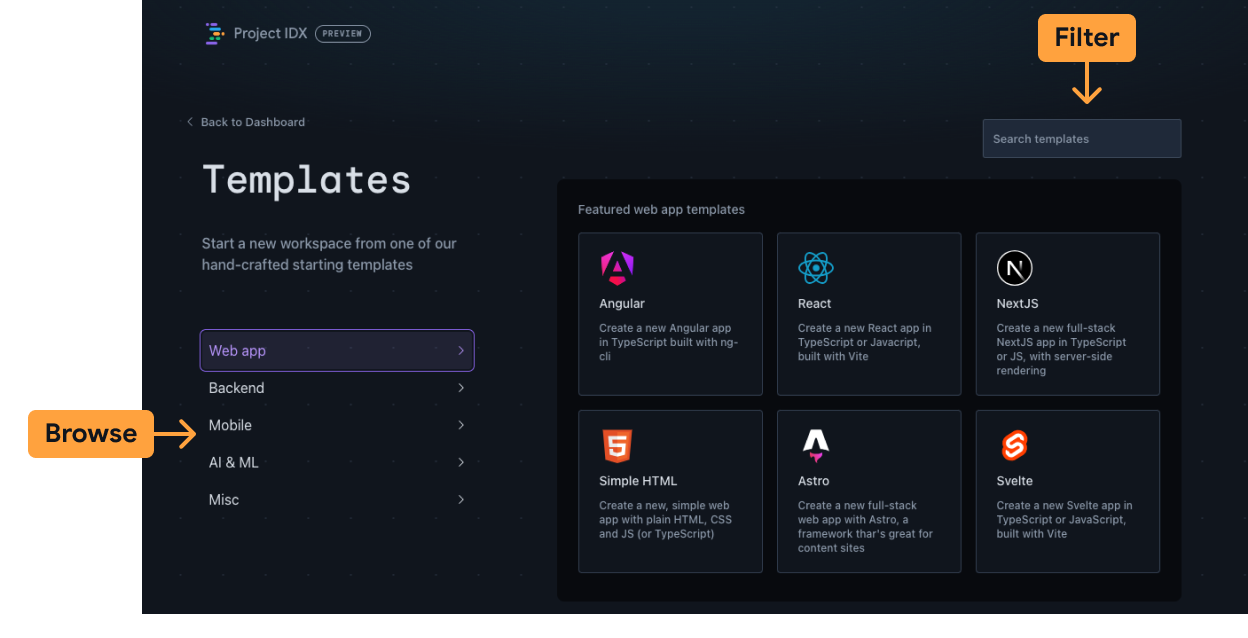
Browse templates by application type or use the search box in the upper-right to filter the full template library by keyword. The Blank workspace template is available in the Misc category.
Enter a name for your workspace and set any additional options.
Click Create. IDX creates a new workspace based on the template you selected.
We're always adding new templates, so keep checking back or tell us what you want to see.
Git repository import
Click Import a repo.
Enter the Repo URL. The repository can be hosted on GitHub, GitLab, or Bitbucket.
Click Create. IDX creates a new workspace based on your selections.
If the repository is private, you'll be prompted to authenticate to the respective provider:
- For GitHub, follow the prompts to copy an access token.
- For GitLab, you can use your account password or create a personal account token
- For Bitbucket, use your username (not email) and an app password to authenticate.
Run
npm install(orflutter pub get) in the IDX terminal after importing your project.
Community templates
- Identify the Community template you want to use, then copy its URL.
Craft an instant-open Project IDX URL with the following format:
https://idx.google.com/new?template=TEMPLATE_URLFor example, if you wanted to create a new workspace with the Three.js React template, you'd use this URL:
https://idx.google.com/new?template=https://github.com/project-idx/community-templates/tree/main/threejs-reactClick Create. IDX creates a new workspace based on the template you referenced.
Configure your workspace
IDX uses Nix to define the environment configuration for each workspace. Nix is a purely functional package manager and assigns unique identifiers to each dependency, which ultimately means your environment can contain multiple versions of the same dependency, seamlessly. It is also reproducible and declarative. In the context of IDX, this means you can share your Nix configuration file across workspaces to load the same environment configuration. Learn more about Nix + IDX.
Create or edit the .idx/dev.nix file
Environment configuration is defined in the .idx/dev.nix file in your code
repository. This file specifies all of the components to be added to your
workspace including:
System tools available from the Nix package registry, including compilers, packages (like
goorangular), and command line utilities, like extra gcloud CLI components.IDE extensions from the OpenVSX registry, like language-specific debuggers, code formatters, official extensions for cloud services, and more.
Common services, like docker, Pub/Sub messaging, databases like Postgres and Redis, and more.
See the following example .idx/dev.nix file for a basic workspace environment
configuration that enables app previews in IDX:
{ pkgs, ... }: {

  # Which nixpkgs channel to use.
  channel = "stable-23.11"; # or "unstable"

  # Use https://search.nixos.org/packages to find packages
  packages = [
    pkgs.nodejs_18
  ];

  # Sets environment variables in the workspace
  env = {
    SOME_ENV_VAR = "hello";
  };

  # Search for the extensions you want on https://open-vsx.org/ and use "publisher.id"
  idx.extensions = [
    "angular.ng-template"
  ];

  # Enable previews and customize configuration
  idx.previews = {
    enable = true;
    previews = {
      web = {
        command = [
          "npm"
          "run"
          "start"
          "--"
          "--port"
          "$PORT"
          "--host"
          "0.0.0.0"
          "--disable-host-check"
        ];
        manager = "web";
        # Optionally, specify a directory that contains your web app
        # cwd = "app/client";
      };
    };
  };
}
Apply new configuration
Any time you add or update the dev.nix configuration file, IDX
shows a prompt in the bottom-right corner to Rebuild the environment.
The time it takes to rebuild the environment depends on the number of packages
your configuration needs.
Debug environment build failures
Because configuration files are machine-readable code, they can have errors.
If this happens, the environment may fail to build and not start. IDX
displays an option to start a Recovery environment. This workspace doesn't
include any of the configuration you've defined and just runs basic
Code OSS. This gives you the chance to fix errors in your dev.nix
configuration file and rebuild the environment.
IDX will eventually surface environment build errors. For now, you have to troubleshoot on your own.