إضافة خريطة مع علامة
يوضح هذا البرنامج التعليمي كيفية إضافة خريطة Google بسيطة باستخدام محدِّد إلى تطبيق iOS. ويناسب هذا البرنامج الأشخاص الذين لديهم معرفة مبتدئة أو متوسطة في Swift أو Objective-C إلى جانب المعرفة العامة بـ Xcode. للحصول على دليل متقدم حول إنشاء الخرائط، اقرأ دليل المطورين.
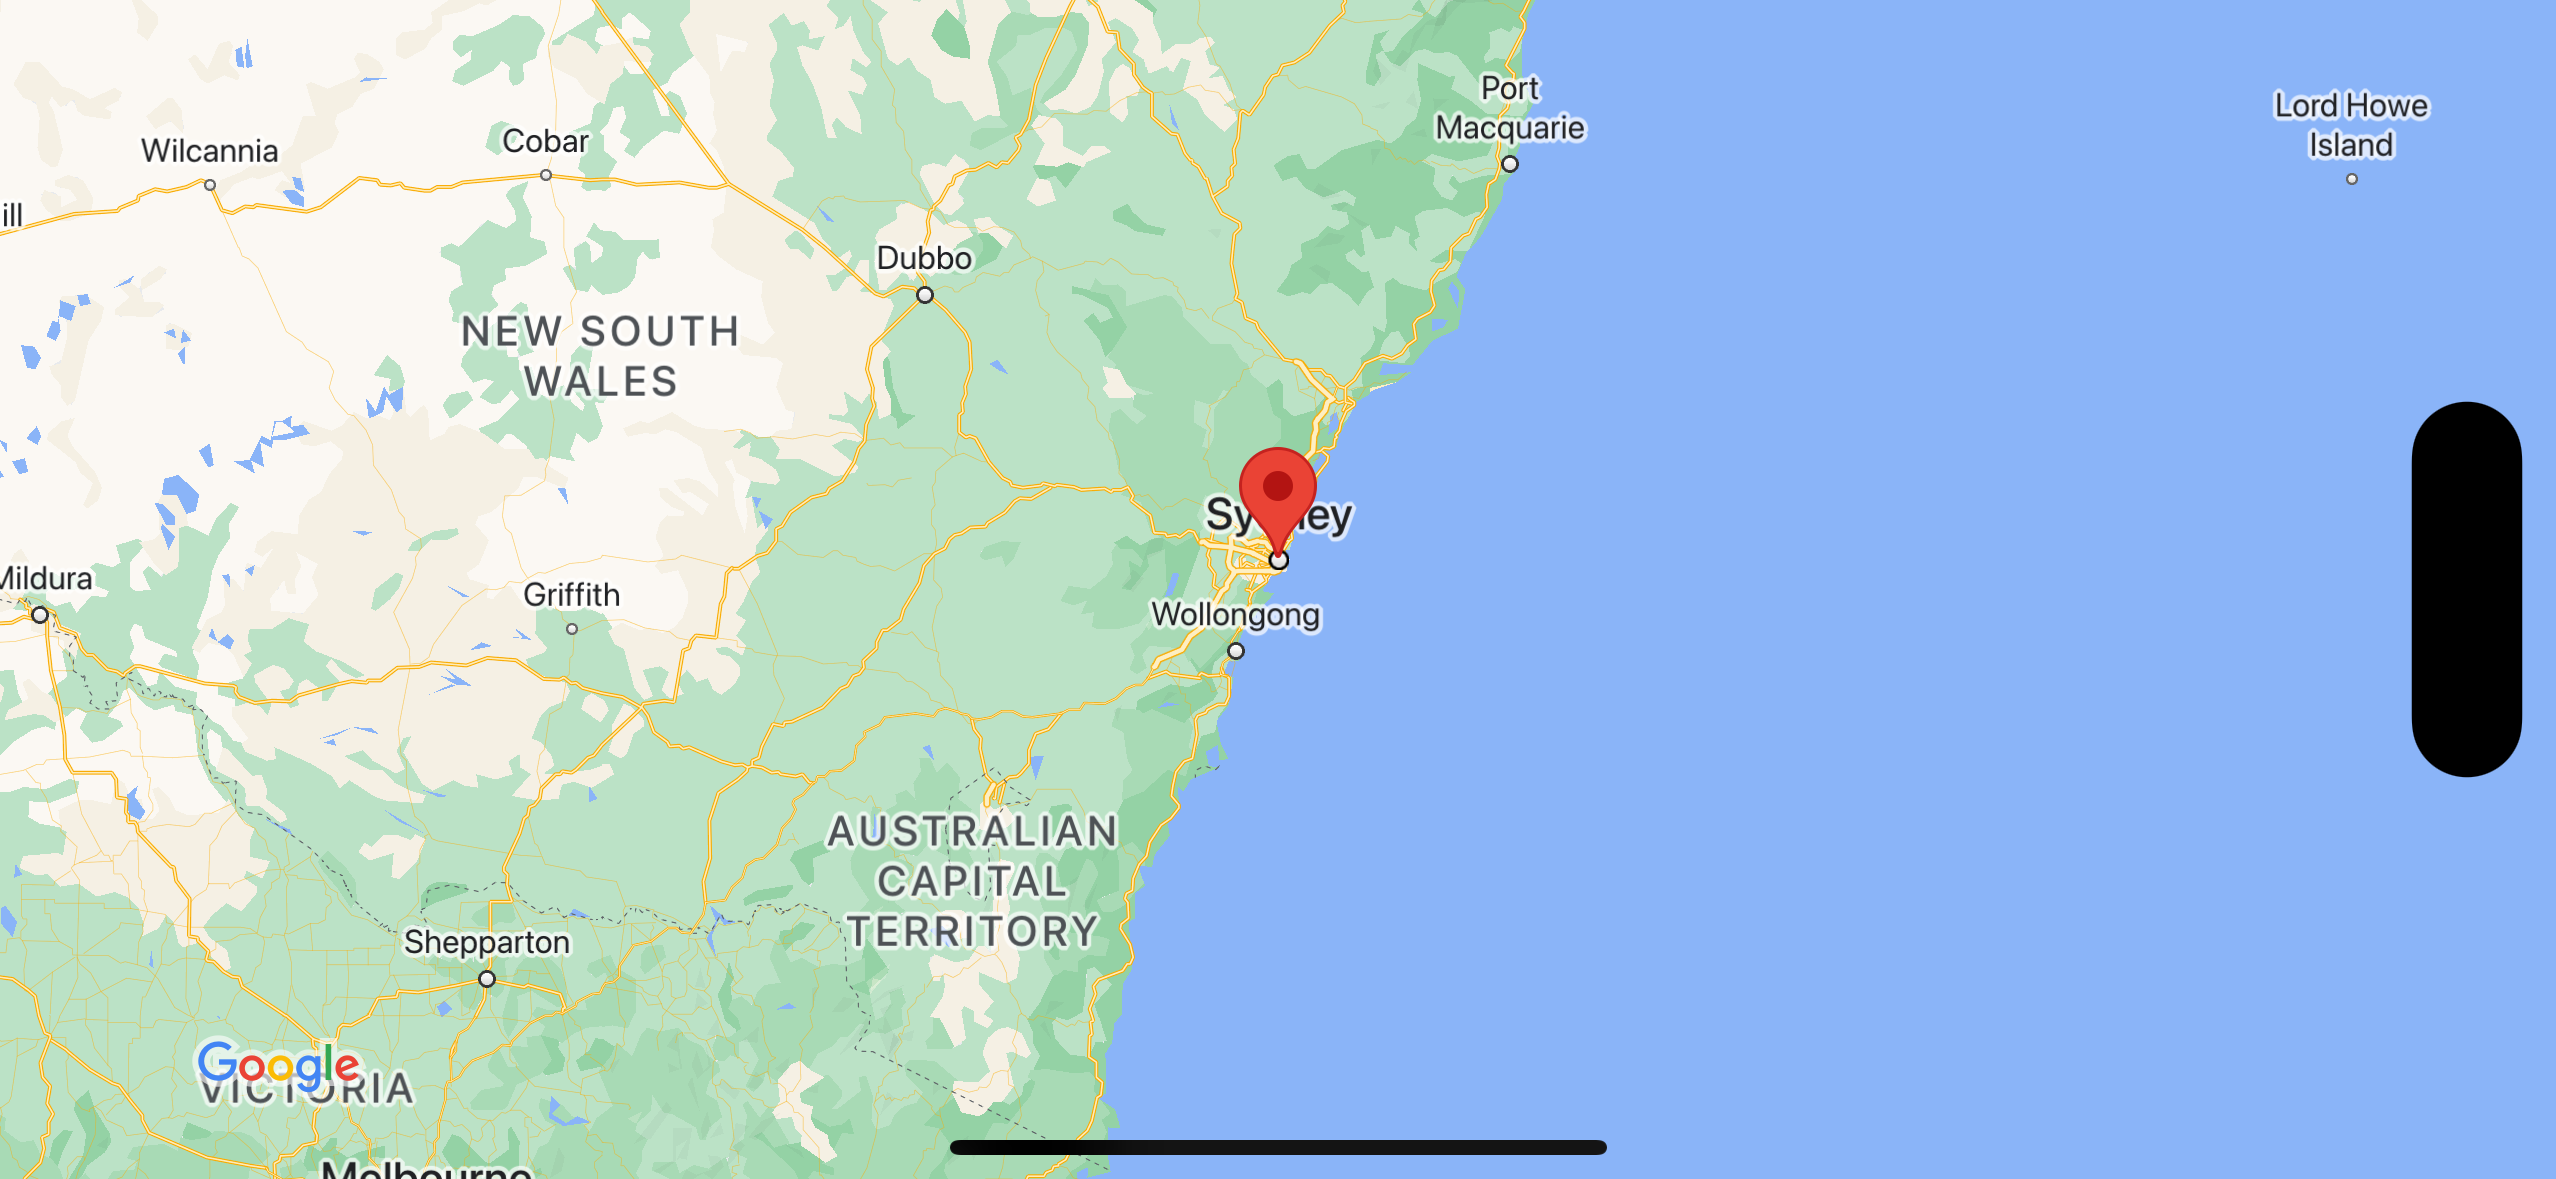
ستنشئ الخريطة التالية باستخدام هذا البرنامج التعليمي. يتم وضع العلامة في سيدني، أستراليا.
الحصول على الرمز
استنسِخ أو نزِّل مستودع النماذج على نظام التشغيل iOS في "خرائط Google" على GitHub.
يمكنك بدلاً من ذلك النقر على الزر التالي لتنزيل رمز المصدر:
Swift
/*
 * Copyright 2020 Google Inc. All rights reserved.
 *
 *
 * Licensed under the Apache License, Version 2.0 (the "License"); you may not use this
 * file except in compliance with the License. You may obtain a copy of the License at
 *
 *     http://www.apache.org/licenses/LICENSE-2.0
 *
 * Unless required by applicable law or agreed to in writing, software distributed under
 * the License is distributed on an "AS IS" BASIS, WITHOUT WARRANTIES OR CONDITIONS OF
 * ANY KIND, either express or implied. See the License for the specific language governing
 * permissions and limitations under the License.
 */

import UIKit
import GoogleMaps

class ViewController: UIViewController {

    override func viewDidLoad() {
        super.viewDidLoad()
        // Do any additional setup after loading the view.
        // Create a GMSCameraPosition that tells the map to display the
        // coordinate -33.86,151.20 at zoom level 6.
        let camera = GMSCameraPosition.camera(withLatitude: -33.86, longitude: 151.20, zoom: 6.0)
        let mapView = GMSMapView.map(withFrame: self.view.frame, camera: camera)
        self.view.addSubview(mapView)

        // Creates a marker in the center of the map.
        let marker = GMSMarker()
        marker.position = CLLocationCoordinate2D(latitude: -33.86, longitude: 151.20)
        marker.title = "Sydney"
        marker.snippet = "Australia"
        marker.map = mapView
  }
}
Objective-C
/*
* Copyright 2020 Google Inc. All rights reserved.
*
*
* Licensed under the Apache License, Version 2.0 (the "License"); you may not use this
* file except in compliance with the License. You may obtain a copy of the License at
*
*     http://www.apache.org/licenses/LICENSE-2.0
*
* Unless required by applicable law or agreed to in writing, software distributed under
* the License is distributed on an "AS IS" BASIS, WITHOUT WARRANTIES OR CONDITIONS OF
* ANY KIND, either express or implied. See the License for the specific language governing
* permissions and limitations under the License.
*/

#import "ViewController.h"
#import <GoogleMaps/GoogleMaps.h>

@interface ViewController ()

@end

@implementation ViewController

- (void)viewDidLoad {
    [super viewDidLoad];
  // Do any additional setup after loading the view.
  // Create a GMSCameraPosition that tells the map to display the
  // coordinate -33.86,151.20 at zoom level 6.
  GMSCameraPosition *camera = [GMSCameraPosition cameraWithLatitude:-33.86
                                                          longitude:151.20
                                                               zoom:6];
  GMSMapView *mapView = [GMSMapView mapWithFrame:self.view.frame camera:camera];
  mapView.myLocationEnabled = YES;
  [self.view addSubview:mapView];

  // Creates a marker in the center of the map.
  GMSMarker *marker = [[GMSMarker alloc] init];
  marker.position = CLLocationCoordinate2DMake(-33.86, 151.20);
  marker.title = @"Sydney";
  marker.snippet = @"Australia";
  marker.map = mapView;
}

@end
بدء
مدير حِزم Swift
يمكن تثبيت حزمة تطوير البرامج بالاستناد إلى بيانات "خرائط Google" لنظام التشغيل iOS باستخدام Swift Package Manager.
- تأكَّد من إزالة أي حزمة تطوير برامج (SDK) حالية في "خرائط Google" لتبعيات iOS.
- افتح نافذة طرفية وانتقِل إلى دليل
tutorials/mapwithmarker. -
تأكَّد من إغلاق مساحة عمل Xcode وشغِّل الطلبات التالية:
sudo gem install cocoapods-deintegrate cocoapods-clean
pod deintegrate
pod cache clean --all
rm Podfile
rm map-with-marker.xcworkspace
- افتح مشروع Xcode واحذف ملف podfile.
- انتقِل إلى ملف > إضافة تبعيات الحزمة.
- أدخِل https://github.com/googlemaps/ios-maps-sdk كعنوان URL، واضغط على Enter لسحب الحزمة، ثم انقر على Add Package (إضافة حزمة).
- قد تحتاج إلى إعادة ضبط ذاكرة التخزين المؤقت للحزمة باستخدام ملف > الحزم > إعادة ضبط ذاكرة التخزين المؤقت للحزمة.
استخدام CocoaPods
- عليك تنزيل Xcode الإصدار 14.0 أو إصدار أحدث.
- إذا لم يكن لديك تطبيق CocoaPods،
يمكنك تثبيته على نظام التشغيل macOS من خلال تنفيذ الأمر التالي من الوحدة الطرفية:
sudo gem install cocoapods
- انتقِل إلى دليل
tutorials/map-with-marker. - نفِّذ الأمر
pod install. سيؤدي ذلك إلى تثبيت حزمة تطوير البرامج (SDK) لـ "خرائط Google" المحدّدة فيPodfile، بالإضافة إلى أي تبعيات. - عليك تشغيل "
pod outdated" لمقارنة إصدار المجموعة المثبَّت مع أي تحديثات جديدة. في حال رصد إصدار جديد، عليك تشغيل "pod update" لتحديثPodfileوتثبيت أحدث حزمة تطوير برامج (SDK). لمزيد من التفاصيل، يُرجى الاطّلاع على دليل CocoaPods. - افتح (انقر مرّتين) ملف map-with-marker.xcworkspace
الخاص بالمشروع لفتحه في Xcode. يجب استخدام ملف
.xcworkspaceلفتح المشروع.
الحصول على مفتاح واجهة برمجة التطبيقات وتفعيل واجهات برمجة التطبيقات اللازمة
لإكمال هذا البرنامج التعليمي، تحتاج إلى مفتاح واجهة برمجة تطبيقات Google مرخص باستخدام حزمة SDK للخرائط لنظام التشغيل iOS. انقر فوق الزر التالي للحصول على مفتاح وتفعيل واجهة برمجة التطبيقات.
البدءلمزيد من التفاصيل، راجِع مقالة الحصول على مفتاح واجهة برمجة التطبيقات.
إضافة مفتاح واجهة برمجة التطبيقات إلى تطبيقك
أضِف مفتاح واجهة برمجة التطبيقات إلى AppDelegate.swift على النحو التالي:
- تجدر الإشارة إلى أنّه تمت إضافة عبارة الاستيراد التالية إلى الملف:
import GoogleMaps
- عدِّل السطر التالي في طريقة
application(_:didFinishLaunchingWithOptions:)، مع استبدال YOUR_API_KEY بمفتاح واجهة برمجة التطبيقات الخاص بك:GMSServices.provideAPIKey("YOUR_API_KEY")
إنشاء تطبيقك وتشغيله
- وصِّل جهاز iOS بجهاز الكمبيوتر، أو اختَر محاكي من قائمة مخطط Xcode.
- إذا كنت تستخدم جهازًا، فتأكد من أن خدمات الموقع مُفعَّلة. إذا كنت تستخدم أحد المحاكيات، اختَر موقعًا جغرافيًا من قائمة الميزات.
- في Xcode، انقر على خيار القائمة Product/Run (تشغيل) (أو على رمز زر التشغيل).
- ينشئ Xcode التطبيق، ثم يشغِّله على الجهاز أو على جهاز المحاكي.
- من المفترض أن ترى خريطة تحتوي على مُحدِّد متمركز في مدينة سيدني على الساحل الشرقي لأستراليا، على غرار الصورة الواردة في هذه الصفحة.
تحرّي الخلل وإصلاحه:
- إذا لم تظهر لك خريطة، تأكَّد من أنّك حصلت على مفتاح واجهة برمجة التطبيقات وأضفته إلى التطبيق، كما هو موضّح سابقًا. تحقَّق من وحدة تحكّم تصحيح الأخطاء في Xcode بحثًا عن رسائل خطأ حول مفتاح واجهة برمجة التطبيقات.
- إذا حصرت مفتاح واجهة برمجة التطبيقات بمعرّف حزمة iOS، يمكنك تعديل
المفتاح لإضافة معرّف الحزمة للتطبيق:
com.google.examples.map-with-marker. - تأكَّد من توفُّر اتصال جيد بشبكة Wi-Fi أو نظام تحديد المواقع العالمي (GPS).
- استخدِم أدوات تصحيح أخطاء Xcode لعرض السجلات وتصحيح أخطاء التطبيق.
فهم الرمز البرمجي
- يمكنك إنشاء خريطة وضبطها كطريقة العرض في
viewDidLoad().Swift
// Create a GMSCameraPosition that tells the map to display the
// coordinate -33.86,151.20 at zoom level 6.
let camera = GMSCameraPosition.camera(withLatitude: -33.86, longitude: 151.20, zoom: 6.0)
let mapView = GMSMapView.map(withFrame: CGRect.zero, camera: camera)
view = mapView
Objective-C
// Create a GMSCameraPosition that tells the map to display the // coordinate -33.86,151.20 at zoom level 6. GMSCameraPosition *camera = [GMSCameraPosition cameraWithLatitude:-33.86 longitude:151.20 zoom:6.0]; GMSMapView *mapView = [[GMSMapView alloc] initWithFrame: CGRectZero camera:camera]; self.view = mapView; - يمكنك إضافة علامة إلى الخريطة في
viewDidLoad().Swift
// Creates a marker in the center of the map.
let marker = GMSMarker()
marker.position = CLLocationCoordinate2D(latitude: -33.86, longitude: 151.20)
marker.title = "Sydney"
marker.snippet = "Australia"
marker.map = mapView
Objective-C
// Creates a marker in the center of the map.
GMSMarker *marker = [[GMSMarker alloc] init];
marker.position = CLLocationCoordinate2DMake(-33.86, 151.20);
marker.title = @"Sydney";
marker.snippet = @"Australia";
marker.map = mapView;
تعرض حزمة تطوير البرامج بالاستناد إلى بيانات "خرائط Google" لتطبيقات iOS محتوى نافذة المعلومات تلقائيًا عندما ينقر المستخدِم على محدّد موقع. ليست هناك حاجة لإضافة مستمع النقرات للعلامة إذا كنت مسرورًا باستخدام السلوك التلقائي
تهانينا! لقد أنشأت تطبيق iOS يعرض خريطة Google مع علامة للإشارة إلى موقع معين. لقد تعلمت أيضًا كيفية استخدام حزمة SDK لـ "خرائط Google" لنظام التشغيل iOS.
الخطوات التالية
يمكنك الاطّلاع على مزيد من المعلومات حول كائن الخريطة والإجراءات التي يمكنك اتّخاذها باستخدام العلامات.