
本頁面將說明如何建立動作專案和設定 Dialogflow 代理程式。
設定 Firebase
您可以透過一項工具 (Firebase CLI) 為互動式 Canvas 動作託管 Webhook 邏輯和網頁應用程式。建立 Actions 專案和 Dialogflow 代理程式之前,請按照開始使用 Firebase 託管中的操作說明安裝及設定 Firebase。
建立專案
- 前往動作控制台。
- 按一下 [新專案]。
- 輸入專案名稱,然後按一下「建立專案」。
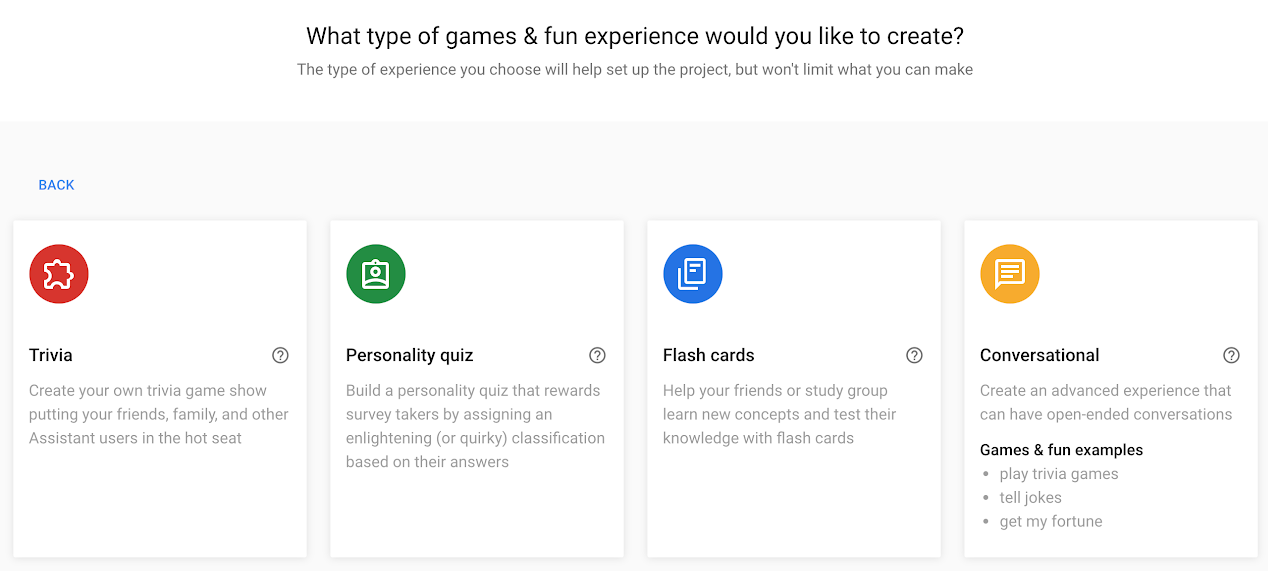
- 按一下「遊戲與樂趣」資訊卡。
按一下「對話」資訊卡。
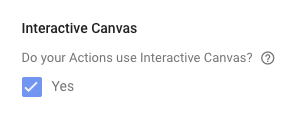
按一下頂端選單中的「Deploy」(部署)。然後按一下「目錄資訊」。
在頁面底部查看「互動畫布」底下的選項。
按一下頂端選單中的「總覽」。
依序點選「Build your Action」和「Add Action(s)」。
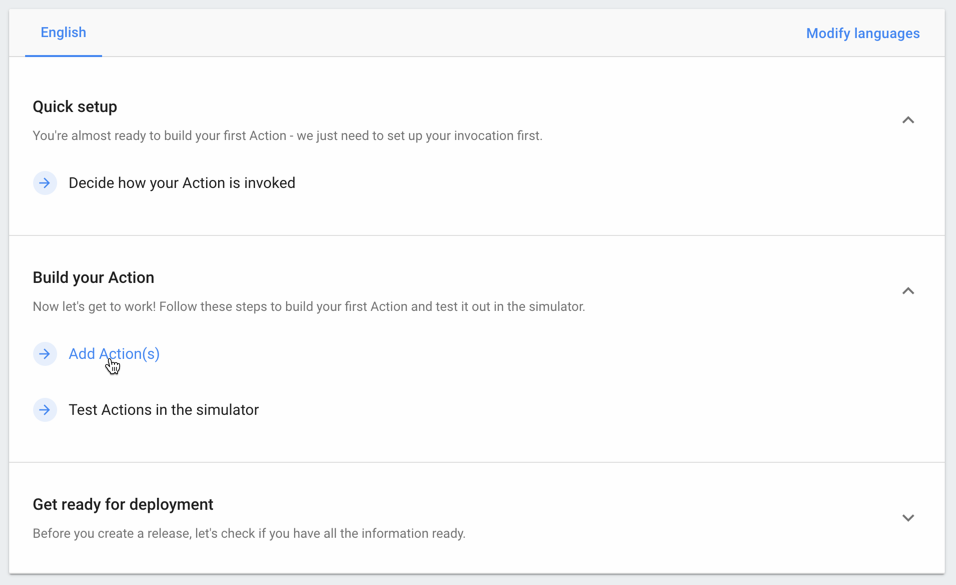
按一下「新增第一個動作」。
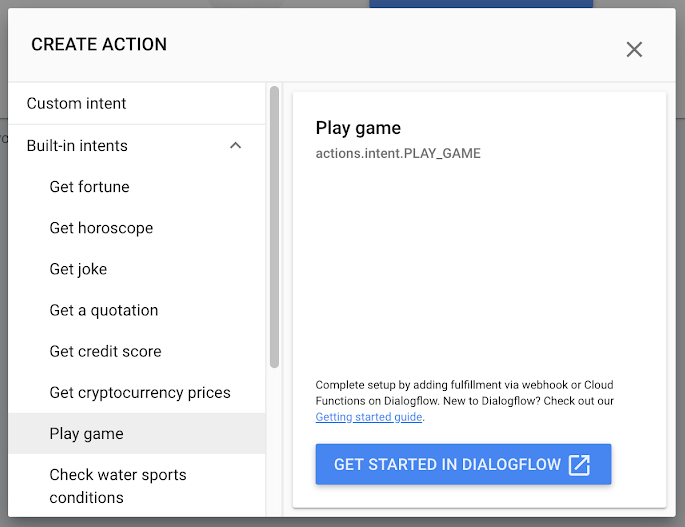
在「內建意圖」下方,選取「Play game」,然後按一下「開始使用 Dialogflow」。
設定 Dialogflow 代理程式
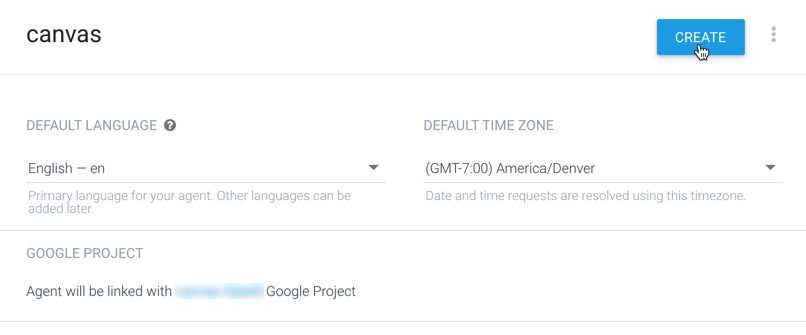
在代理程式建立頁面中,確認代理程式的預設語言、時區和名稱,然後按一下 [CREATE] (建立)。
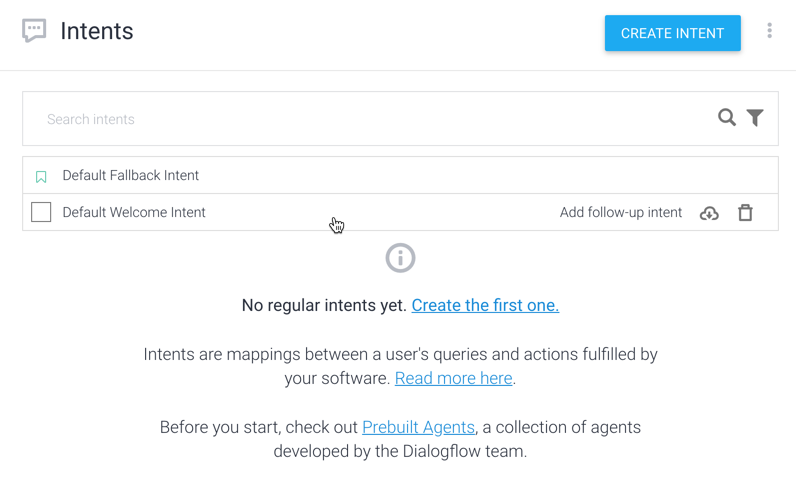
在「Intents」(意圖) 頁面中,按一下「DefaultWelcome Intent」(預設歡迎意圖)。
按一下頁面底部的「執行要求」,展開該部分。
按一下「啟用這個意圖的 Webhook 呼叫」。
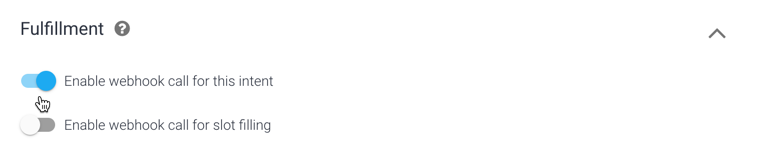
點選「儲存」。