設定開發環境
使用 Android SDK Platform 7.0 (API 級別 24) 以上版本安裝 Android Studio 3.1 以上版本。
您必須對 Android 開發作業有基本瞭解。如果您是 Android 新手,請參閱為新手建構第一個 Android 應用程式。
開啟範例專案
取得範例專案。你可以採取下列其中一種做法:
下載並擷取場景範例
-或是-
請使用下列指令複製存放區:
git clone https://github.com/google-ar/sceneform-android-sdk.git
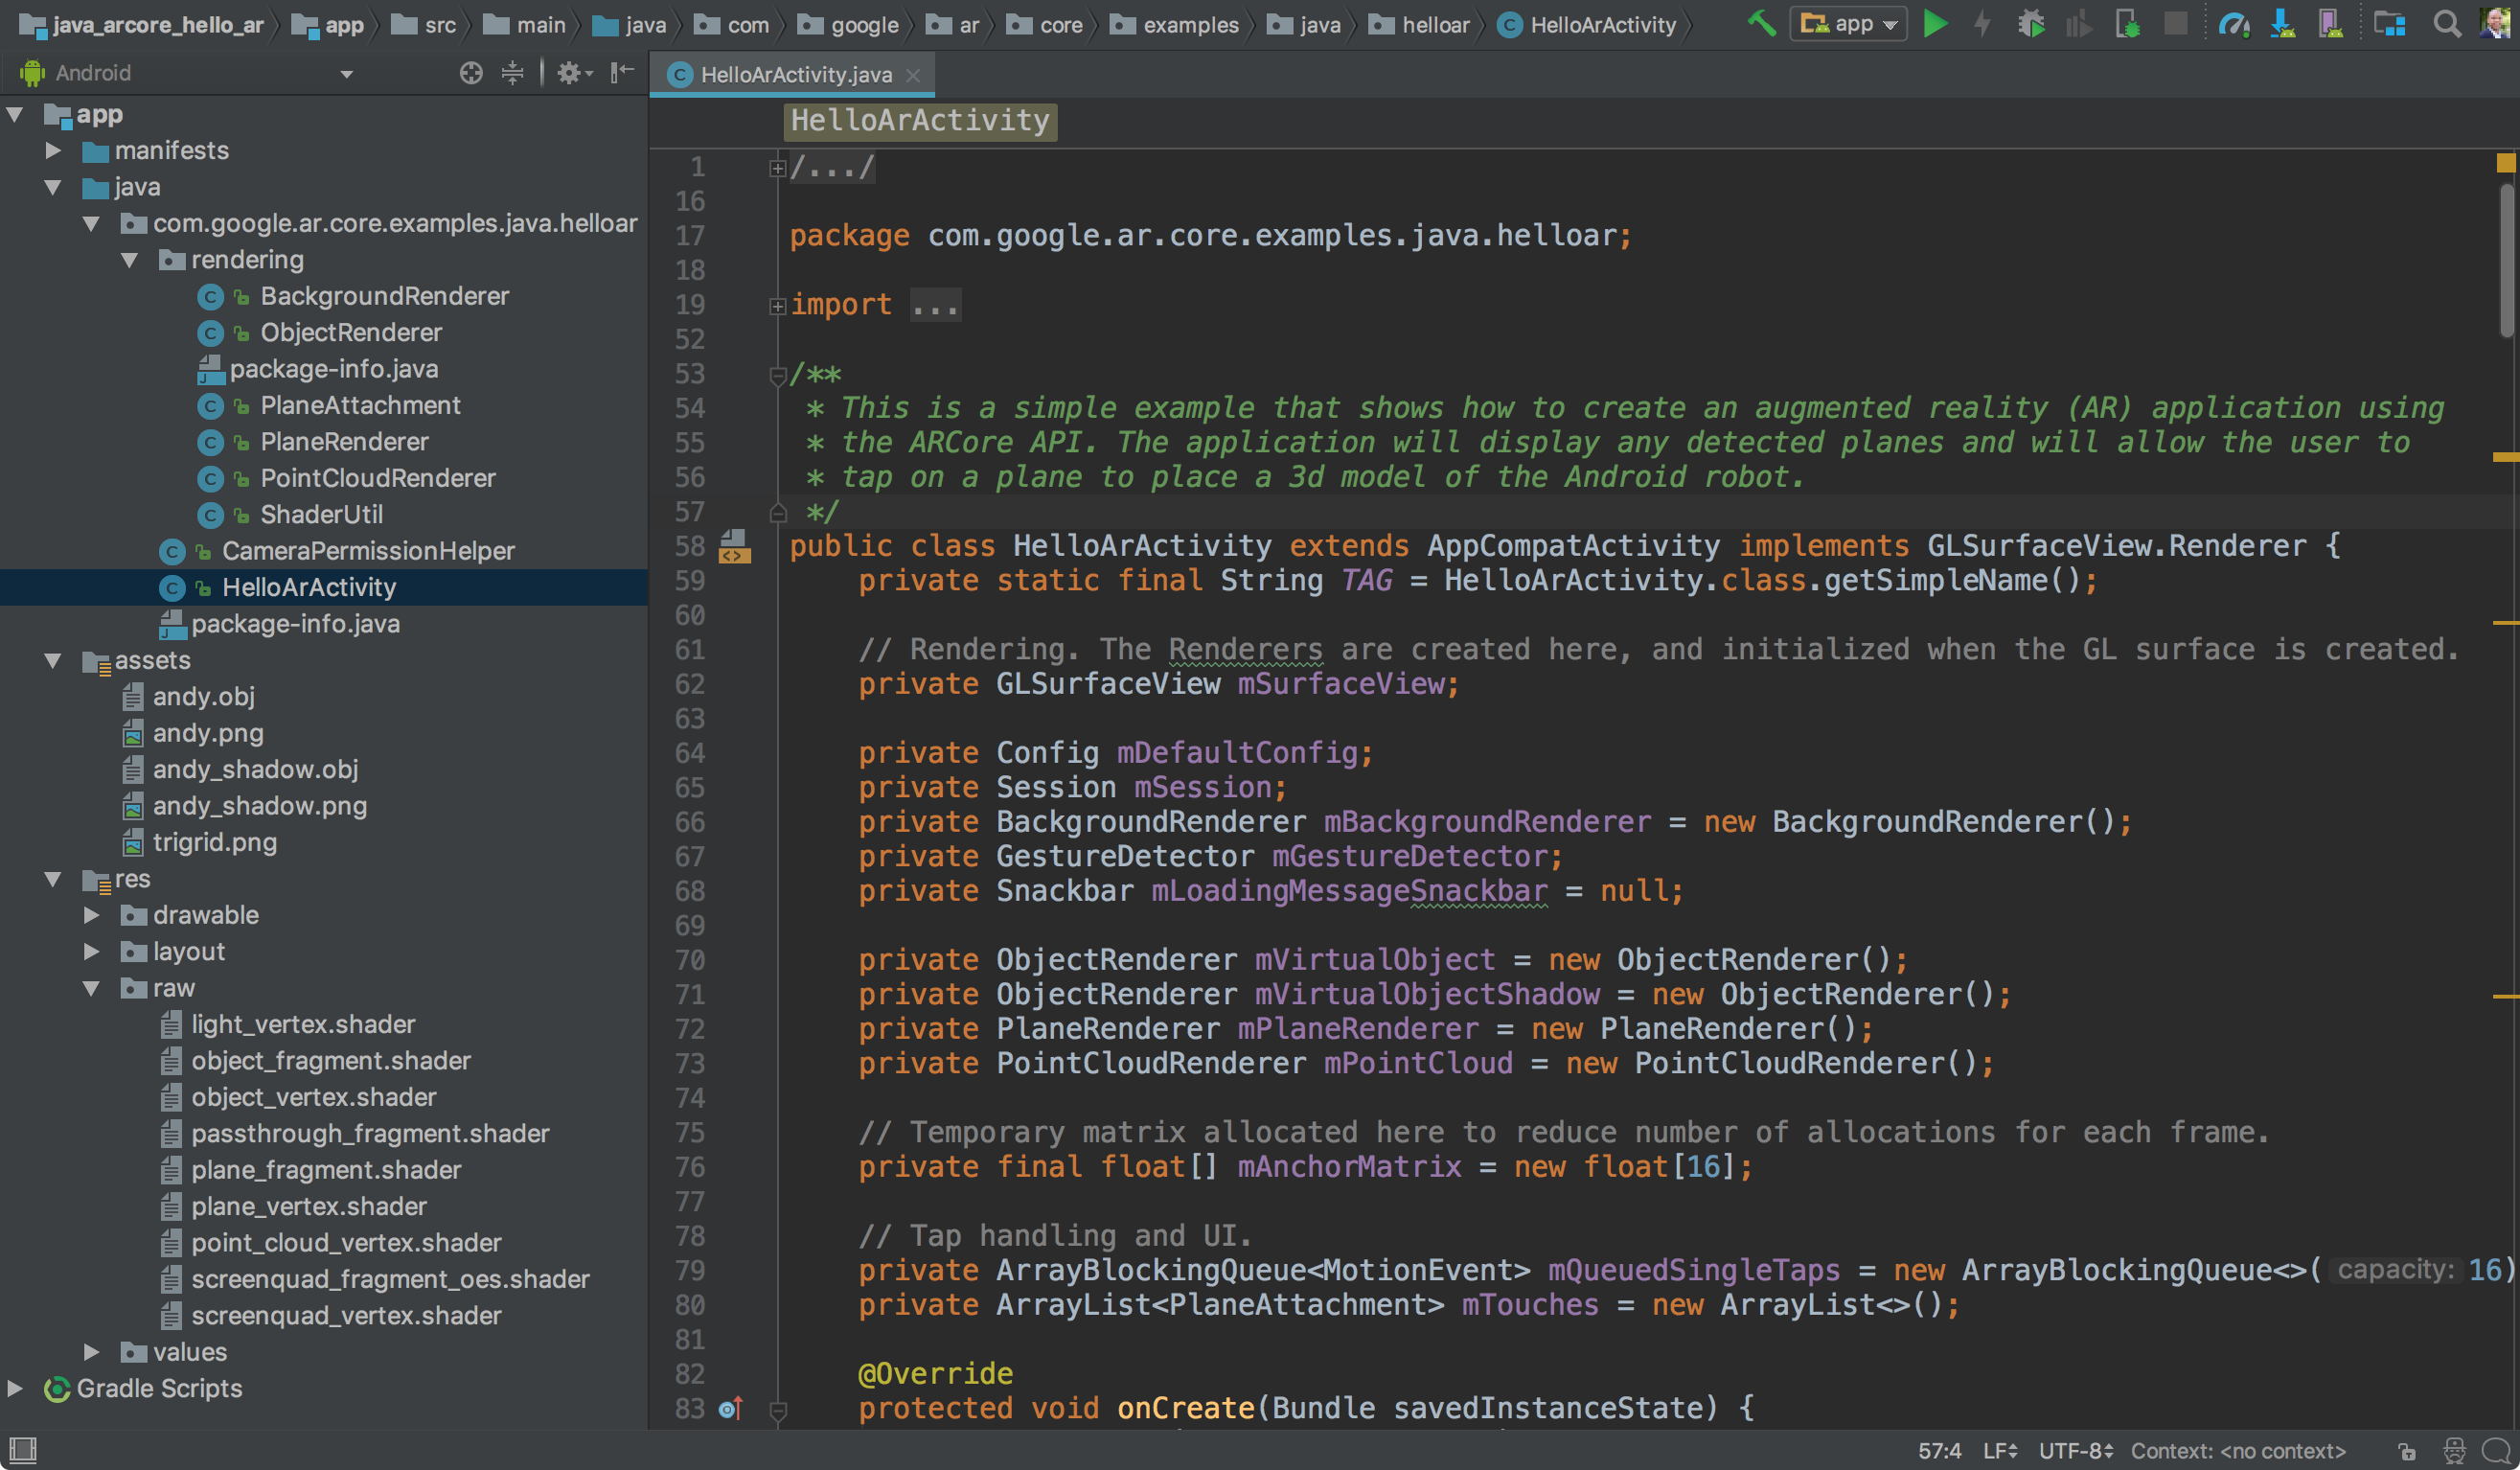
在 Android Studio 中開啟 Hello Sceneform 範例專案 (位於 sceneform-android-sdk 目錄的 app 子目錄中)。
準備裝置或模擬器
您可以在支援的裝置或 Android Emulator 中執行 AR 應用程式:
- 在模擬器中,您必須登入 Google Play 商店,或手動更新 AR 適用的 Google Play 服務。
如要在模擬器中執行場景場景,您必須遵守其他規定:
- 裝置必須搭載 Android Emulator 27.2.9 以上版本。
您必須在 Android Emulator 中支援及啟用 OpenGL ES 3.0 以上版本。
請務必將模擬器設為使用最新版本。在「Extended controls」(擴充控制項) 面板 (工具列中的
) 中選取「Settings > Advanced > OpenGL ES API level > (Renderermax」(最高 OpenGL ES 3.1)),然後重新啟動模擬器。
執行模擬器,與模擬螢幕短暫互動,然後檢查是否使用 OpenGL ES 3.0 以上版本:
adb logcat | grep eglMakeCurrent如果看到
ver 3 0或以上版本,您就可以執行 Sceneform 應用程式。如果您看到較低的版本,則桌面 GPU 不支援 OpenGL ES 3.0,因此您必須使用支援的裝置執行 Sceneform 應用程式。
執行範例
確認 Android 裝置已連線至開發機器,然後按一下 Android Studio 中的「Run」 。接著,選擇您的裝置做為部署目標,然後按一下「OK」(確定)。
Android Studio 會將專案建構為可進行偵錯的 APK,安裝該 APK,然後在裝置上執行應用程式。詳情請參閱建構並執行應用程式。
如果 AR 適用的 Google Play 服務遺失或版本過舊,系統可能會提示您安裝或更新。選取「繼續」即可從 Google Play 商店安裝金鑰。
Hello Sceneform 應用程式可讓您在平面上放置及操控 Android 模型。
將場景新增至現有專案
如何在現有專案中使用場景:
按照步驟在應用程式中啟用 ARCore
將 Sceneform 程式庫新增至您的 app's
build.gradle檔案:android { // Sceneform libraries use language constructs from Java 8. // Add these compile options if targeting minSdkVersion < 26. compileOptions { sourceCompatibility 1.8 targetCompatibility 1.8 } } dependencies { … // Provides ArFragment, and other UX resources. implementation 'com.google.ar.sceneform.ux:sceneform-ux:1.15.0' // Alternatively, use ArSceneView without the UX dependency. implementation 'com.google.ar.sceneform:core:1.15.0' }


 ) 中選取「Settings > Advanced > OpenGL ES API level > (Renderermax」(最高 OpenGL ES 3.1)),然後重新啟動模擬器。