Setting Date and Time Formats
This page shows how to set date and time formats in Google Issue Tracker.
To set date and time formats:
Open Issue Tracker in your web browser.
Click the gear icon in the upper right corner of
Issue Tracker.
![](https://developers.google.cn/issue-tracker/images/public/gear-highlight.png?authuser=0)
Select Settings.
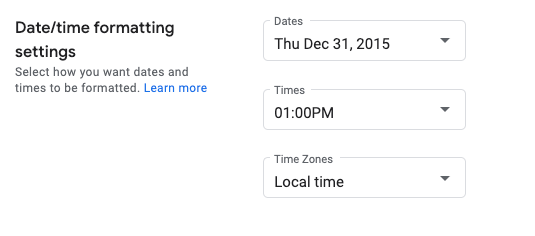
In the Date/time formatting settings section of the Settings overlay,
use the drop-downs to select your preferences.
Use the Dates drop-down to set how dates appear.
Use the Times drop-down to set how times appear.
Use the Time Zones drop-down to set the time zone used.
![](https://developers.google.cn/issue-tracker/images/public/settings-date-time.png?authuser=0)
What's next
All rights reserved. Java is a registered trademark of Oracle and/or its affiliates.
Last updated 2024-09-18 UTC.
[null,null,["Last updated 2024-09-18 UTC."],[[["This page provides instructions on customizing date and time formats within Google Issue Tracker."],["Users can adjust date, time, and time zone displays according to their preferences through the Issue Tracker settings."],["Accessing these settings involves navigating to the gear icon, selecting \"Settings,\" and modifying the options within the \"Date/time formatting settings\" section."]]],[]]