날짜 및 시간 형식 설정
이 페이지에서는 Google Issue Tracker에서 날짜 및 시간 형식을 설정하는 방법을 보여줍니다.
날짜 및 시간 형식을 설정하려면 다음 단계를 따르세요.
웹브라우저에서 Issue Tracker를 엽니다.
Issue Tracker 오른쪽 상단에 있는 톱니바퀴 아이콘을 클릭합니다.
설정을 선택합니다.
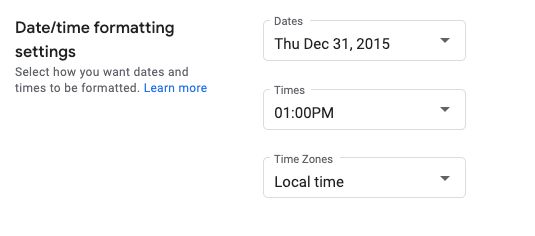
설정 오버레이의 날짜/시간 형식 설정 섹션에서 드롭다운을 사용하여 환경설정을 선택합니다.
날짜 드롭다운을 사용하여 날짜가 표시되는 방식을 설정합니다.
시간 드롭다운을 사용하여 시간이 표시되는 방식을 설정합니다.
시간대 드롭다운을 사용하여 사용하려는 시간대를 설정합니다.
다음 단계
All rights reserved. 자바는 Oracle 및/또는 Oracle 계열사의 등록 상표입니다.
최종 업데이트: 2025-02-21(UTC)
[null,null,["최종 업데이트: 2025-02-21(UTC)"],[[["This page provides instructions on customizing date and time formats within Google Issue Tracker."],["Users can adjust date, time, and time zone displays according to their preferences through the Issue Tracker settings."],["Accessing these settings involves navigating to the gear icon, selecting \"Settings,\" and modifying the options within the \"Date/time formatting settings\" section."]]],[]]