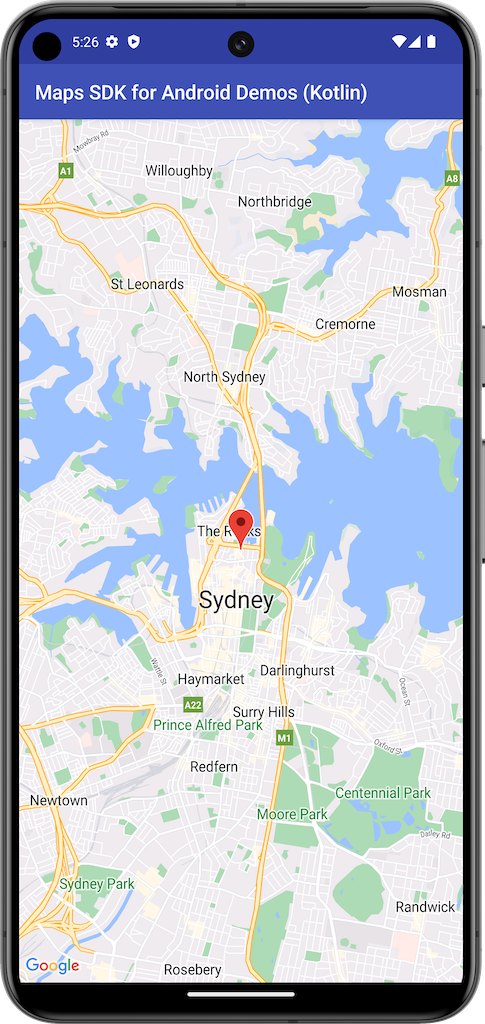
In diesem Beispiel wird eine Karte mit einem SupportMapFragment aus dem Maps SDK for Android erstellt.
Weitere Informationen finden Sie in der Dokumentation.
Erste Schritte
Bevor Sie den Beispielcode ausprobieren können, müssen Sie Ihre Entwicklungsumgebung konfigurieren. Weitere Informationen finden Sie unter Maps SDK for Android – Beispielcode.
Code ansehen
Kotlin
class BasicMapDemoActivity : AppCompatActivity(), OnMapReadyCallback {
val SYDNEY = LatLng(-33.862, 151.21)
val ZOOM_LEVEL = 13f
override fun onCreate(savedInstanceState: Bundle?) {
super.onCreate(savedInstanceState)
setContentView(R.layout.activity_basic_map_demo)
val mapFragment : SupportMapFragment? =
supportFragmentManager.findFragmentById(R.id.map) as? SupportMapFragment
mapFragment?.getMapAsync(this)
}
/**
* This is where we can add markers or lines, add listeners or move the camera. In this case,
* we just move the camera to Sydney and add a marker in Sydney.
*/
override fun onMapReady(googleMap: GoogleMap) {
with(googleMap) {
moveCamera(CameraUpdateFactory.newLatLngZoom(SYDNEY, ZOOM_LEVEL))
addMarker(MarkerOptions().position(SYDNEY))
}
}
}
Java
public class BasicMapDemoActivity extends AppCompatActivity implements OnMapReadyCallback {
@Override
protected void onCreate(Bundle savedInstanceState) {
super.onCreate(savedInstanceState);
setContentView(R.layout.basic_demo);
SupportMapFragment mapFragment =
(SupportMapFragment) getSupportFragmentManager().findFragmentById(R.id.map);
mapFragment.getMapAsync(this);
}
/**
* This is where we can add markers or lines, add listeners or move the camera. In this case,
* we
* just add a marker near Africa.
*/
@Override
public void onMapReady(GoogleMap map) {
map.addMarker(new MarkerOptions().position(new LatLng(0, 0)).title("Marker"));
}
}
Beispiele klonen und ausführen
Um dieses Beispiel lokal auszuführen, ist Git erforderlich. Mit dem folgenden Befehl wird das Repository der Beispiel-App geklont.
git clone git@github.com:googlemaps-samples/android-samples.git
Sie müssen das Beispielprojekt in Android Studio importieren:
- Wählen Sie in Android Studio File > New > Import Project aus.
Gehen Sie zu dem Speicherort, an dem Sie das Repository gespeichert haben, und wählen Sie das Projektverzeichnis für Kotlin oder Java aus:
- Kotlin:
PATH-REPO/android-samples/ApiDemos/kotlin - Java:
PATH-REPO/android-samples/ApiDemos/java
- Kotlin:
- Klicken Sie auf Öffnen. Ihr Projekt wird jetzt mit dem Build-Tool „Gradle“ in Android Studio erstellt.
- Erstellen Sie eine leere
secrets.properties-Datei im selben Verzeichnis wie dielocal.properties-Datei Ihres Projekts. Weitere Informationen finden Sie unter API-Schlüssel zum Projekt hinzufügen. Fügen Sie den folgenden String in die
secrets.properties-Datei ein und ersetzen Sie dabei YOUR_API_KEY mit dem Wert Ihres API-Schlüssels:MAPS_API_KEY=YOUR_API_KEY- Starten Sie die App.
