
Questo tutorial mostra come aggiungere una mappa di Google alla tua app per Android. La mappa include un indicatore, chiamato anche segnaposto, per segnalare un luogo specifico.
Segui il tutorial per creare un'app per Android utilizzando Maps SDK for Android. L'ambiente di sviluppo consigliato è Android Studio.
Ottieni il codice
Clona o scarica il repository di esempio v2 dell'API Google Maps Android da GitHub.
Visualizza la versione Java dell'attività:
// Copyright 2020 Google LLC // // Licensed under the Apache License, Version 2.0 (the "License"); // you may not use this file except in compliance with the License. // You may obtain a copy of the License at // // http://www.apache.org/licenses/LICENSE-2.0 // // Unless required by applicable law or agreed to in writing, software // distributed under the License is distributed on an "AS IS" BASIS, // WITHOUT WARRANTIES OR CONDITIONS OF ANY KIND, either express or implied. // See the License for the specific language governing permissions and // limitations under the License. package com.example.mapwithmarker; import android.os.Bundle; import androidx.appcompat.app.AppCompatActivity; import com.google.android.gms.maps.CameraUpdateFactory; import com.google.android.gms.maps.GoogleMap; import com.google.android.gms.maps.OnMapReadyCallback; import com.google.android.gms.maps.SupportMapFragment; import com.google.android.gms.maps.model.LatLng; import com.google.android.gms.maps.model.MarkerOptions; /** * An activity that displays a Google map with a marker (pin) to indicate a particular location. */ public class MapsMarkerActivity extends AppCompatActivity implements OnMapReadyCallback { @Override protected void onCreate(Bundle savedInstanceState) { super.onCreate(savedInstanceState); // Retrieve the content view that renders the map. setContentView(R.layout.activity_maps); // Get the SupportMapFragment and request notification when the map is ready to be used. SupportMapFragment mapFragment = (SupportMapFragment) getSupportFragmentManager() .findFragmentById(R.id.map); mapFragment.getMapAsync(this); } /** * Manipulates the map when it's available. * The API invokes this callback when the map is ready to be used. * This is where we can add markers or lines, add listeners or move the camera. In this case, * we just add a marker near Sydney, Australia. * If Google Play services is not installed on the device, the user receives a prompt to install * Play services inside the SupportMapFragment. The API invokes this method after the user has * installed Google Play services and returned to the app. */ @Override public void onMapReady(GoogleMap googleMap) { // Add a marker in Sydney, Australia, // and move the map's camera to the same location. LatLng sydney = new LatLng(-33.852, 151.211); googleMap.addMarker(new MarkerOptions() .position(sydney) .title("Marker in Sydney")); googleMap.moveCamera(CameraUpdateFactory.newLatLng(sydney)); } }
Visualizza la versione Kotlin dell'attività:
// Copyright 2020 Google LLC // // Licensed under the Apache License, Version 2.0 (the "License"); // you may not use this file except in compliance with the License. // You may obtain a copy of the License at // // http://www.apache.org/licenses/LICENSE-2.0 // // Unless required by applicable law or agreed to in writing, software // distributed under the License is distributed on an "AS IS" BASIS, // WITHOUT WARRANTIES OR CONDITIONS OF ANY KIND, either express or implied. // See the License for the specific language governing permissions and // limitations under the License. package com.example.mapwithmarker import android.os.Bundle import android.widget.Toast import androidx.appcompat.app.AppCompatActivity import com.google.android.gms.maps.CameraUpdateFactory import com.google.android.gms.maps.GoogleMap import com.google.android.gms.maps.OnMapReadyCallback import com.google.android.gms.maps.SupportMapFragment import com.google.android.gms.maps.model.LatLng import com.google.android.gms.maps.model.MarkerOptions /** * An activity that displays a Google map with a marker (pin) to indicate a particular location. */ class MapsMarkerActivity : AppCompatActivity(), OnMapReadyCallback { override fun onCreate(savedInstanceState: Bundle?) { super.onCreate(savedInstanceState) // Retrieve the content view that renders the map. setContentView(R.layout.activity_maps) // Get the SupportMapFragment and request notification when the map is ready to be used. val mapFragment = supportFragmentManager.findFragmentById(R.id.map) as? SupportMapFragment mapFragment?.getMapAsync(this) } override fun onMapReady(googleMap: GoogleMap) { val sydney = LatLng(-33.852, 151.211) googleMap.addMarker( MarkerOptions() .position(sydney) .title("Marker in Sydney") ) googleMap.moveCamera(CameraUpdateFactory.newLatLng(sydney)) } }
Configurare il progetto di sviluppo
Per creare il progetto del tutorial in Android Studio, segui questi passaggi.
- Scarica e installa Android Studio.
- Aggiungi il pacchetto Google Play Services ad Android Studio.
- Clona o scarica il repository di esempio v2 dell'API Google Maps Android se non l'hai fatto quando hai iniziato a leggere questo tutorial.
Importa il progetto del tutorial:
- In Android Studio, seleziona File > Nuovo > Importa progetto.
- Vai alla posizione in cui hai salvato il repository di esempio v2 dell'API Google Maps Android dopo averlo scaricato.
- Trova il progetto MapWithMarker in questa posizione:
PATH-TO-SAVED-REPO/android-samples/tutorials/java/MapWithMarker(Java) o
PATH-TO-SAVED-REPO/android-samples/tutorials/kotlin/MapWithMarker(Kotlin) - Seleziona la directory del progetto, quindi fai clic su Apri. Android Studio ora crea il tuo progetto utilizzando lo strumento di compilazione Gradle.
Attivare le API necessarie e ottenere una chiave API
Per completare questo tutorial, hai bisogno di un progetto Google Cloud con le API necessarie abilitate e una chiave API autorizzata a utilizzare Maps SDK for Android. Per ulteriori dettagli, vedi:
Aggiungere la chiave API all'app
- Apri il file
local.propertiesdel progetto. Aggiungi la seguente stringa e poi sostituisci
YOUR_API_KEYcon il valore della tua chiave API:MAPS_API_KEY=YOUR_API_KEYQuando crei l'app, il plug-in Secrets Gradle per Android copierà la chiave API e la renderà disponibile come variabile di build nel manifest Android, come spiegato di seguito.
Crea ed esegui la tua app
Per creare ed eseguire l'app:
Collega un dispositivo Android al computer. Segui le istruzioni per attivare le opzioni sviluppatore sul tuo dispositivo Android e configurare il sistema per rilevare il dispositivo.
In alternativa, puoi utilizzare Gestione AVD (Android Virtual Device) per configurare un dispositivo virtuale. Quando scegli un emulatore, assicurati di selezionare un'immagine che includa le API di Google. Per maggiori dettagli, consulta la sezione Configurare un progetto Android Studio .
In Android Studio, fai clic sull'opzione di menu Esegui (o sull'icona del pulsante Riproduci). Scegli un dispositivo come richiesto.
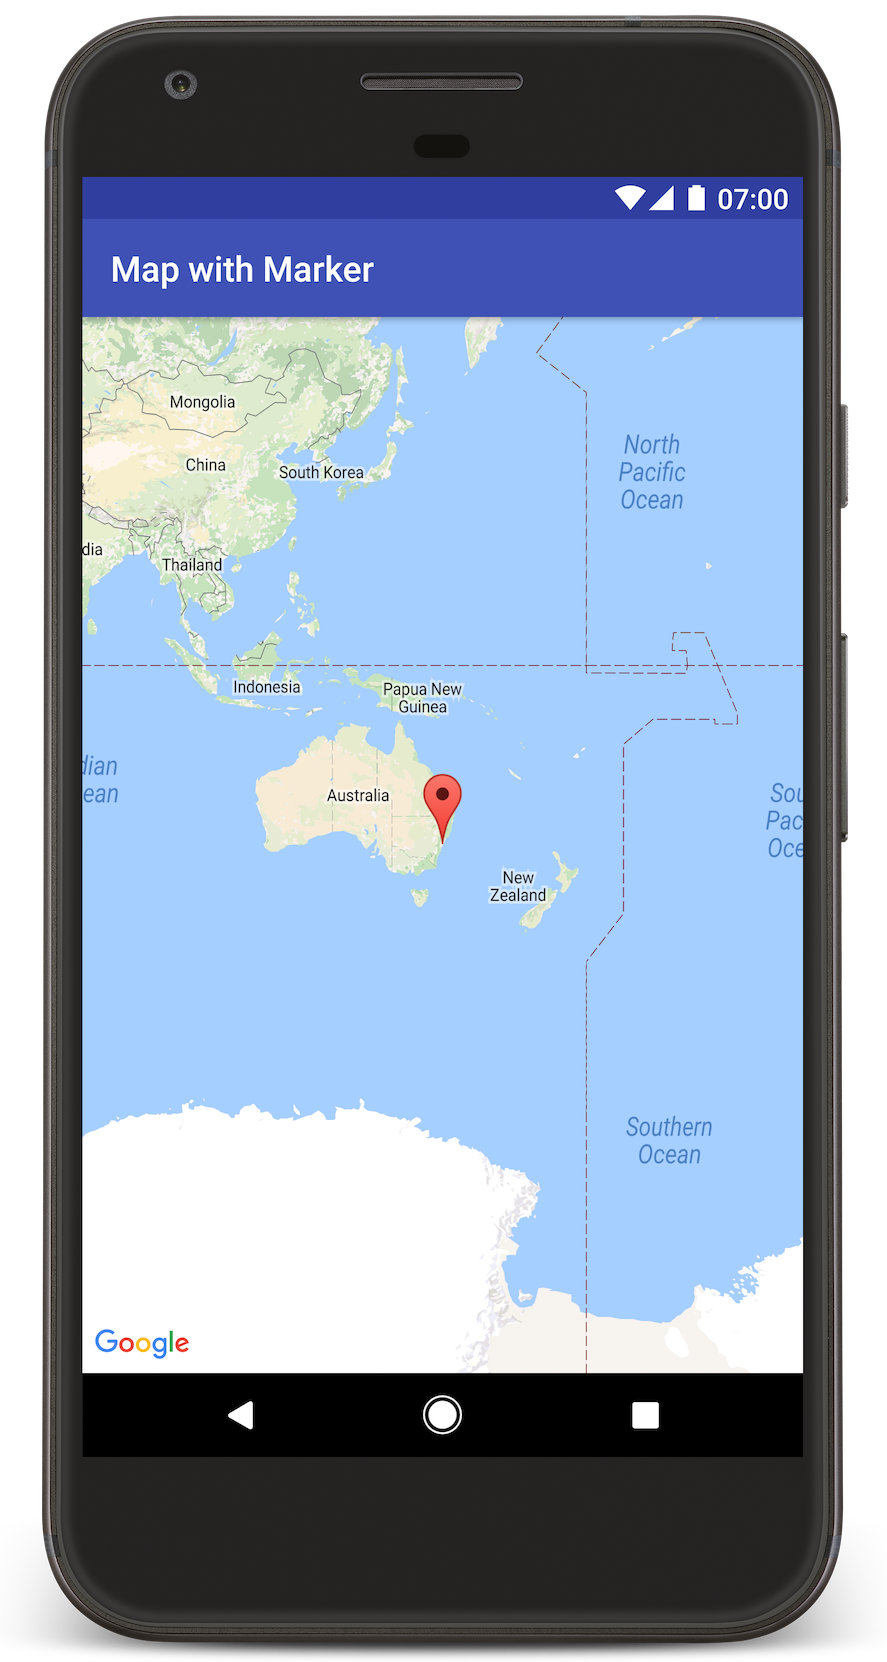
Android Studio richiama Gradle per creare l'app, quindi la esegue sul dispositivo o sull'emulatore. Dovresti visualizzare una mappa con un indicatore che punta a Sydney sulla costa orientale dell'Australia, simile all'immagine in questa pagina.
Risoluzione dei problemi:
- Se non vedi una mappa, verifica di aver ottenuto una chiave API e di averla aggiunta all'app, come descritto sopra. Controlla il log in Android Monitor di Android Studio per visualizzare i messaggi di errore relativi alla chiave API.
- Utilizza gli strumenti di debug di Android Studio per visualizzare i log ed eseguire il debug dell'app.
comprendi il codice
Questa parte del tutorial spiega le sezioni più importanti dell'app MapWithMarker per aiutarti a capire come creare un'app simile.
Controllare il file manifest di Android
Tieni presente i seguenti elementi nel file AndroidManifest.xml dell'app:
Aggiungi un elemento
meta-dataper incorporare la versione di Google Play Services con cui è stata compilata l'app.<meta-data android:name="com.google.android.gms.version" android:value="@integer/google_play_services_version" />Aggiungi un elemento
meta-datache specifica la tua chiave API. L'esempio che accompagna questo tutorial mappa il valore della chiave API a una variabile di build corrispondente al nome della chiave definita in precedenza,MAPS_API_KEY. Quando crei l'app, il plug-in Secrets Gradle per Android renderà disponibili le chiavi nel filelocal.propertiescome variabili di build del manifest.<meta-data android:name="com.google.android.geo.API_KEY" android:value="${MAPS_API_KEY}" />Nel file
build.gradle, la seguente riga passa la chiave API al manifest Android.id 'com.google.android.libraries.mapsplatform.secrets-gradle-plugin'
Di seguito è riportato un esempio di manifest completo:
<?xml version="1.0" encoding="utf-8"?>
<!--
 Copyright 2020 Google LLC

 Licensed under the Apache License, Version 2.0 (the "License");
 you may not use this file except in compliance with the License.
 You may obtain a copy of the License at

      http://www.apache.org/licenses/LICENSE-2.0

 Unless required by applicable law or agreed to in writing, software
 distributed under the License is distributed on an "AS IS" BASIS,
 WITHOUT WARRANTIES OR CONDITIONS OF ANY KIND, either express or implied.
 See the License for the specific language governing permissions and
 limitations under the License.
-->

<manifest xmlns:android="http://schemas.android.com/apk/res/android">

    <application
        android:allowBackup="true"
        android:icon="@mipmap/ic_launcher"
        android:label="@string/app_name"
        android:supportsRtl="true"
        android:theme="@style/AppTheme">

        <meta-data
            android:name="com.google.android.gms.version"
            android:value="@integer/google_play_services_version" />

        <!--
             The API key for Google Maps-based APIs.
        -->
        <meta-data
            android:name="com.google.android.geo.API_KEY"
            android:value="${MAPS_API_KEY}" />

        <activity
            android:name=".MapsMarkerActivity"
            android:label="@string/title_activity_maps"
            android:exported="true">
            <intent-filter>
                <action android:name="android.intent.action.MAIN" />

                <category android:name="android.intent.category.LAUNCHER" />
            </intent-filter>
        </activity>
    </application>

</manifest>
Aggiungere una mappa
Visualizza una mappa utilizzando Maps SDK for Android.
Aggiungi un elemento
<fragment>al file di layout dell'attività,activity_maps.xml. Questo elemento definisce unSupportMapFragmentche funge da contenitore per la mappa e fornisce l'accesso all'oggettoGoogleMap. Il tutorial utilizza la versione della libreria di supporto Android del fragment della mappa, per garantire la compatibilità con le versioni precedenti del framework Android.<!-- Copyright 2020 Google LLC Licensed under the Apache License, Version 2.0 (the "License"); you may not use this file except in compliance with the License. You may obtain a copy of the License at http://www.apache.org/licenses/LICENSE-2.0 Unless required by applicable law or agreed to in writing, software distributed under the License is distributed on an "AS IS" BASIS, WITHOUT WARRANTIES OR CONDITIONS OF ANY KIND, either express or implied. See the License for the specific language governing permissions and limitations under the License. --> <fragment xmlns:android="http://schemas.android.com/apk/res/android" xmlns:tools="http://schemas.android.com/tools" android:id="@+id/map" android:name="com.google.android.gms.maps.SupportMapFragment" android:layout_width="match_parent" android:layout_height="match_parent" tools:context="com.example.mapwithmarker.MapsMarkerActivity" />
Nel metodo
onCreate()dell'attività, imposta il file di layout come visualizzazione dei contenuti. Ottieni un handle per il frammento di mappa chiamandoFragmentManager.findFragmentById(). Quindi utilizzagetMapAsync()per registrarti al callback della mappa:Java
@Override protected void onCreate(Bundle savedInstanceState) { super.onCreate(savedInstanceState); // Retrieve the content view that renders the map. setContentView(R.layout.activity_maps); // Get the SupportMapFragment and request notification when the map is ready to be used. SupportMapFragment mapFragment = (SupportMapFragment) getSupportFragmentManager() .findFragmentById(R.id.map); mapFragment.getMapAsync(this); }
Kotlin
override fun onCreate(savedInstanceState: Bundle?) { super.onCreate(savedInstanceState) // Retrieve the content view that renders the map. setContentView(R.layout.activity_maps) // Get the SupportMapFragment and request notification when the map is ready to be used. val mapFragment = supportFragmentManager.findFragmentById(R.id.map) as? SupportMapFragment mapFragment?.getMapAsync(this) }
Implementa l'interfaccia
OnMapReadyCallbacked esegui l'override del metodoonMapReady()per configurare la mappa quando l'oggettoGoogleMapè disponibile:Java
public class MapsMarkerActivity extends AppCompatActivity implements OnMapReadyCallback { // ... @Override public void onMapReady(GoogleMap googleMap) { LatLng sydney = new LatLng(-33.852, 151.211); googleMap.addMarker(new MarkerOptions() .position(sydney) .title("Marker in Sydney")); } }
Kotlin
class MapsMarkerActivity : AppCompatActivity(), OnMapReadyCallback { // ... override fun onMapReady(googleMap: GoogleMap) { val sydney = LatLng(-33.852, 151.211) googleMap.addMarker( MarkerOptions() .position(sydney) .title("Marker in Sydney") ) } }
Per impostazione predefinita, l'SDK Maps per Android mostra i contenuti della finestra informativa quando l'utente tocca un indicatore. Non è necessario aggiungere un listener di clic per il marker se vuoi utilizzare il comportamento predefinito.
Passaggi successivi
Scopri di più sull'oggetto mappa e su cosa puoi fare con i marker.