
本教程介绍了如何向 Android 应用添加 Google 地图。地图中包含一个用于指示特定位置的标记(也称为图钉)。
请按照本教程中的说明操作,使用 Maps SDK for Android 构建一个 Android 应用。建议以 Android Studio 作为开发环境。
获取代码
请从 GitHub 克隆或下载 Google Maps Android API v2 示例代码库。
查看 Java 版本的 activity:
// Copyright 2020 Google LLC // // Licensed under the Apache License, Version 2.0 (the "License"); // you may not use this file except in compliance with the License. // You may obtain a copy of the License at // // http://www.apache.org/licenses/LICENSE-2.0 // // Unless required by applicable law or agreed to in writing, software // distributed under the License is distributed on an "AS IS" BASIS, // WITHOUT WARRANTIES OR CONDITIONS OF ANY KIND, either express or implied. // See the License for the specific language governing permissions and // limitations under the License. package com.example.mapwithmarker; import android.os.Bundle; import androidx.appcompat.app.AppCompatActivity; import com.google.android.gms.maps.CameraUpdateFactory; import com.google.android.gms.maps.GoogleMap; import com.google.android.gms.maps.OnMapReadyCallback; import com.google.android.gms.maps.SupportMapFragment; import com.google.android.gms.maps.model.LatLng; import com.google.android.gms.maps.model.MarkerOptions; /** * An activity that displays a Google map with a marker (pin) to indicate a particular location. */ public class MapsMarkerActivity extends AppCompatActivity implements OnMapReadyCallback { @Override protected void onCreate(Bundle savedInstanceState) { super.onCreate(savedInstanceState); // Retrieve the content view that renders the map. setContentView(R.layout.activity_maps); // Get the SupportMapFragment and request notification when the map is ready to be used. SupportMapFragment mapFragment = (SupportMapFragment) getSupportFragmentManager() .findFragmentById(R.id.map); mapFragment.getMapAsync(this); } /** * Manipulates the map when it's available. * The API invokes this callback when the map is ready to be used. * This is where we can add markers or lines, add listeners or move the camera. In this case, * we just add a marker near Sydney, Australia. * If Google Play services is not installed on the device, the user receives a prompt to install * Play services inside the SupportMapFragment. The API invokes this method after the user has * installed Google Play services and returned to the app. */ @Override public void onMapReady(GoogleMap googleMap) { // Add a marker in Sydney, Australia, // and move the map's camera to the same location. LatLng sydney = new LatLng(-33.852, 151.211); googleMap.addMarker(new MarkerOptions() .position(sydney) .title("Marker in Sydney")); googleMap.moveCamera(CameraUpdateFactory.newLatLng(sydney)); } }
查看 Kotlin 版本的 activity:
// Copyright 2020 Google LLC // // Licensed under the Apache License, Version 2.0 (the "License"); // you may not use this file except in compliance with the License. // You may obtain a copy of the License at // // http://www.apache.org/licenses/LICENSE-2.0 // // Unless required by applicable law or agreed to in writing, software // distributed under the License is distributed on an "AS IS" BASIS, // WITHOUT WARRANTIES OR CONDITIONS OF ANY KIND, either express or implied. // See the License for the specific language governing permissions and // limitations under the License. package com.example.mapwithmarker import android.os.Bundle import android.widget.Toast import androidx.appcompat.app.AppCompatActivity import com.google.android.gms.maps.CameraUpdateFactory import com.google.android.gms.maps.GoogleMap import com.google.android.gms.maps.OnMapReadyCallback import com.google.android.gms.maps.SupportMapFragment import com.google.android.gms.maps.model.LatLng import com.google.android.gms.maps.model.MarkerOptions /** * An activity that displays a Google map with a marker (pin) to indicate a particular location. */ class MapsMarkerActivity : AppCompatActivity(), OnMapReadyCallback { override fun onCreate(savedInstanceState: Bundle?) { super.onCreate(savedInstanceState) // Retrieve the content view that renders the map. setContentView(R.layout.activity_maps) // Get the SupportMapFragment and request notification when the map is ready to be used. val mapFragment = supportFragmentManager.findFragmentById(R.id.map) as? SupportMapFragment mapFragment?.getMapAsync(this) } override fun onMapReady(googleMap: GoogleMap) { val sydney = LatLng(-33.852, 151.211) googleMap.addMarker( MarkerOptions() .position(sydney) .title("Marker in Sydney") ) googleMap.moveCamera(CameraUpdateFactory.newLatLng(sydney)) } }
设置您的开发项目
请按照以下步骤在 Android Studio 中创建教程项目。
- 下载并安装 Android Studio。
- 将 Google Play 服务软件包添加到 Android Studio。
- 克隆或下载 Google Maps Android API v2 示例代码库(如果您在开始阅读本教程之前尚未执行此操作)。
导入教程项目:
- 在 Android Studio 中,依次选择 File > New > Import Project。
- 前往 Google Maps Android API v2 示例代码库的下载位置。
- 在以下位置找到 MapWithMarker 项目:
PATH-TO-SAVED-REPO/android-samples/tutorials/java/MapWithMarker(Java) 或
PATH-TO-SAVED-REPO/android-samples/tutorials/kotlin/MapWithMarker(Kotlin) - 选择项目目录,然后点击 Open。Android Studio 现在将使用 Gradle 构建工具构建您的项目。
启用必要的 API 并获取 API 密钥
如需完成本教程,您需要一个已启用必要 API 的 Google Cloud 项目,以及一个已获得 Maps SDK for Android 使用授权的 API 密钥。如需了解详情,请参阅以下文档:
向您的应用添加 API 密钥
- 打开项目的
local.properties文件。 添加以下字符串,然后将
YOUR_API_KEY替换为您的 API 密钥的值:MAPS_API_KEY=YOUR_API_KEY当您构建应用时,Android 版 Secrets Gradle 插件将复制 API 密钥,并以 Android 清单中 build 变量的形式提供该密钥,如下文所述。
构建并运行应用
如需构建并运行应用,请按以下步骤操作:
将 Android 设备连接到您的计算机。按照说明在您的 Android 设备上启用开发者选项,并配置您的系统,使之检测该设备。
您也可以使用 Android 虚拟设备 (AVD) 管理器配置一个虚拟设备。选择模拟器时,请务必选择一个包含 Google API 的映像。如需了解详情,请参阅设置 Android Studio 项目。
在 Android Studio 中,点击 Run 菜单选项(或 Play 按钮图标)。按提示选择设备。
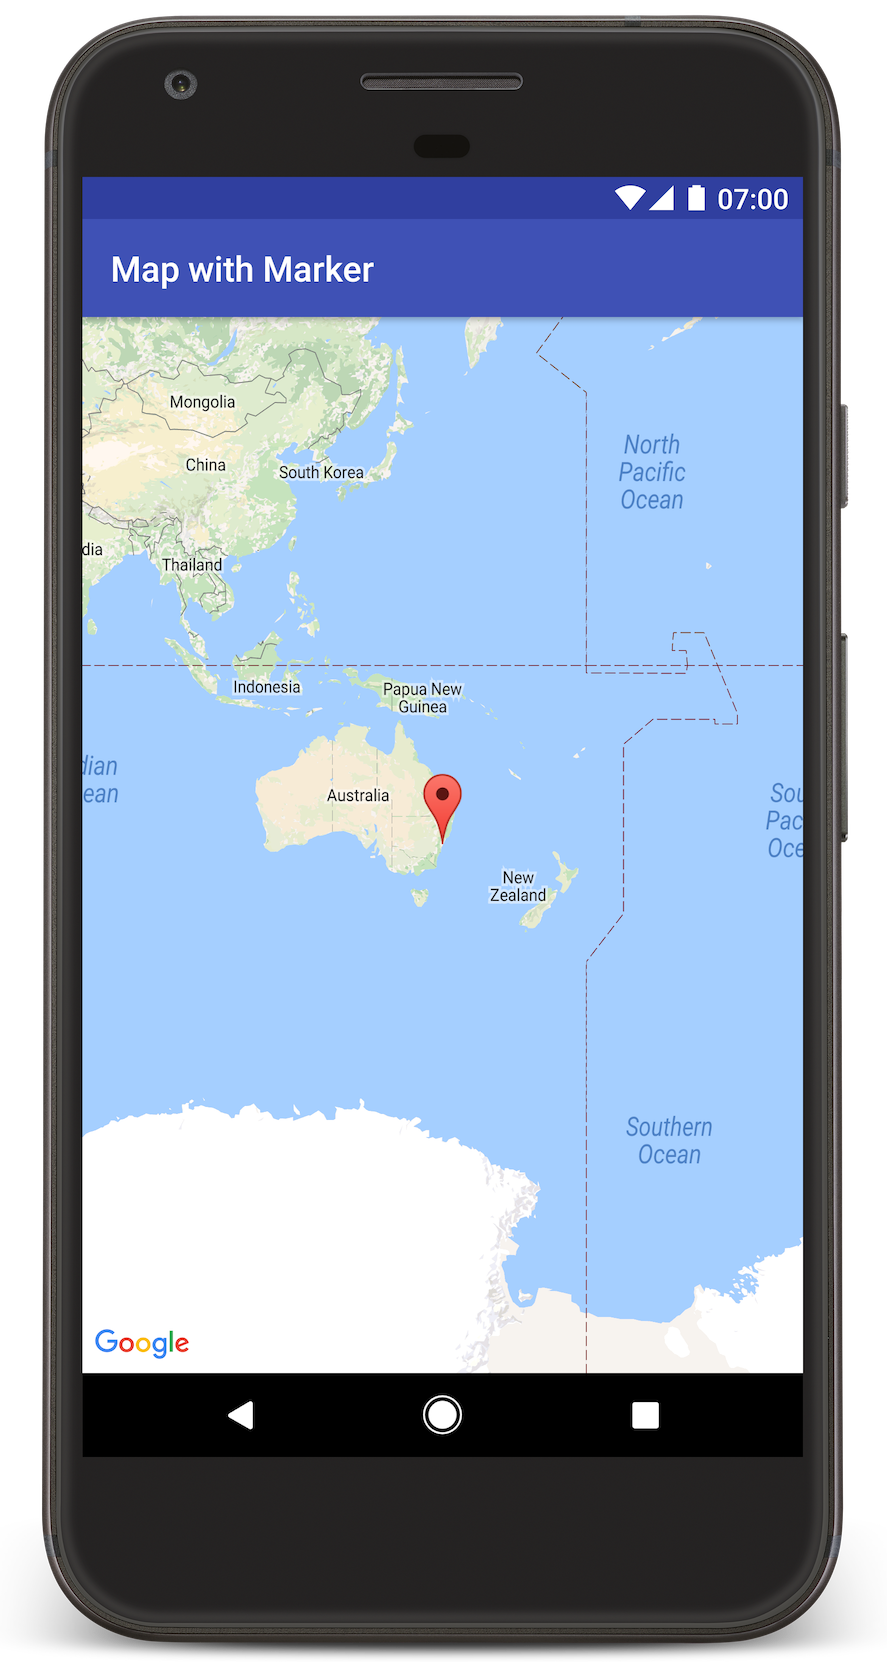
Android Studio 会调用 Gradle 来构建应用,然后在设备或模拟器上运行该应用。您将看到一张带有指向澳大利亚东海岸悉尼的标记的地图,与本页上的图像类似。
问题排查:
- 如果您没有看到地图,请检查您是否已按照上文中的说明获取 API 密钥并将其添加到该应用。为此,可在 Android Studio 的 Android Monitor 中检查日志,看看是否有关于 API 密钥的错误消息。
- 使用 Android Studio 调试工具查看日志并调试应用。
理解代码
本部分教程介绍了 MapWithMarker 应用最重要的部分,以帮助您了解如何构建类似的应用。
检查您的 Android 清单
请注意您应用的 AndroidManifest.xml 文件中的以下元素:
添加一个
meta-data元素以嵌入编译该应用时所用的 Google Play 服务版本。<meta-data android:name="com.google.android.gms.version" android:value="@integer/google_play_services_version" />添加一个
meta-data元素,用以指定您的 API 密钥。本教程附带的示例将 API 密钥的值映射到与您之前指定的密钥名称MAPS_API_KEY相匹配的 build 变量。当您构建应用时,Android 版 Secrets Gradle 插件会以清单 build 变量的形式提供local.properties文件中的密钥。<meta-data android:name="com.google.android.geo.API_KEY" android:value="${MAPS_API_KEY}" />在
build.gradle文件中,以下代码行会将您的 API 密钥传递到 Android 清单。id 'com.google.android.libraries.mapsplatform.secrets-gradle-plugin'
以下是一个完整清单的示例:
<?xml version="1.0" encoding="utf-8"?>
<!--
 Copyright 2020 Google LLC

 Licensed under the Apache License, Version 2.0 (the "License");
 you may not use this file except in compliance with the License.
 You may obtain a copy of the License at

      http://www.apache.org/licenses/LICENSE-2.0

 Unless required by applicable law or agreed to in writing, software
 distributed under the License is distributed on an "AS IS" BASIS,
 WITHOUT WARRANTIES OR CONDITIONS OF ANY KIND, either express or implied.
 See the License for the specific language governing permissions and
 limitations under the License.
-->

<manifest xmlns:android="http://schemas.android.com/apk/res/android">

    <application
        android:allowBackup="true"
        android:icon="@mipmap/ic_launcher"
        android:label="@string/app_name"
        android:supportsRtl="true"
        android:theme="@style/AppTheme">

        <meta-data
            android:name="com.google.android.gms.version"
            android:value="@integer/google_play_services_version" />

        <!--
             The API key for Google Maps-based APIs.
        -->
        <meta-data
            android:name="com.google.android.geo.API_KEY"
            android:value="${MAPS_API_KEY}" />

        <activity
            android:name=".MapsMarkerActivity"
            android:label="@string/title_activity_maps"
            android:exported="true">
            <intent-filter>
                <action android:name="android.intent.action.MAIN" />

                <category android:name="android.intent.category.LAUNCHER" />
            </intent-filter>
        </activity>
    </application>

</manifest>
添加地图
您可以使用 Maps SDK for Android 显示地图。
向 activity 的布局文件
activity_maps.xml添加一个<fragment>元素。此元素定义一个SupportMapFragment,用于充当地图的容器并提供GoogleMap对象的访问权限。本教程使用 Android 支持库版本的地图 fragment,以确保向后兼容较早版本的 Android 框架。<!-- Copyright 2020 Google LLC Licensed under the Apache License, Version 2.0 (the "License"); you may not use this file except in compliance with the License. You may obtain a copy of the License at http://www.apache.org/licenses/LICENSE-2.0 Unless required by applicable law or agreed to in writing, software distributed under the License is distributed on an "AS IS" BASIS, WITHOUT WARRANTIES OR CONDITIONS OF ANY KIND, either express or implied. See the License for the specific language governing permissions and limitations under the License. --> <fragment xmlns:android="http://schemas.android.com/apk/res/android" xmlns:tools="http://schemas.android.com/tools" android:id="@+id/map" android:name="com.google.android.gms.maps.SupportMapFragment" android:layout_width="match_parent" android:layout_height="match_parent" tools:context="com.example.mapwithmarker.MapsMarkerActivity" />
在您的 activity 的
onCreate()方法中,将布局文件设置为内容视图。通过调用FragmentManager.findFragmentById()来获取地图 fragment 的句柄。然后使用getMapAsync()进行注册以执行地图回调:Java
@Override protected void onCreate(Bundle savedInstanceState) { super.onCreate(savedInstanceState); // Retrieve the content view that renders the map. setContentView(R.layout.activity_maps); // Get the SupportMapFragment and request notification when the map is ready to be used. SupportMapFragment mapFragment = (SupportMapFragment) getSupportFragmentManager() .findFragmentById(R.id.map); mapFragment.getMapAsync(this); }
Kotlin
override fun onCreate(savedInstanceState: Bundle?) { super.onCreate(savedInstanceState) // Retrieve the content view that renders the map. setContentView(R.layout.activity_maps) // Get the SupportMapFragment and request notification when the map is ready to be used. val mapFragment = supportFragmentManager.findFragmentById(R.id.map) as? SupportMapFragment mapFragment?.getMapAsync(this) }
实现
OnMapReadyCallback接口并替换onMapReady()方法,以便在GoogleMap对象可用时设置地图:Java
public class MapsMarkerActivity extends AppCompatActivity implements OnMapReadyCallback { // ... @Override public void onMapReady(GoogleMap googleMap) { LatLng sydney = new LatLng(-33.852, 151.211); googleMap.addMarker(new MarkerOptions() .position(sydney) .title("Marker in Sydney")); } }
Kotlin
class MapsMarkerActivity : AppCompatActivity(), OnMapReadyCallback { // ... override fun onMapReady(googleMap: GoogleMap) { val sydney = LatLng(-33.852, 151.211) googleMap.addMarker( MarkerOptions() .position(sydney) .title("Marker in Sydney") ) } }
默认情况下,当用户点按某个标记时,Maps SDK for Android 会显示信息窗口的内容。如果您愿意使用默认行为,则无需为标记添加点击监听器。