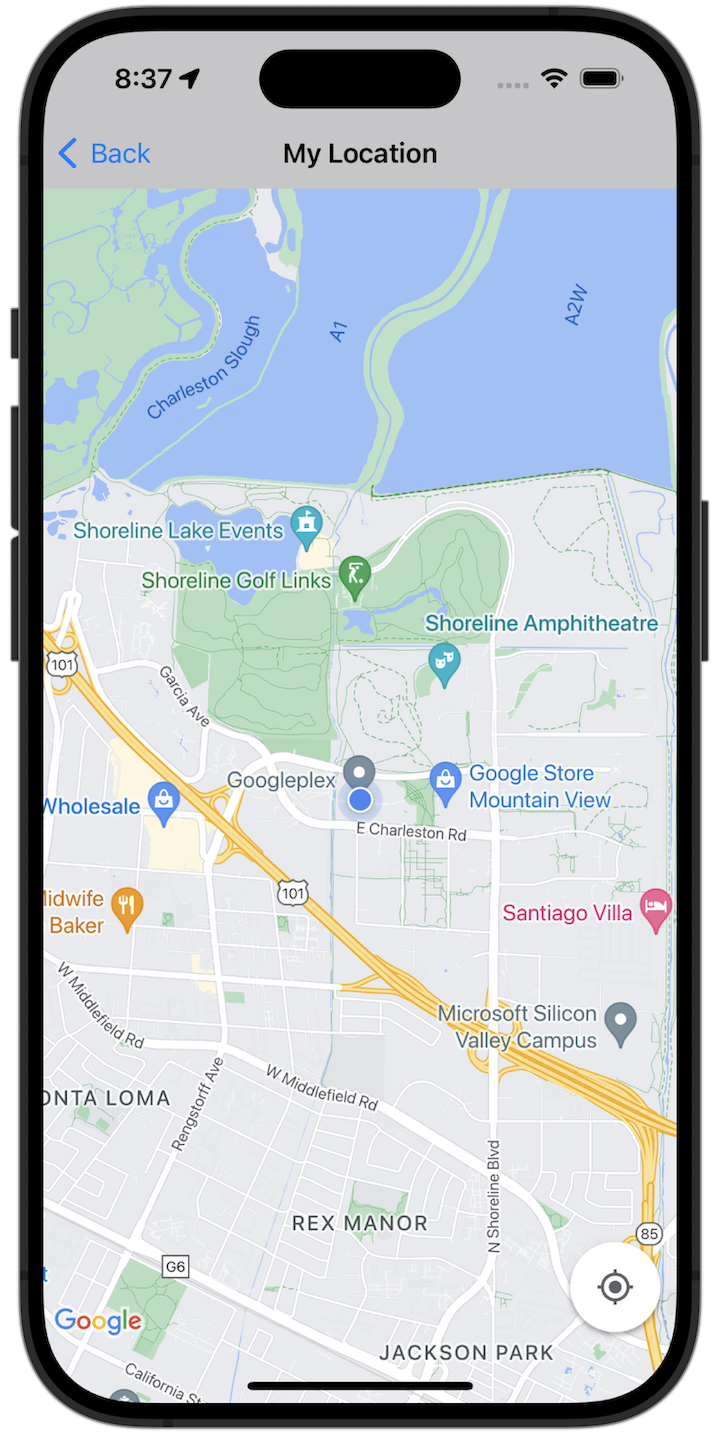
Jetzt starten
Bevor Sie den Beispielcode ausprobieren können, müssen Sie Ihre Entwicklungsumgebung konfigurieren. Weitere Informationen finden Sie unter Maps SDK for iOS – Beispielcode.
Code ansehen
Swift
import GoogleMaps import UIKit class MyLocationViewController: UIViewController { private let cameraLatitude: CLLocationDegrees = -33.868 private let cameraLongitude: CLLocationDegrees = 151.2086 private let cameraZoom: Float = 12 lazy var mapView: GMSMapView = { let camera = GMSCameraPosition( latitude: cameraLatitude, longitude: cameraLongitude, zoom: cameraZoom) return GMSMapView(frame: .zero, camera: camera) }() var observation: NSKeyValueObservation? var location: CLLocation? { didSet { guard oldValue == nil, let firstLocation = location else { return } mapView.camera = GMSCameraPosition(target: firstLocation.coordinate, zoom: 14) } } override func viewDidLoad() { super.viewDidLoad() mapView.delegate = self mapView.settings.compassButton = true mapView.settings.myLocationButton = true mapView.isMyLocationEnabled = true view = mapView // Listen to the myLocation property of GMSMapView. observation = mapView.observe(\.myLocation, options: [.new]) { [weak self] mapView, _ in self?.location = mapView.myLocation } } deinit { observation?.invalidate() } } extension MyLocationViewController: GMSMapViewDelegate { func mapView(_ mapView: GMSMapView, didTapMyLocation location: CLLocationCoordinate2D) { let alert = UIAlertController( title: "Location Tapped", message: "Current location: <\(location.latitude), \(location.longitude)>", preferredStyle: .alert) alert.addAction(UIAlertAction(title: "OK", style: .default)) present(alert, animated: true) } }
Objective-C
#import "GoogleMapsDemos/Samples/MyLocationViewController.h" #import <GoogleMaps/GoogleMaps.h> @implementation MyLocationViewController { GMSMapView *_mapView; BOOL _firstLocationUpdate; } - (void)viewDidLoad { [super viewDidLoad]; GMSCameraPosition *camera = [GMSCameraPosition cameraWithLatitude:-33.868 longitude:151.2086 zoom:12]; _mapView = [GMSMapView mapWithFrame:CGRectZero camera:camera]; _mapView.delegate = self; _mapView.settings.compassButton = YES; _mapView.settings.myLocationButton = YES; // Listen to the myLocation property of GMSMapView. [_mapView addObserver:self forKeyPath:@"myLocation" options:NSKeyValueObservingOptionNew context:NULL]; self.view = _mapView; // Ask for My Location data after the map has already been added to the UI. GMSMapView *mapView = _mapView; dispatch_async(dispatch_get_main_queue(), ^{ mapView.myLocationEnabled = YES; }); } - (void)mapView:(GMSMapView *)mapView didTapMyLocation:(CLLocationCoordinate2D)location { NSString *message = [NSString stringWithFormat:@"My Location Dot Tapped at: [lat: %f, lng: %f]", location.latitude, location.longitude]; UIAlertController *alertController = [UIAlertController alertControllerWithTitle:@"Location Tapped" message:message preferredStyle:UIAlertControllerStyleAlert]; UIAlertAction *okAction = [UIAlertAction actionWithTitle:@"OK" style:UIAlertActionStyleDefault handler:^(UIAlertAction *action){ }]; [alertController addAction:okAction]; [self presentViewController:alertController animated:YES completion:nil]; } - (void)dealloc { [_mapView removeObserver:self forKeyPath:@"myLocation" context:NULL]; } #pragma mark - KVO updates - (void)observeValueForKeyPath:(NSString *)keyPath ofObject:(id)object change:(NSDictionary *)change context:(void *)context { if (!_firstLocationUpdate) { // If the first location update has not yet been received, then jump to that location. _firstLocationUpdate = YES; CLLocation *location = [change objectForKey:NSKeyValueChangeNewKey]; _mapView.camera = [GMSCameraPosition cameraWithTarget:location.coordinate zoom:14]; } } @end
Vollständige Beispielanwendung lokal ausführen
Die Beispiel-App für das Maps SDK for iOS ist als Downloadarchiv auf GitHub verfügbar. So installieren Sie die Maps SDK for iOS-Beispiel-App und probieren sie aus:
- Führen Sie
git clone https://github.com/googlemaps-samples/maps-sdk-for-ios-samples.gitaus, um das Beispiel-Repository in ein lokales Verzeichnis zu klonen. Öffnen Sie ein Terminalfenster, wechseln Sie zu dem Verzeichnis, in das Sie die Beispieldateien geklont haben, und rufen Sie das Verzeichnis „GoogleMaps“ auf:
Swift
cd maps-sdk-for-ios-samples/GoogleMaps-Swift
open GoogleMapsSwiftXCFrameworkDemos.xcodeproj
Objective-C
cd maps-sdk-for-ios-samples-main/GoogleMaps
open GoogleMapsDemos.xcodeproj- Gehen Sie im Xcode-Projekt zu File > Add Package Dependencies (Datei > Paketabhängigkeiten hinzufügen).
Geben Sie
https://github.com/googlemaps/ios-maps-sdkals URL ein, drücken Sie die Eingabetaste, um das Paket abzurufen, und klicken Sie auf Paket hinzufügen. - Drücken Sie in Xcode die Schaltfläche zum Kompilieren, um die App mit dem aktuellen Schema zu erstellen. Beim Erstellen des Builds wird ein Fehler ausgegeben, der Sie auffordert, Ihren API-Schlüssel in die Datei
SDKConstants.swiftfür Swift oder in die DateiSDKDemoAPIKey.hfür Objective-C einzugeben. - Rufen Sie einen API-Schlüssel für Ihr Projekt ab, für das das Maps SDK for iOS aktiviert ist.
- Bearbeiten Sie die Datei
SDKConstants.swiftfür Swift oder die DateiSDKDemoAPIKey.hfür Objective-C und fügen Sie Ihren API-Schlüssel in die Definition der KonstantenapiKeyoderkAPIKeyein. Beispiel:Swift
static let apiKey = "YOUR_API_KEY"Objective-C
static NSString *const kAPIKey = @"YOUR_API_KEY";
- Entfernen Sie in der Datei
SDKConstants.swift(Swift) oderSDKDemoAPIKey.h(Objective-C) die folgende Zeile, da sie zum Registrieren des nutzerdefinierten Problems verwendet wird:Swift
#error (Register for API Key and insert here. Then delete this line.)
Objective-C
#error Register for API Key and insert here.
- Erstellen Sie das Projekt und führen Sie es aus. Das iOS-Simulationsfenster wird geöffnet und zeigt eine Liste mit Maps SDK-Demos an.
- Wählen Sie eine der angezeigten Optionen aus, um eine Funktion des Maps SDK for iOS auszuprobieren.
- Wenn Sie aufgefordert werden, GoogleMapsDemos den Zugriff auf Ihren Standort zu erlauben, wählen Sie Zulassen aus.
