
步驟 6:Google Ads 廣告活動
簡介與業務影響
針對店面商品目錄廣告,則需要連結 Google Ads 帳戶。從 店面商品目錄廣告「商家資訊」和「帳戶」選單會有網址 連結帳戶。您可以前往 Google Ads。它會列在畫面右上角, 複製這組號碼並貼到「連結 Google Ads」 帳戶互動視窗,然後選取 [傳送連結要求]。
針對 API 要求,您必須新增下列範圍:
https://www.googleapis.com/auth/adwords
在 Merchant Center 中連結 Google Ads 帳戶
你可以透過 Merchant Center 連結或建立 Google Ads 帳戶。 詳情請參閱 Merchant Center 說明指南。
連結 Google Ads 帳戶
使用 Google Ads 帳戶所屬的帳戶登入 Google Ads 廣告活動。
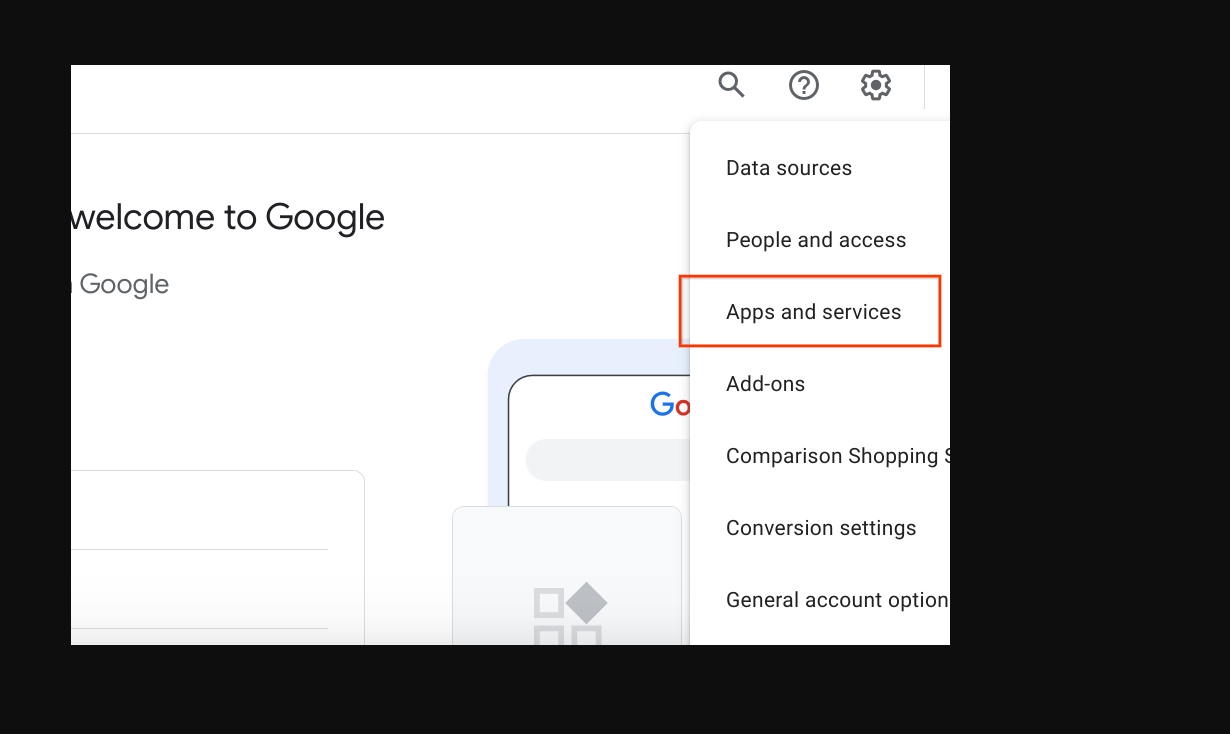
按一下「管理員」,然後選取「已連結帳戶」。

系統會顯示您可以連結的應用程式清單。如果您已連結 帳戶身分,以及啟用店面商品目錄廣告和 Google Merchant Center 這兩個選單都位於頂端連結。Google Merchant Center 推出 一般清單你可能連結了錯誤的帳戶 您登入了錯誤的 Google Ads 帳戶,或是尚未在 全部。請參閱「啟用免費店面商品目錄廣告產品資訊」一節, 請完成這個步驟。選取「管理及設定」連結"。
已連結

已取消連結

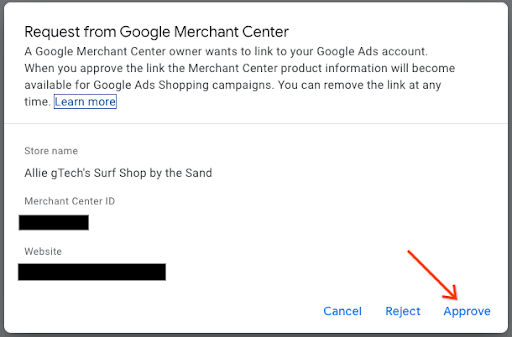
在「連結要求」視窗中,選取「查看要求」

畫面上會出現一個互動視窗,為您提供 要求連結。選取「核准」
連結後,新的資料檢視會顯示與 「已連結」。
Google Ads 資料檢視

Merchant Center 檢視畫面

建立購物廣告活動並啟用店面產品
登入 Google Ads
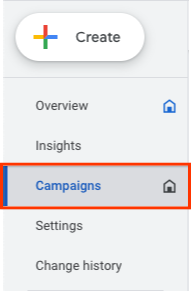
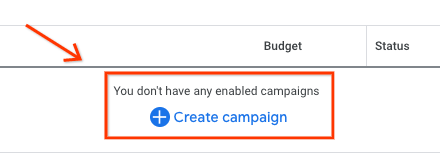
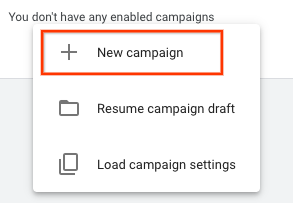
選取畫面左側的「廣告活動」,然後選取 在廣告活動視窗中,選取「建立」。畫面顯示視窗時,請點選 「+ 新增廣告活動」。
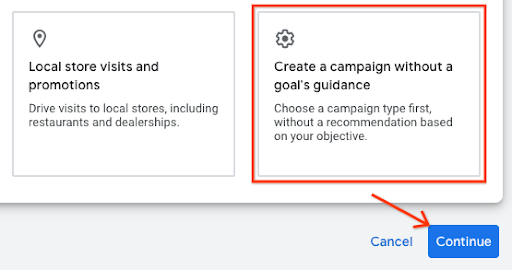
廣告活動選取畫面出現時,請選取 「不依據任何目標建立廣告活動。」然後選取「Continue」。
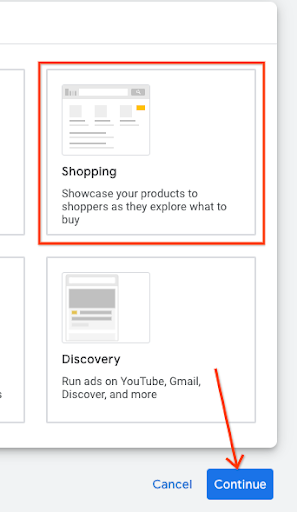
在下一組選項中,選取「購物」並排顯示 然後選取「Continue」。
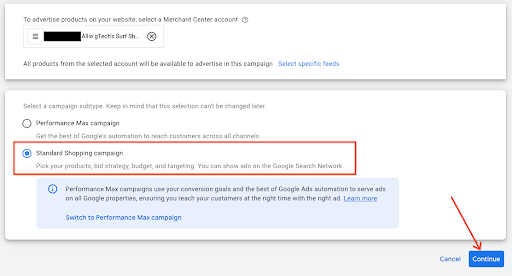
下面則是幾個新選項。首先,請確認您的商家 就是文字欄位中所列的帳戶然後選取 「標準購物廣告活動」而非最高成效廣告活動 選取「繼續」。
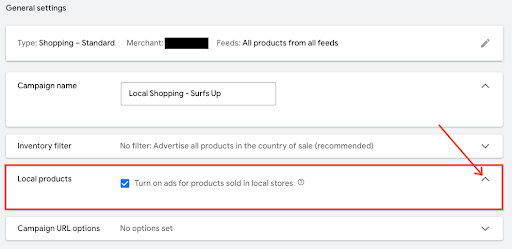
下一個選單會顯示在「一般設定」之下。提供廣告活動名稱 然後在店面產品下方,按一下 V 形符號展開選單。勾選方塊 「啟用本地商店所銷售產品的廣告。」
前往底部,然後選取「Create Campaign」(建立廣告活動)。儲存設定後 新建立的廣告活動隨即顯示在廣告活動畫面上

使用者體驗指南
如要提早連結廣告活動,請以商家的身分連結該廣告活動 收集程序。
技術指南
- 如果要在 Google Ads 中使用 API,請確認您已將 下列範圍:
https://www.googleapis.com/auth/adwords.
進行帳戶連結時,您提出的是下列要求: CustomerClientLinkService。這會使用 MutateCustomerClientLinkRequest,接受 customer_id。
您可以用程式輔助的方式 建立新的廣告活動 CampaignService。
如要進一步瞭解如何使用 Google Ads API,請參閱: 用戶端程式庫和範例網頁。