瞭解如何在自己的應用程式中使用擴增臉孔功能。
建構並執行範例應用程式
如要建構並執行 8amentedFaces Java 應用程式:
開啟 Android Studio 3.1 以上版本。建議您使用實體裝置 (而非 Android Emulator) 搭配擴增臉孔。裝置必須透過 USB 連接到開發機器。如需詳細步驟,請參閱 Android 快速入門導覽課程。
將 8.mentifyFaces Java 範例匯入您的專案。
在 Android Studio 中,按一下「執行」圖示
 。然後選擇裝置做為部署目標,然後按一下「OK」 (啟動) 啟動範例應用程式。
按一下「核准」,將相機存取權授予範例應用程式。
應用程式應開啟前置鏡頭,並立即在相機動態饋給中追蹤臉部。這會將狐狸耳朵圖片放在耳朵的兩側,並將狐狸放在自己的鼻子上。
在場景中使用擴增臉孔
將資產匯入場景
務必為擴增臉孔進行縮放及調整位置位置。相關秘訣和做法請參閱為擴增臉孔建立素材資源。
如要在場景中擴增臉部網格中套用紋理和 3D 模型等資產,請先匯入這些資產。
在執行階段,使用 ModelRenderable.Builder 載入 *.sfb 模型,並使用 Texture.Builder 載入臉孔的紋理。
// To ensure that the asset doesn't cast or receive shadows in the scene,
// ensure that setShadowCaster and setShadowReceiver are both set to false.
ModelRenderable.builder()
    .setSource(this, R.raw.fox_face)
    .build()
    .thenAccept(
        modelRenderable -> {
          faceRegionsRenderable = modelRenderable;
          modelRenderable.setShadowCaster(false);
          modelRenderable.setShadowReceiver(false);
        });

// Load the face mesh texture.
Texture.builder()
    .setSource(this, R.drawable.fox_face_mesh_texture)
    .build()
    .thenAccept(texture -> faceMeshTexture = texture);
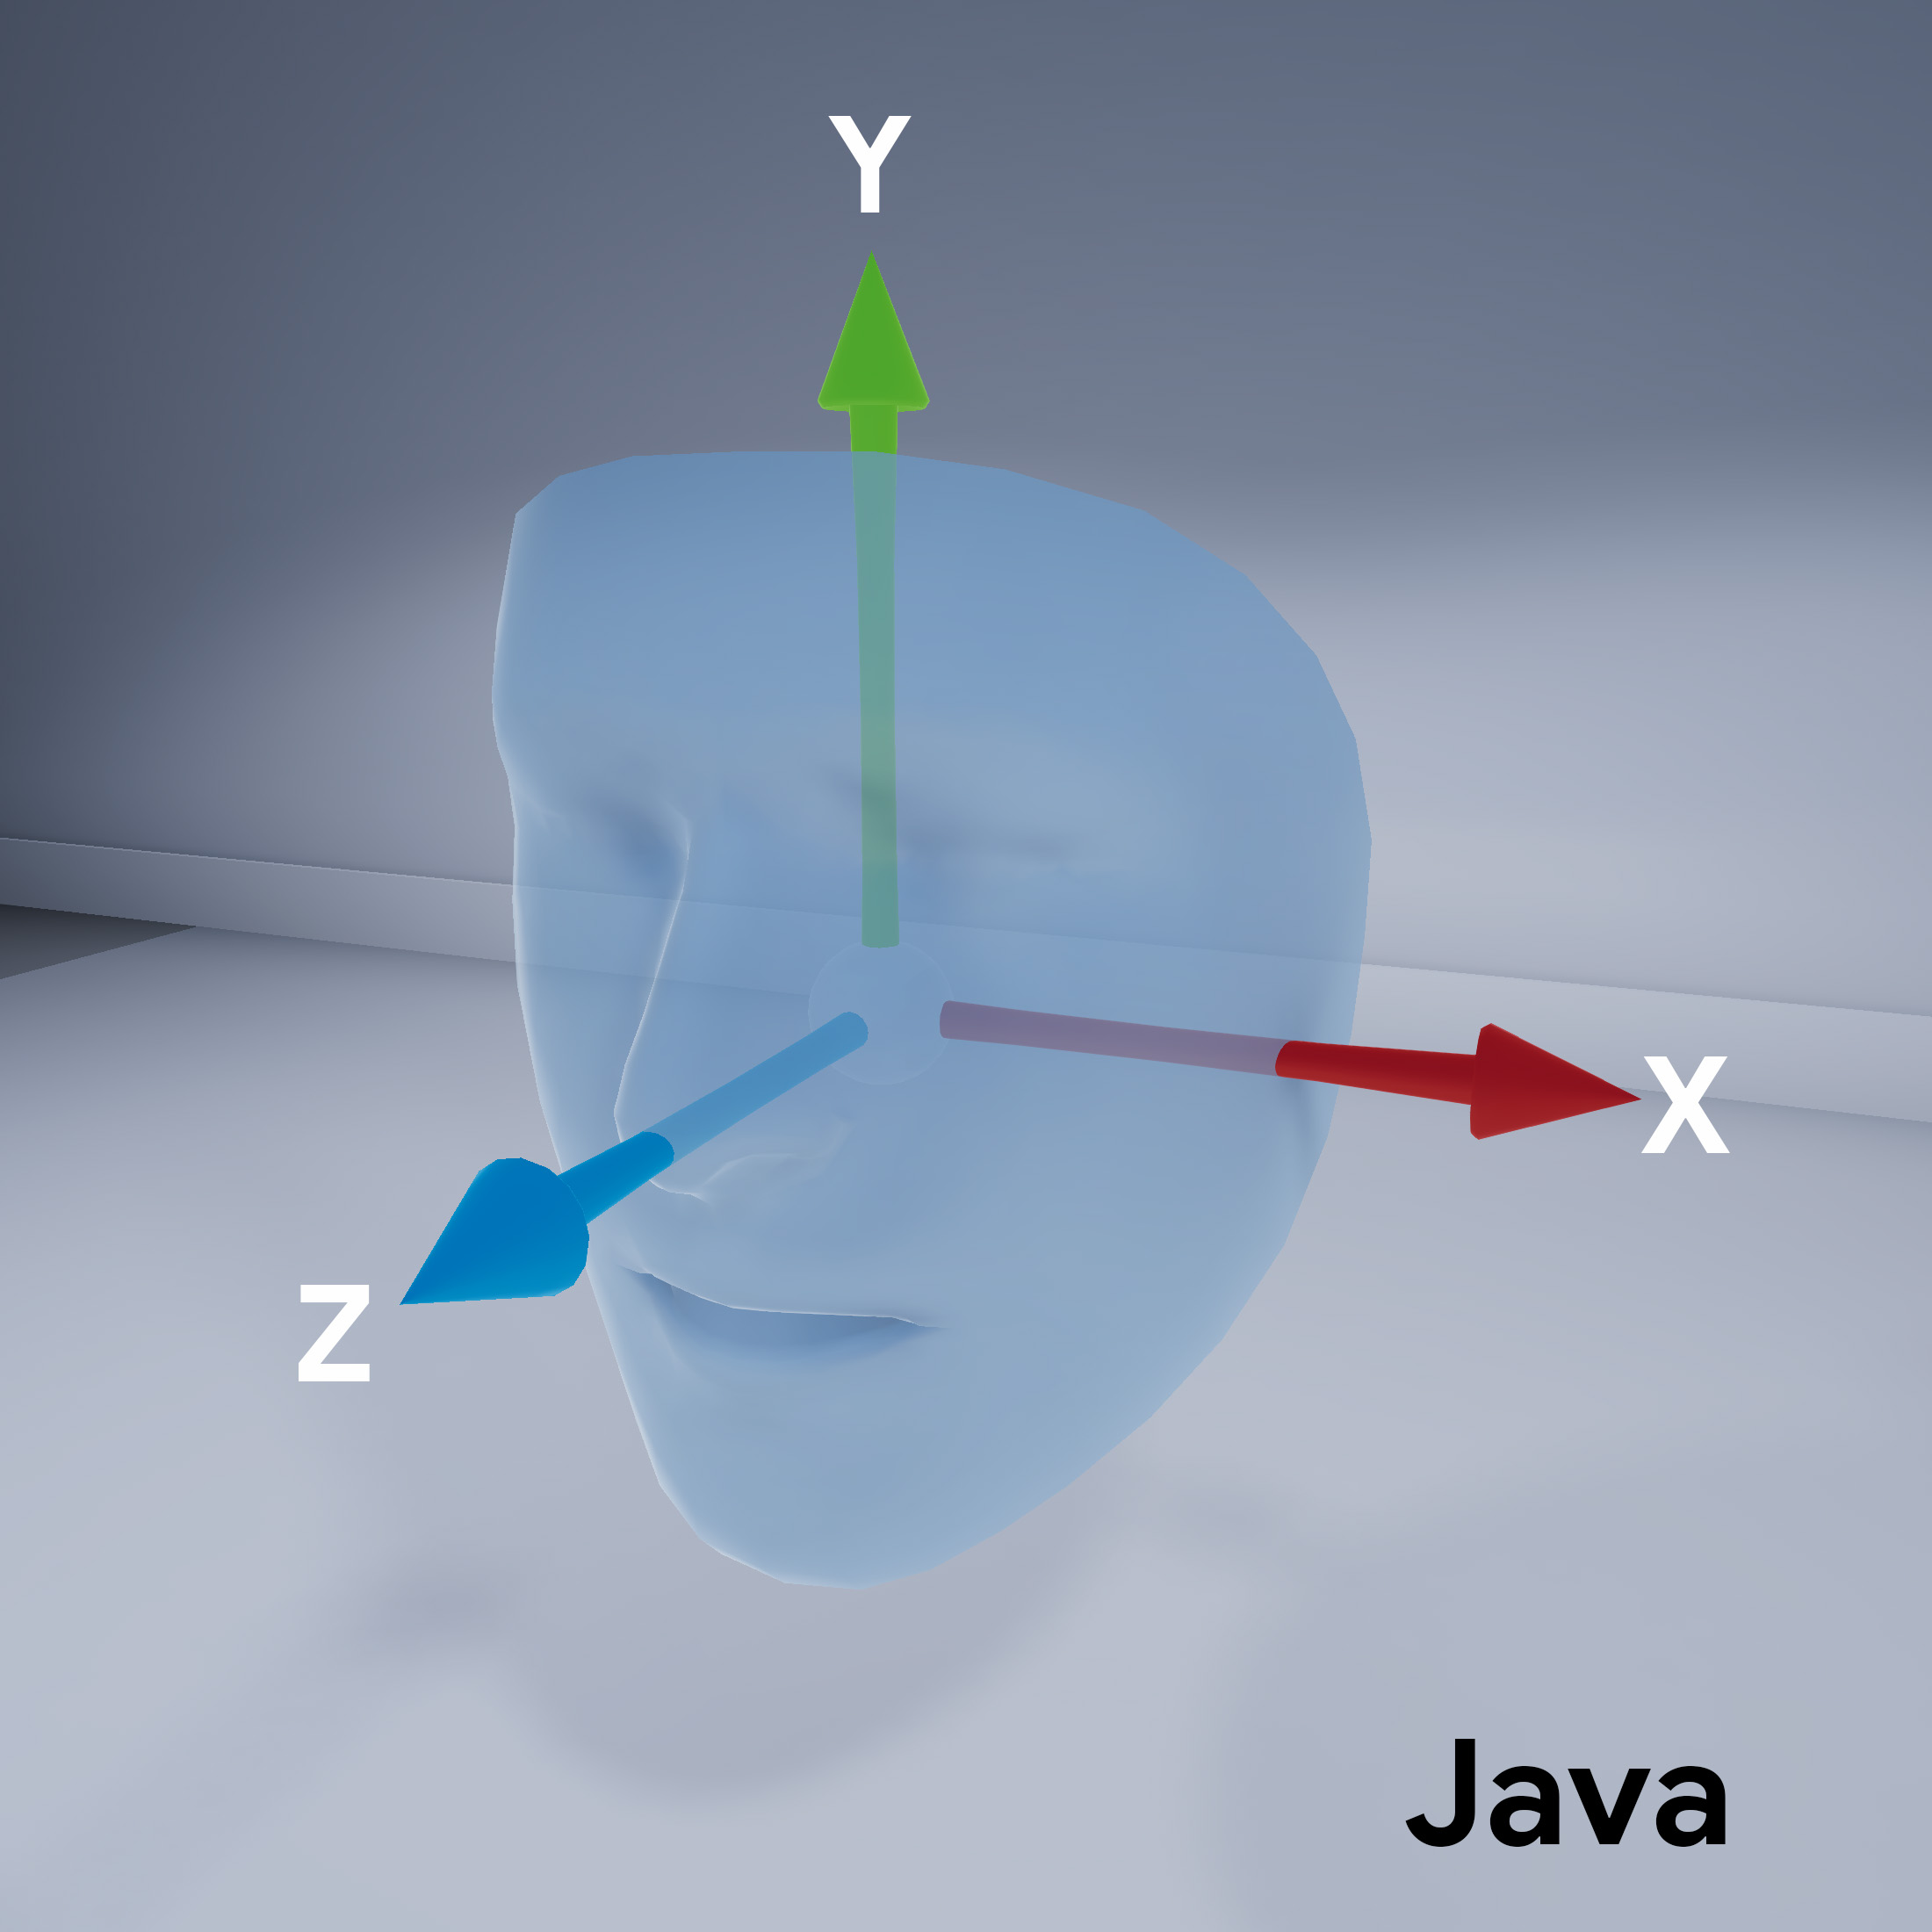
臉部網格方向
請注意場景的錶面網格方向:
設定 ARCore 工作階段
擴增臉孔需要將 ARCore 工作階段設為使用前置 (自拍) 相機,並支援臉部網格。如要在場景中進行這項操作,請擴充 ARfragment 類別,並覆寫設定:
@Override
protected Set<Session.Feature> getSessionFeatures() {
  return EnumSet.of(Session.Feature.FRONT_CAMERA);
}

@Override
protected Config getSessionConfiguration(Session session) {
  Config config = new Config(session);
  config.setAugmentedFaceMode(AugmentedFaceMode.MESH3D);
  return config;
}
在活動版面配置中,請參閱此子類別 ArFragment 類別。
取得偵測到的臉孔存取權
AugmentedFace 類別會擴充 Trackable 類別。在應用程式的活動中,使用 AugmentedFace 透過從 addOnUpdateListener() 方法呼叫系統偵測到的臉孔。
// Get list of detected faces.
Collection<AugmentedFace> faceList = session.getAllTrackables(AugmentedFace.class);
轉譯臉部特效
轉譯特效包含下列步驟:
for (AugmentedFace face : faceList) {
  // Create a face node and add it to the scene.
  AugmentedFaceNode faceNode = new AugmentedFaceNode(face);
  faceNode.setParent(scene);

  // Overlay the 3D assets on the face.
  faceNode.setFaceRegionsRenderable(faceRegionsRenderable);

  // Overlay a texture on the face.
  faceNode.setFaceMeshTexture(faceMeshTexture);

  …
 }