
添加带标记的地图
本教程介绍了如何向 iOS 应用添加带标记的 Google 地图。本教程适合对 Swift 或 Objective-C 有初级或中级知识,并且对 Xcode 有一般了解的人员。如需查看有关创建地图的高级指南,请参阅开发者指南。
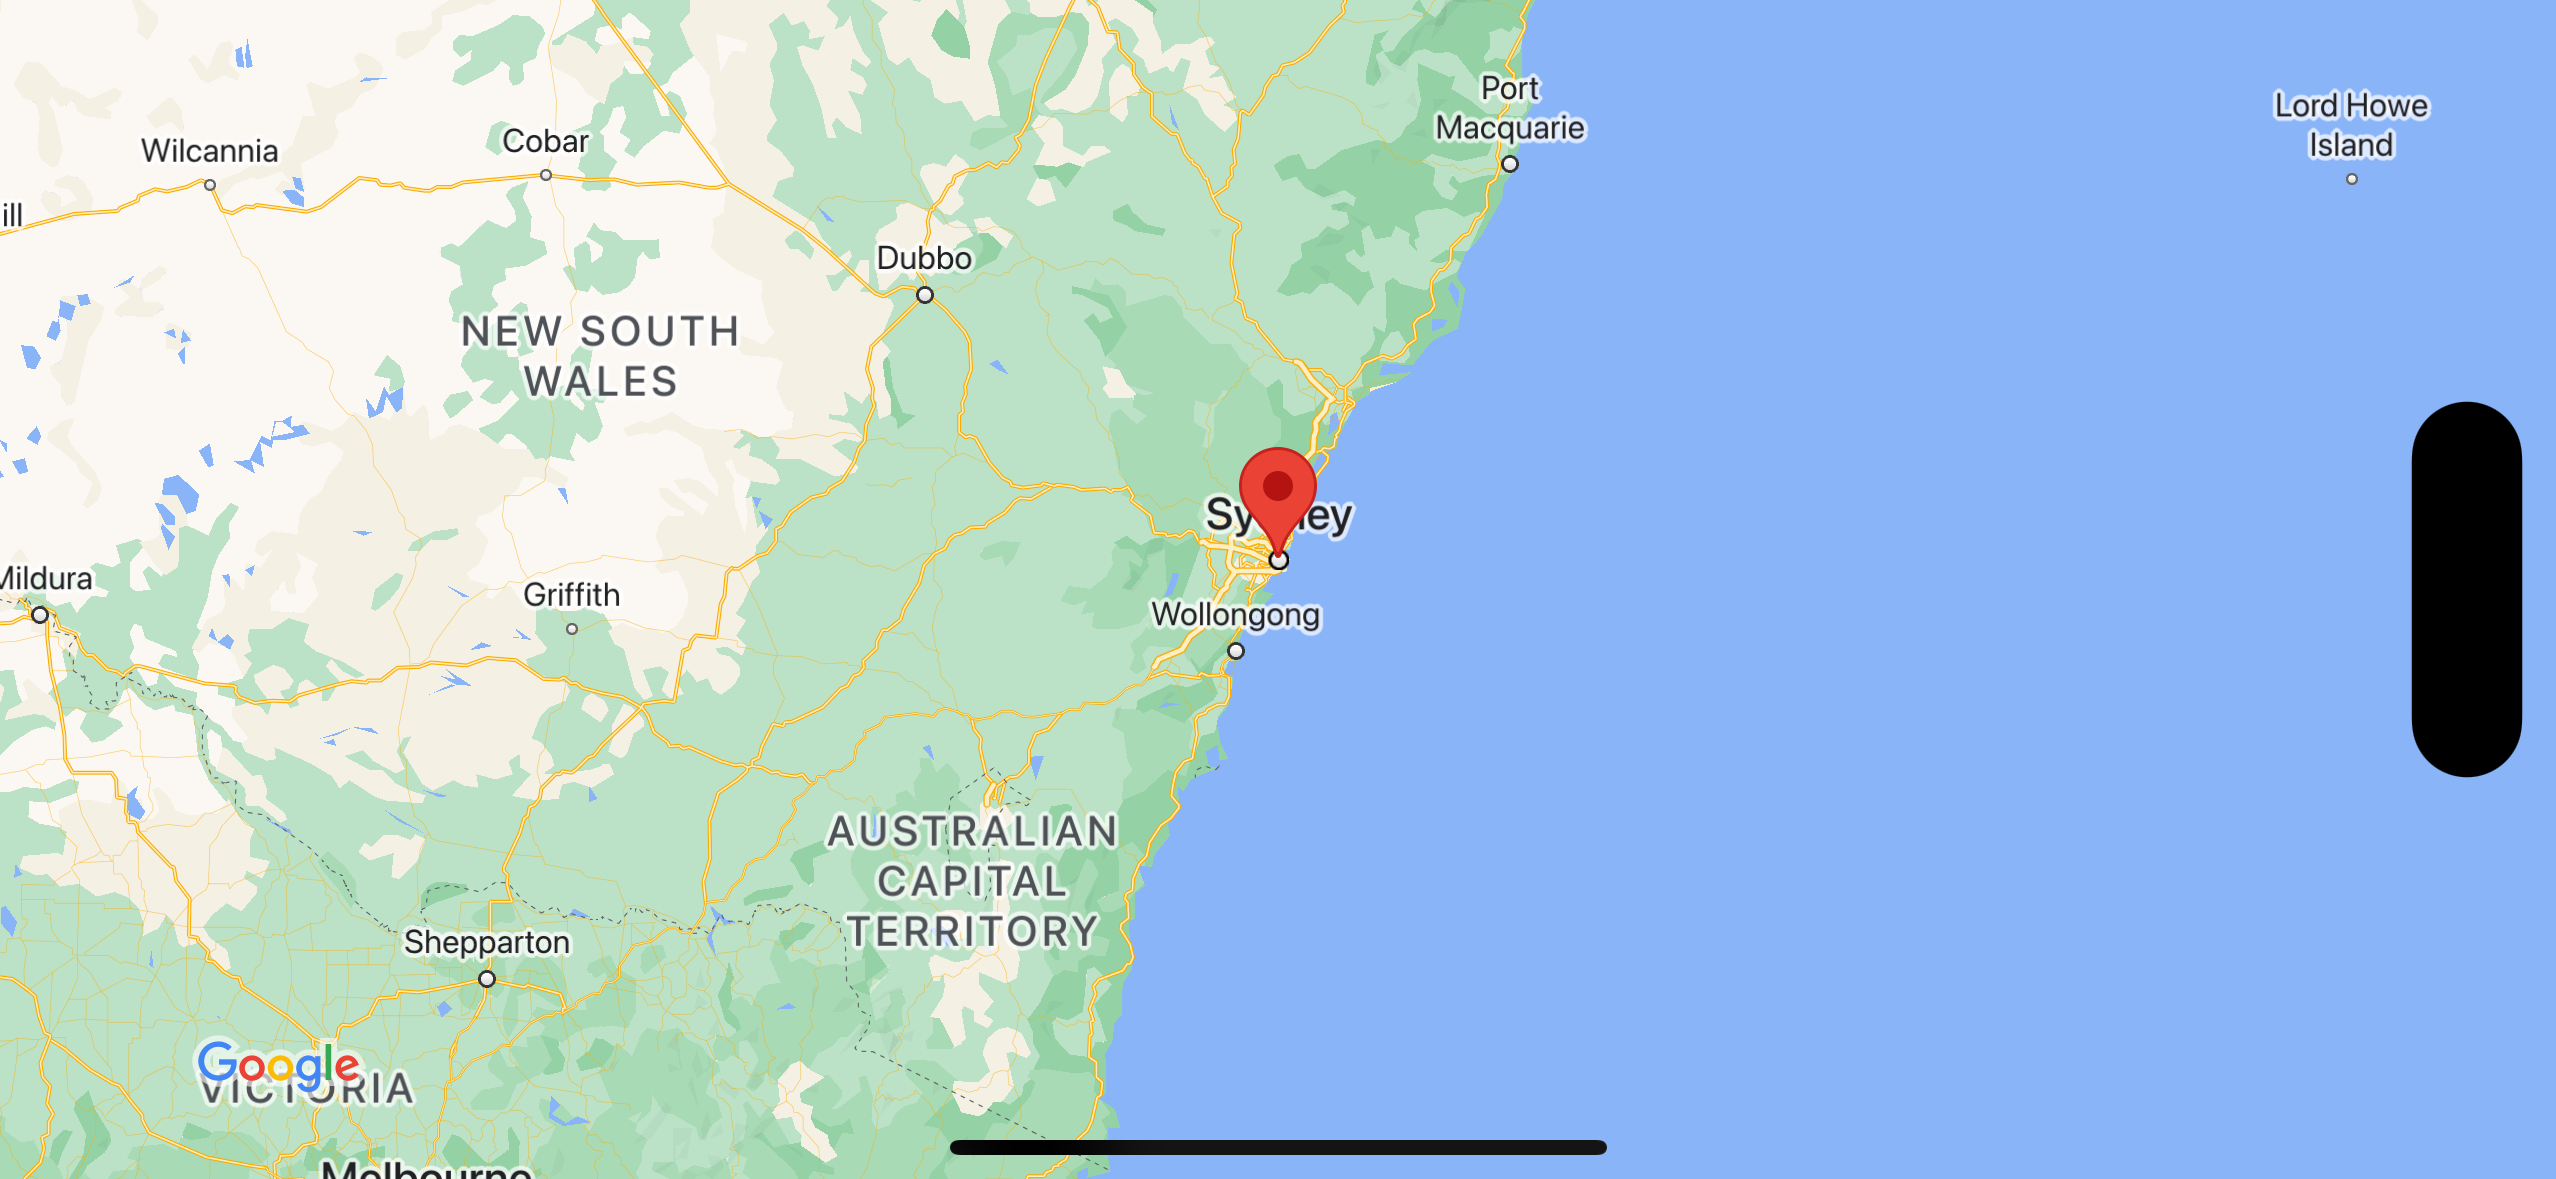
您将使用本教程创建以下地图。标记位于澳大利亚悉尼。
获取代码
请从 GitHub 克隆或下载 Google 地图 iOS 示例代码库。
或者,点击下面的按钮下载源代码:
Swift
import UIKit
import GoogleMaps

class ViewController: UIViewController {

    override func viewDidLoad() {
        super.viewDidLoad()
        // Do any additional setup after loading the view.
        // Create a GMSCameraPosition that tells the map to display the
        // coordinate -33.86,151.20 at zoom level 6.
        let camera = GMSCameraPosition.camera(withLatitude: -33.86, longitude: 151.20, zoom: 6.0)
        let mapView = GMSMapView.map(withFrame: self.view.frame, camera: camera)
        self.view.addSubview(mapView)

        // Creates a marker in the center of the map.
        let marker = GMSMarker()
        marker.position = CLLocationCoordinate2D(latitude: -33.86, longitude: 151.20)
        marker.title = "Sydney"
        marker.snippet = "Australia"
        marker.map = mapView
  }
}
Objective-C
#import "ViewController.h"
#import <GoogleMaps/GoogleMaps.h>

@interface ViewController ()

@end

@implementation ViewController

- (void)viewDidLoad {
    [super viewDidLoad];
  // Do any additional setup after loading the view.
  // Create a GMSCameraPosition that tells the map to display the
  // coordinate -33.86,151.20 at zoom level 6.
  GMSCameraPosition *camera = [GMSCameraPosition cameraWithLatitude:-33.86
                                                          longitude:151.20
                                                               zoom:6];
  GMSMapView *mapView = [GMSMapView mapWithFrame:self.view.frame camera:camera];
  mapView.myLocationEnabled = YES;
  [self.view addSubview:mapView];

  // Creates a marker in the center of the map.
  GMSMarker *marker = [[GMSMarker alloc] init];
  marker.position = CLLocationCoordinate2DMake(-33.86, 151.20);
  marker.title = @"Sydney";
  marker.snippet = @"Australia";
  marker.map = mapView;
}

@end
开始使用
Swift Package Manager
可以使用 Swift Package Manager 安装 Maps SDK for iOS。
- 移除任何现有的 Maps SDK for iOS 依赖项。
- 打开终端窗口并导航至
tutorials/map-with-marker目录。 - 关闭 Xcode 工作区并运行以下命令:
sudo gem install cocoapods-deintegrate cocoapods-clean
pod deintegrate
pod cache clean --all
rm Podfile
rm map-with-marker.xcworkspace
- 打开 Xcode 项目并删除 podfile。
- 前往 File > Add Package Dependencies 。
- 输入 https://github.com/googlemaps/ios-maps-sdk 作为网址,按 Enter 键拉取软件包,然后点击 Add Package。
- 您可能需要使用 File > Packages > Reset Package Cache 重置软件包缓存。
使用 CocoaPods
- 下载并安装 Xcode 26.0 版 或更高版本。
- 如果您尚未安装 CocoaPods,请在 macOS 上从终端运行以下命令进行安装:
sudo gem install cocoapods
- 进入
tutorials/map-with-marker目录。 - 运行
pod install命令。此操作会安装 Maps SDK 中指定的Podfile及其所有依赖项。 - 运行
pod outdated以将已安装的 pod 版本与任何新更新进行比较。如果检测到新版本,请运行pod update以更新Podfile并安装最新的 SDK。如需了解详情,请参阅 CocoaPods 指南。 - 打开(双击)项目的 map-with-marker.xcworkspace
文件,以在 Xcode 中打开该文件。您必须使用
.xcworkspace文件打开项目。
获取 API 密钥并启用必要的 API
如需完成本教程,您需要一个已获得 Maps SDK for iOS 使用授权的 Google API 密钥。点击下面的按钮获取密钥并激活 API。
开始使用如需了解详情,请参阅 获取 API 密钥。
为应用添加 API 密钥
按照以下方法向 AppDelegate.swift 添加 API 密钥:
- 请注意,以下导入语句已添加到该文件中:
import GoogleMaps
- 在您的
application(_:didFinishLaunchingWithOptions:)方法中修改以下行,将 YOUR_API_KEY 替换为您的 API 密钥:GMSServices.provideAPIKey("YOUR_API_KEY")
构建并运行应用
- 将 iOS 设备连接到您的计算机,或者从 Xcode 方案菜单中选择一个 模拟器 。
- 如果您使用的是设备,请确保已启用定位服务。 如果您使用的是模拟器,请从 Features 菜单中选择一个位置。
- 在 Xcode 中,点击 Product/Run 菜单选项(或 Play 按钮图标)。
- Xcode 会构建应用,然后在设备或模拟器上运行该应用。
- 您应该会看到一张带有标记的地图,这张地图以位于澳大利亚东海岸的悉尼为中心,与本页上的图像类似。
问题排查:
- 如果您没有看到地图,请检查您是否已获取 API 密钥并将其添加到该应用中 ,如前所述。检查 Xcode 的调试控制台,看看是否有关于 API 密钥的错误消息。
- 如果您已通过 iOS 软件包标识符限制 API 密钥,请修改该
密钥,以便添加该应用的软件包标识符:
com.google.examples.map-with-marker。 - 确保您的 Wi-Fi 或 GPS 连接信号良好。
- 使用 Xcode 调试工具 查看日志并调试该应用。
了解代码
- 创建地图并在
viewDidLoad()中将其设置为视图。Swift
// Create a GMSCameraPosition that tells the map to display the
// coordinate -33.86,151.20 at zoom level 6.
let camera = GMSCameraPosition.camera(withLatitude: -33.86, longitude: 151.20, zoom: 6.0)
let mapView = GMSMapView.map(withFrame: CGRect.zero, camera: camera)
view = mapView
Objective-C
// Create a GMSCameraPosition that tells the map to display the
// coordinate -33.86,151.20 at zoom level 6.
GMSCameraPosition *camera = [GMSCameraPosition cameraWithLatitude:-33.86
                                                        longitude:151.20
                                                             zoom:6.0];
GMSMapView *mapView = [[GMSMapView alloc] initWithFrame: CGRectZero camera:camera];
self.view = mapView;
- 在
viewDidLoad()中向地图添加标记。Swift
// Creates a marker in the center of the map.
let marker = GMSMarker()
marker.position = CLLocationCoordinate2D(latitude: -33.86, longitude: 151.20)
marker.title = "Sydney"
marker.snippet = "Australia"
marker.map = mapView
Objective-C
// Creates a marker in the center of the map.
GMSMarker *marker = [[GMSMarker alloc] init];
marker.position = CLLocationCoordinate2DMake(-33.86, 151.20);
marker.title = @"Sydney";
marker.snippet = @"Australia";
marker.map = mapView;
默认情况下,当用户点按某个标记时,Maps SDK for iOS 会显示信息窗口的内容。如果您愿意使用该默认行为,则无需为标记添加点击监听器。
恭喜!您已构建了一个 iOS 应用,该应用显示一张 Google 地图,地图上使用标记来指示特定位置。您还学习了如何使用 Maps SDK for iOS。