
Идентификатор карты — это уникальный идентификатор, представляющий собой настройки стиля и конфигурации Google Maps, хранящиеся в Google Cloud. Вы используете идентификаторы карт для включения функций, управления или оформления карт на ваших веб-сайтах и в ваших приложениях. Вы можете создать идентификаторы карт для каждой необходимой вам платформы — JavaScript, Android, iOS или статических карт — в своем проекте консоли Google Cloud на странице «Управление картами» .
Для получения более подробной информации и ознакомления с функциями, использующими идентификаторы карт, см. Обзор идентификаторов карт .
Необходимые разрешения
Для создания или управления идентификаторами карт в вашем проекте необходимо использовать субъект с соответствующими правами доступа (редактор или владелец) на странице IAM в консоли Cloud для данного проекта. Подробную информацию см. в справочнике по основным и предопределенным ролям IAM .
Создать идентификаторы карты
Создайте идентификаторы карт в консоли Cloud, выполнив следующие шаги:
Войдите в систему и откройте проект в облачной консоли, предоставив необходимые права доступа .
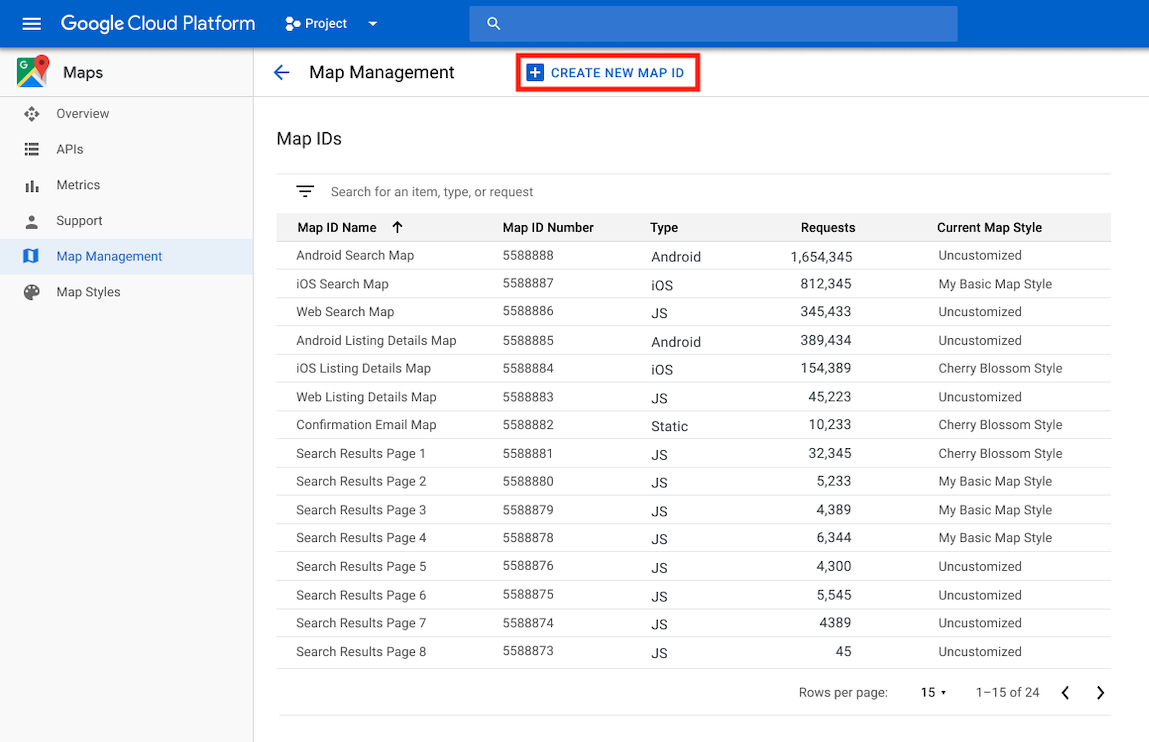
В консоли Cloud перейдите на страницу «Управление картами» .
Нажмите «Создать идентификатор карты» .
На странице «Создать новый идентификатор карты» выполните следующие действия:
- В поле «Имя» укажите идентификатор карты.
- Необязательно : в поле «Описание» укажите, для чего используется идентификатор карты.
- В поле «Тип карты» выберите платформу, на которой вы планируете использовать идентификатор карты. Если вы выберете JavaScript, также выберите растровый (по умолчанию) или векторный тип карты. Дополнительную информацию о векторных картах см. в разделе «Векторные карты» .
- Нажмите «Сохранить» , чтобы отобразить новый идентификатор карты.
Привяжите идентификатор карты к стилю карты.
Если вы используете облачные стили для оформления карт, вы связываете стиль карты с идентификатором вашей карты. Подробнее см. раздел «Связывание стиля с идентификатором карты» .
Добавьте идентификатор карты в ваше приложение.
Android
Добавьте идентификатор карты через элемент <fragment> в файле макета активности, используя класс MapView или программно с помощью класса GoogleMapOptions .
Например, предположим, вы создали идентификатор карты, который хранится в виде строкового значения с именем map_id в res/values/strings.xml :
<?xml version="1.0" encoding="utf-8"?>
<resources>
<string name="map_id">MAP_ID</string>
</resources>
Для карт, добавленных через элемент <fragment> в файле разметки активности, все фрагменты карт, которые должны иметь пользовательский стиль, должны указывать идентификатор карты в атрибуте map:mapId :
<fragment xmlns:map="http://schemas.android.com/apk/res-auto"
    map:name="com.google.android.gms.maps.SupportMapFragment"
    …
    map:mapId="@string/map_id" />
Также можно использовать атрибут map:mapId класса MapView для указания идентификатора карты:
<com.google.android.gms.maps.MapView
    xmlns:map="http://schemas.android.com/apk/res-auto"
    ....
    map:mapId="@string/map_id" />
Чтобы задать идентификатор карты программно, передайте его экземпляру MapFragment , используя класс GoogleMapOptions :
Java
 MapFragment mapFragment = MapFragment.newInstance(
     new GoogleMapOptions()
         .mapId(getResources().getString(R.string.map_id)));
Котлин
 val mapFragment = MapFragment.newInstance(
     GoogleMapOptions()
         .mapId(resources.getString(R.string.map_id))
 )
В Android Studio соберите и запустите приложение как обычно. Пользовательские стили, настроенные на первом шаге, применяются ко всем картам с указанным идентификатором карты.
iOS
Чтобы создать экземпляр карты, используя её идентификатор, выполните следующие действия:
- Создайте объект
GMSMapID, используя строку идентификатора карты из консоли Cloud. - Создайте объект
GMSMapView, указав идентификатор созданной вами карты.
Быстрый
let camera = GMSCameraPosition(latitude: 47.0169, longitude: -122.336471, zoom: 12)
let mapID = GMSMapID(identifier: "MAP_ID")
let mapView = GMSMapView(frame: .zero, mapID: mapID, camera: camera)
self.view = mapView
Objective-C
GMSCameraPosition *camera = [GMSCameraPosition cameraWithLatitude:47.0169
                                                        longitude:-122.336471
                                                             zoom:12];
GMSMapID *mapID = [GMSMapID mapIDWithIdentifier:@"MAP_ID"];
GMSMapView *mapView = [GMSMapView mapWithFrame:CGRectZero mapID:mapID camera:camera];
self.view = mapView;
Если вы используете собственный идентификатор карты, вы можете в любой момент изменить стиль своей карты в консоли Cloud, и этот стиль автоматически отобразится на вашей карте для вас и пользователей примерно через шесть часов.
Чтобы изменения отобразились немедленно, вы можете закрыть и перезапустить приложение, выйдя из него, принудительно закрыв его из списка недавно использованных приложений, а затем снова открыв. После этого обновленная карта станет видна.
JavaScript
Чтобы создать карту с идентификатором карты в коде вашего приложения:
Если вы уже настраиваете карту с помощью встроенного JSON-кода, удалите свойство
stylesиз объектаMapOptions; в противном случае пропустите этот шаг.Добавьте идентификатор карты, используя свойство
mapId. Например:
map = new google.maps.Map(document.getElementById('map'), {
center: {lat: -34.397, lng: 150.644},
zoom: 8,
mapId: 'MAP_ID'
});
Статические карты
Чтобы добавить идентификатор карты к новой или существующей карте, использующей один из наших API веб-сервисов, добавьте параметр URL map_id и установите его значение равным идентификатору вашей карты. В этом примере показано добавление идентификатора карты к карте с помощью API статических карт.
<img src="https://maps.googleapis.com/maps/api/staticmap?center=Brooklyn+Bridge,New+York,NY&zoom=13&size=600x300&maptype=roadmap&markers=color:blue%7Clabel:S%7C40.702147,-74.015794&markers=color:green%7Clabel:G%7C40.711614,-74.012318&markers=color:red%7Clabel:C%7C40.718217,-73.998284&key=YOUR_API_KEY&map_id=MAP_ID&signature=YOUR_SIGNATURE" />