
Это решение использует Vertex AI и Gemini для анализа сообщений Gmail и присвоения им меток на основе эмоциональной окраски.
Уровень владения программированием : Средний
Продолжительность : 30 минут
Тип проекта : Дополнение для Google Workspace
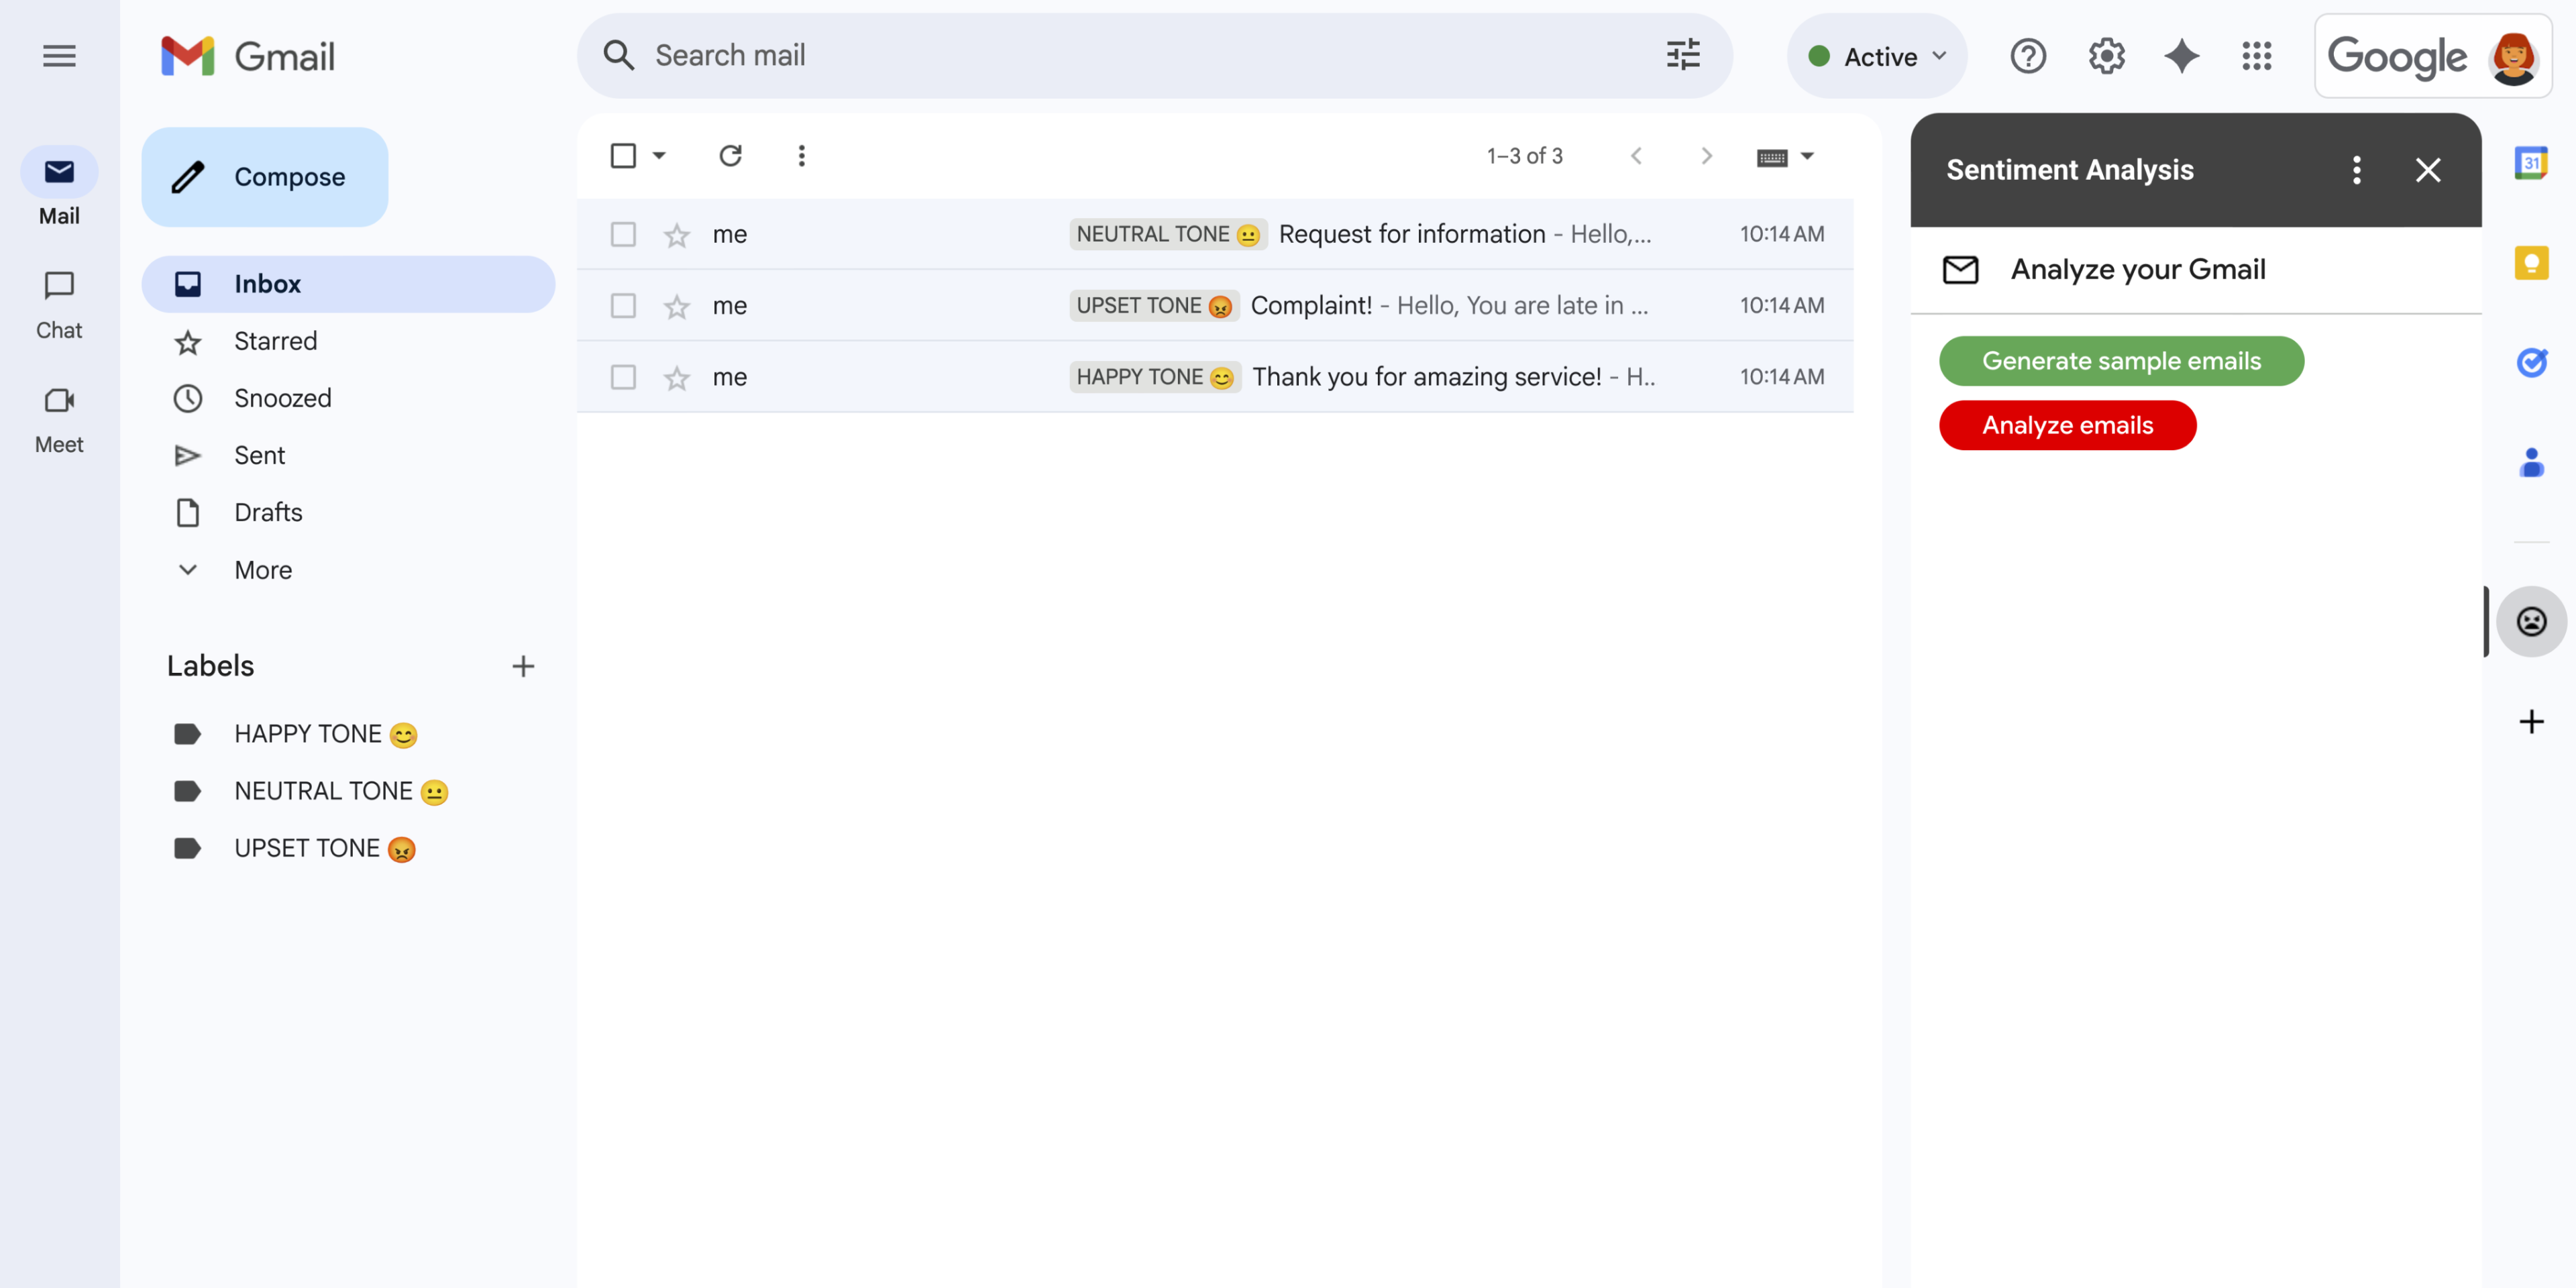
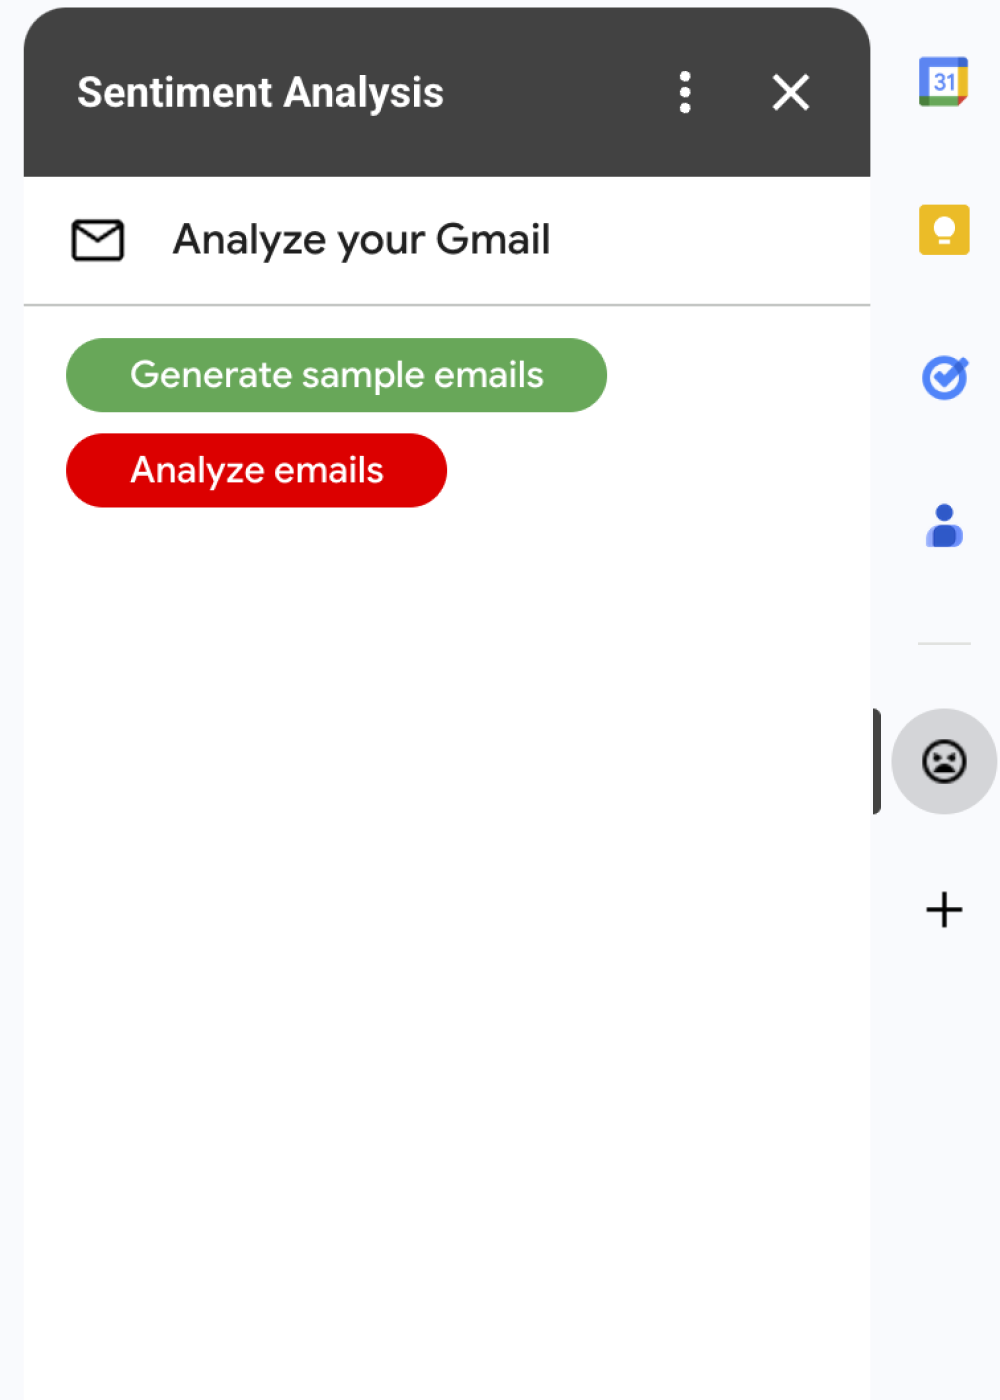
Рисунок 1: Надстройка «Анализ настроения» отображает в Gmail боковую панель, где пользователи могут настроить Gemini на анализ сообщений и присвоение им меток на основе их настроения. 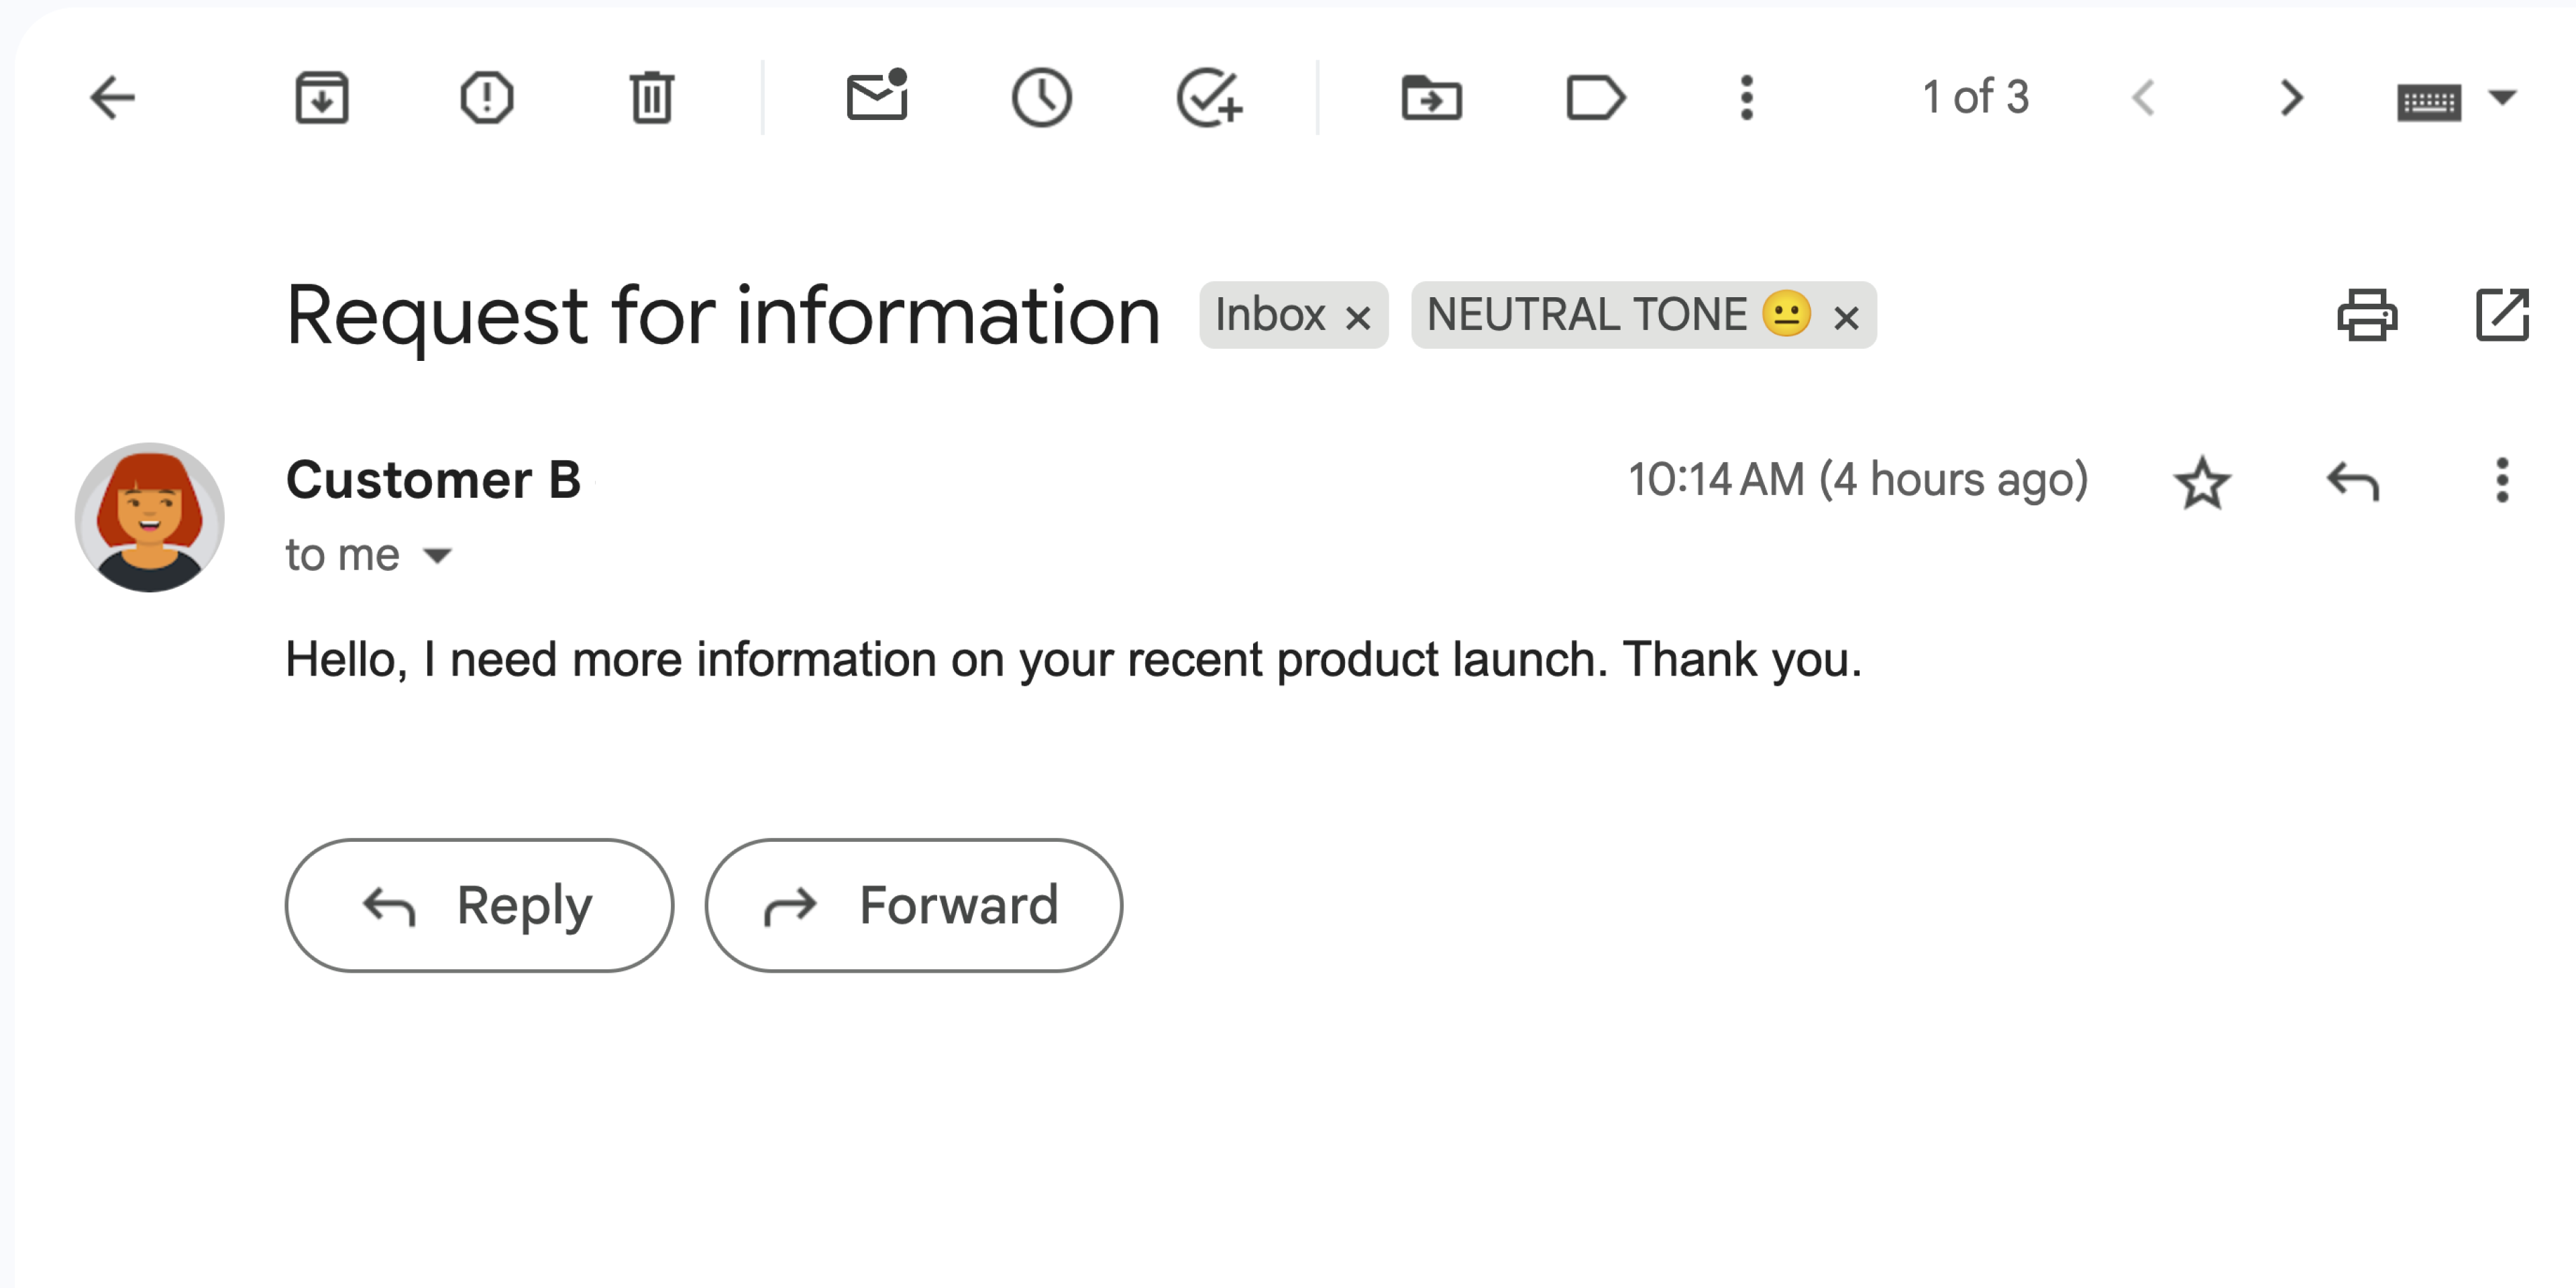
Рисунок 2: Дополнение помечает сообщение Gmail меткой «НЕЙТРАЛЬНЫЙ ТОН 😐» . 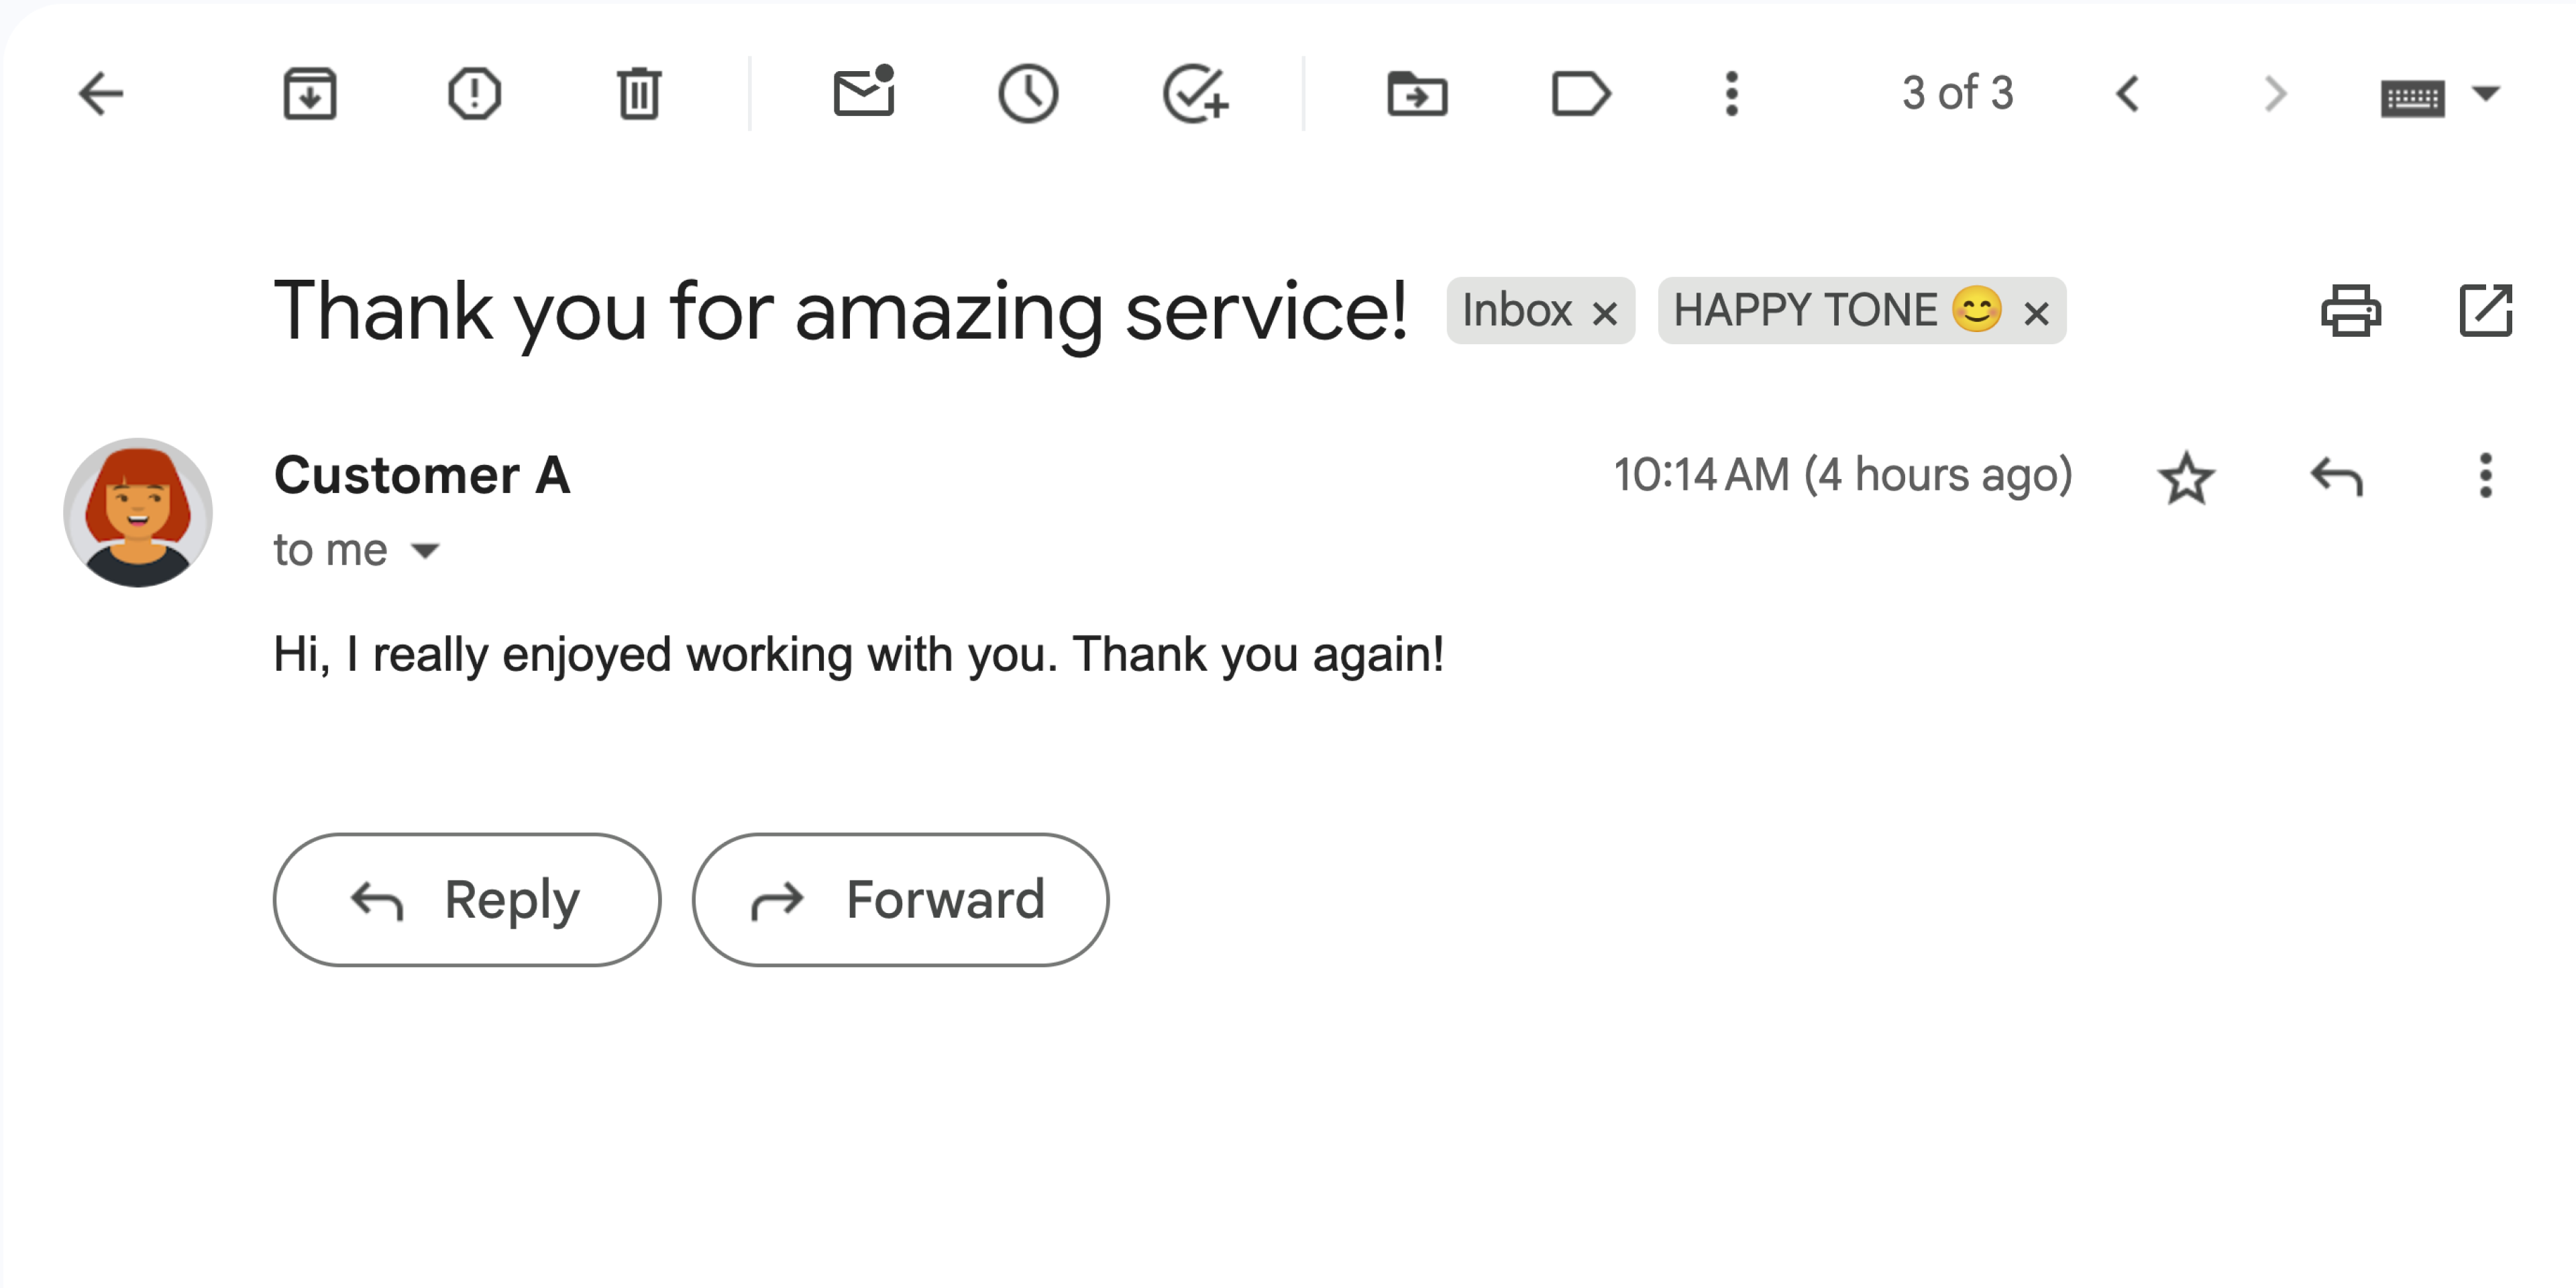
Рисунок 3: Дополнение помечает сообщение Gmail надписью HAPPY TONE 😊 . 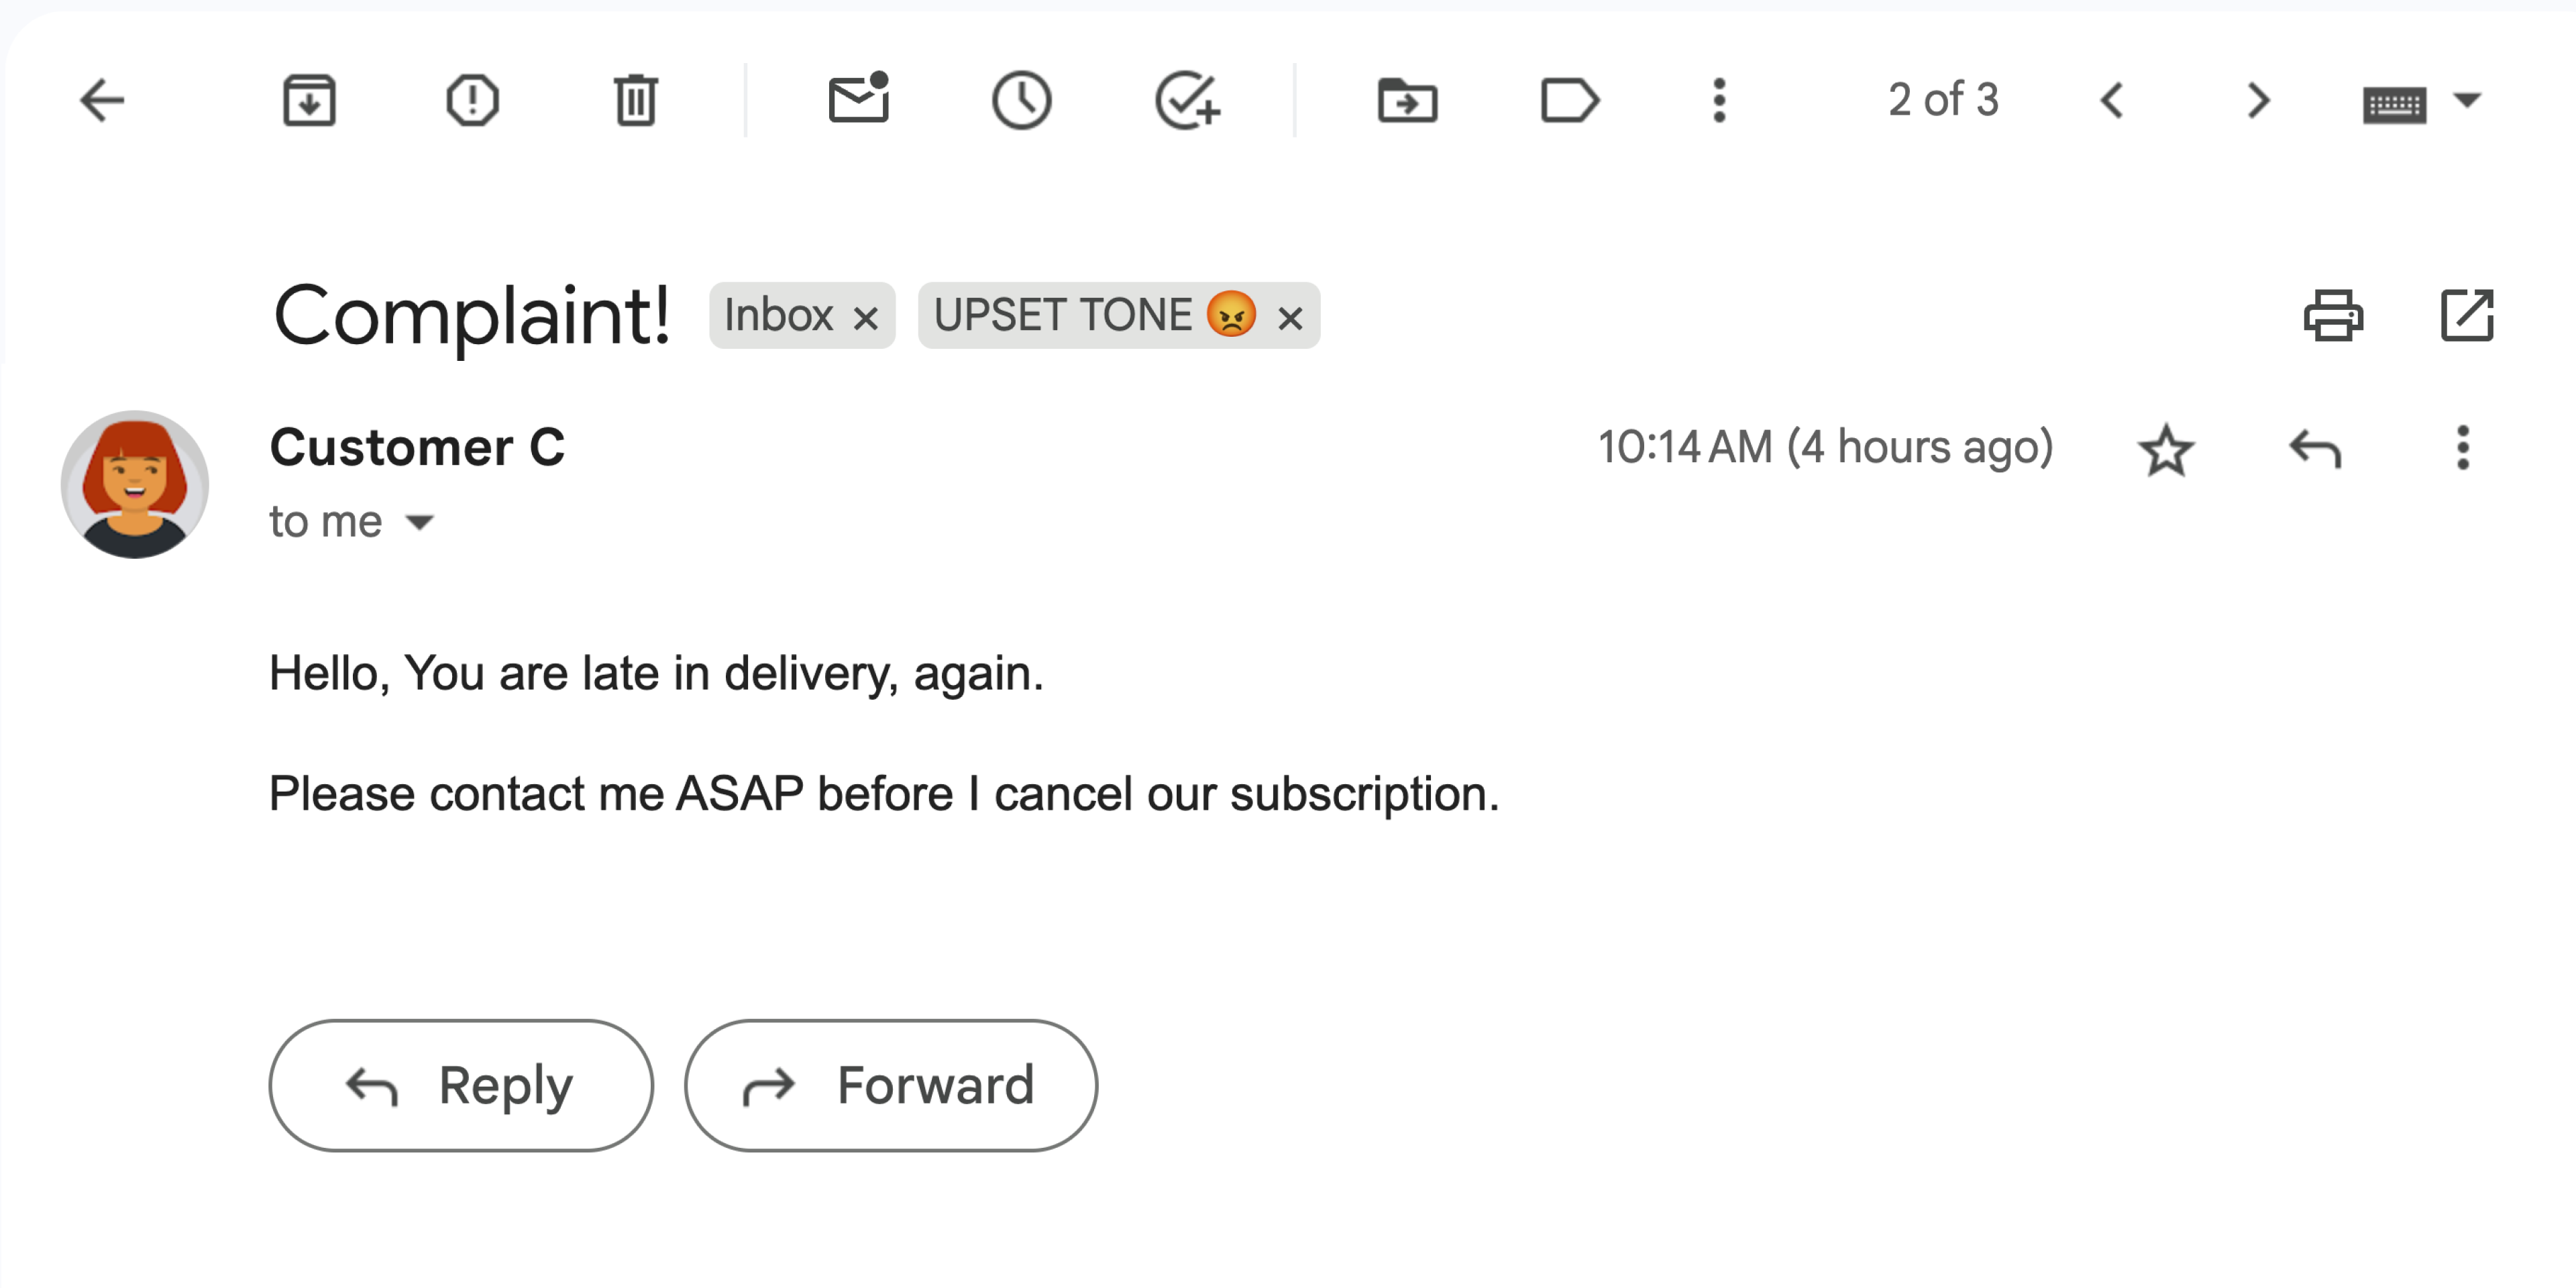
Рисунок 4: Дополнение помечает сообщение Gmail меткой «РАССТРОЕННЫЙ ТОН 😡» .
Цели
- Поймите, для чего предназначено это решение.
- Разберитесь, что делают сервисы Google в рамках данного решения.
- Настройте среду.
- Настройте проект Google Apps Script.
- Запустите скрипт.
Об этом решении
Это решение представляет собой надстройку для Google Workspace, которая присваивает метки на основе эмоциональной окраски сообщений Gmail. Для анализа содержимого сообщений надстройка использует Vertex AI, которая запрашивает данные у модели Gemini 2.5 Flash и возвращает одну из следующих оценок эмоциональной окраски:
- Положительный
- Отрицательный
- Нейтральный
Получив ответ от Gemini, дополнение добавляет к сообщению соответствующую метку Gmail.
Чтобы ограничить запросы к API Vertex AI, это дополнение анализирует и присваивает метки только 10 последним сообщениям в папке «Входящие» пользователя Gmail. Для получения дополнительной информации о квотах и ограничениях посетите документацию Vertex AI .
Как это работает
Данное решение разработано на основе Google Apps Script и использует следующие сервисы и продукты Google:
- API Vertex AI — предоставляет модели Gemini 2.5 Flash возможность анализировать содержимое сообщений Gmail и определять эмоциональную окраску.
Сервисы Apps Script:
- Сервис Gmail — получает и применяет метки к сообщениям Gmail. При желании создает тестовые сообщения для проверки дополнения.
- Сервис карточек — создает пользовательский интерфейс дополнения, который отображается в виде боковой панели в Gmail.
- Сервис URL Fetch — подключается к API Vertex AI для анализа настроений.
- Сервис скриптов — для вызова API Vertex AI получает токен доступа OAuth 2.0 для дополнения с помощью метода
getOAuthToken.
Предварительные требования
- Проект Google Cloud с включенной функцией выставления счетов. Чтобы узнать, есть ли у вас доступ, см. раздел «Необходимые разрешения для включения выставления счетов» .
Настройте свою среду
В этом разделе объясняется, как настроить и подготовить среду в консоли Google Cloud и Apps Script.
Настройте свой облачный проект в консоли Google Cloud.
В этом разделе показано, как включить API Vertex AI и настроить экран согласия OAuth в вашем облачном проекте.
Включите API Vertex AI
В консоли Google Cloud откройте свой проект Google Cloud и включите API Vertex AI:
Убедитесь, что вы включаете API в правильном облачном проекте, затем нажмите «Далее» .
Убедитесь, что вы включаете правильный API, затем нажмите «Включить» .
Настройте экран согласия OAuth.
Для работы дополнений Google Workspace требуется настройка экрана согласия. Настройка экрана согласия OAuth для вашего дополнения определяет, что Google отображает пользователям.
- В консоли Google API перейдите в > Платформа аутентификации Google > Брендинг .
- Если вы уже настроили платформу Google Auth, вы можете настроить следующие параметры экрана согласия OAuth в разделах «Брендинг» , «Аудитория» и «Доступ к данным» . Если вы видите сообщение о том, что платформа Google Auth еще не настроена , нажмите «Начать» :
- В разделе «Информация о приложении» , в поле «Название приложения» , введите название для приложения.
- В разделе «Электронная почта службы поддержки пользователей» выберите адрес электронной почты, по которому пользователи смогут связаться с вами, если у них возникнут вопросы относительно их согласия.
- Нажмите «Далее» .
- В разделе «Аудитория» выберите «Внутренняя» .
- Нажмите «Далее» .
- В поле «Контактная информация» укажите адрес электронной почты , на который вы сможете получать уведомления об изменениях в вашем проекте.
- Нажмите «Далее» .
- В разделе «Завершить» ознакомьтесь с Политикой использования пользовательских данных сервисов Google API и, если вы согласны, выберите «Я согласен с Политикой использования пользовательских данных сервисов Google API» .
- Нажмите «Продолжить» .
- Нажмите «Создать» .
- На данный момент добавление областей действия можно пропустить. В будущем, при создании приложения для использования за пределами вашей организации Google Workspace, необходимо изменить тип пользователя на «Внешний» . Затем добавьте необходимые для вашего приложения области авторизации. Для получения дополнительной информации см. полное руководство по настройке согласия OAuth .
Создайте и настройте свой проект Apps Script.
Для создания и настройки проекта Apps Script для дополнения выполните следующие шаги:
Нажмите на следующую кнопку, чтобы открыть проект « Анализ настроения в Gmail с помощью Gemini и скриптов приложений Vertex AI» .
Откройте проект Apps Script.Нажмите «Обзор .
На странице обзора нажмите «Создать копию».
 .
.Получите номер вашего облачного проекта:
- В консоли Google API перейдите в > IAM и администрирование > Настройки .
- В поле «Номер проекта» скопируйте значение.
Подключите свой облачный проект к проекту Apps Script:
- В скопированном проекте Apps Script нажмите «Настройки проекта» .
 .
. - В разделе «Проект Google Cloud Platform (GCP)» нажмите «Изменить проект» .
- В поле "Номер проекта GCP" вставьте номер облачного проекта.
- Нажмите «Установить проект» .
- В скопированном проекте Apps Script нажмите «Настройки проекта» .
Протестируйте дополнение
Чтобы протестировать дополнение, установите тестовую версию, а затем откройте дополнение в Gmail:
- Создайте и установите тестовую среду Apps Script:
- В скопированном проекте Apps Script нажмите «Редактор .
- Откройте файл
Code.gsи нажмите «Запустить» . При появлении запроса авторизуйте скрипт. - Нажмите «Развернуть» > «Проверить развертывания» .
- Нажмите «Установить» > «Готово» .
Откройте Gmail.
В правой боковой панели откройте дополнение Sentiment Analysis .
При появлении запроса авторизуйте дополнение.
Дополнительно: Чтобы создать тестовые сообщения для вашего дополнения, нажмите «Сгенерировать тестовые письма» . В вашем почтовом ящике появятся три сообщения. Если вы их не видите, обновите страницу.
Чтобы добавить метки, нажмите «Анализировать электронные письма» .
Дополнение анализирует 10 последних сообщений в вашей папке «Входящие» и затем присваивает им одну из следующих меток в зависимости от содержимого сообщения:
- Веселый тон 😊
- НЕЙТРАЛЬНЫЙ ТОН 😐
- РАЗДРАЖЕННЫЙ ТОН 😡
Просмотрите код
Просмотрите код Apps Script для этого решения:
Просмотреть исходный код
Code.gs
Cards.gs
Gmail.gs
Vertex.gs
appsscript.json
Уборка
Чтобы избежать списания средств с вашего аккаунта Google Cloud за ресурсы, использованные в этом руководстве, мы рекомендуем удалить проект Cloud.
- В консоли Google API перейдите на страницу «Управление ресурсами» > IAM и администрирование > Управление ресурсами .
- В списке проектов выберите проект, который хотите удалить, и нажмите кнопку «Удалить .
- В диалоговом окне введите идентификатор проекта, а затем нажмите «Завершить» , чтобы удалить проект.
Следующие шаги
- Расширение функциональности Gmail с помощью дополнений Google Workspace
- Расширьте пользовательский интерфейс Google Workspace.
- Создание дополнений для Google Workspace