
En este instructivo, se indican los pasos necesarios para crear y utilizar un diseño de mapa en modo claro que destaque la red de rutas:
Crea y publica un diseño de mapa para que esté disponible para usarse.
Crea y conecta un ID de mapa que te permita utilizar tu diseño en tus apps y sitios web.
Agrega el ID de mapa a tus apps y sitios web para que tus apps utilicen tu diseño de mapa.
Paso 1: Crea y publica un diseño de mapa
Abre la función de diseño de mapas basado en Cloud
Ve a la consola de Google Cloud y selecciona Diseños de mapa. Selecciona o crea un proyecto si es necesario.
Selecciona Crear diseño.
Selecciona Claro.
En la parte inferior del cuadro de diálogo, selecciona Personalizar.
Aplica diseño a una red de rutas
En Componentes de mapa, expande Infraestructura y, luego, selecciona Red de rutas.
En el panel de diseño de la red de rutas, en Polilínea, ve a Color del relleno y selecciona la casilla de color.
Elige un color brillante. Si cambias el color, la casilla Color del relleno se marcará automáticamente.
En Ancho del trazo, establece el ancho del trazo en 5 px.
En el mapa, acércate y aléjate para ver el efecto de tus cambios. Dado que seleccionaste un componente de mapa con una jerarquía relativamente alta, todos los tipos de rutas inferiores heredarán los cambios.

Guarda y publica tu diseño de mapa
En la esquina superior derecha, selecciona Guardar.
En Guardar y publicar el diseño de mapa (Save and publish map style), ingresa un nombre y, opcionalmente, una descripción para tu diseño de mapa.
Selecciona Guardar. El mapa se guardará y se publicará.

Paso 2: Crea y conecta un ID de mapa
Un ID de mapa te permite utilizar tu diseño de mapa en apps y sitios web. Si modificas el diseño de mapa asociado a un ID de mapa, los cambios de diseño se mostrarán cuando publiques el mapa, de modo que no necesitas ningún software ni actualización de la app.
Crea un ID de mapa
En la consola de Google Cloud, selecciona Administración de mapas.
En la parte superior, selecciona Crear ID de mapa.

Agrega un nombre para tu ID de mapa y, opcionalmente, una descripción.
Selecciona el tipo de mapa del ID de mapa según dónde deseas utilizarlo.

En la parte inferior de la página, selecciona Guardar. Tu ID de mapa estará listo.
Conecta el ID de mapa a tu diseño de mapa
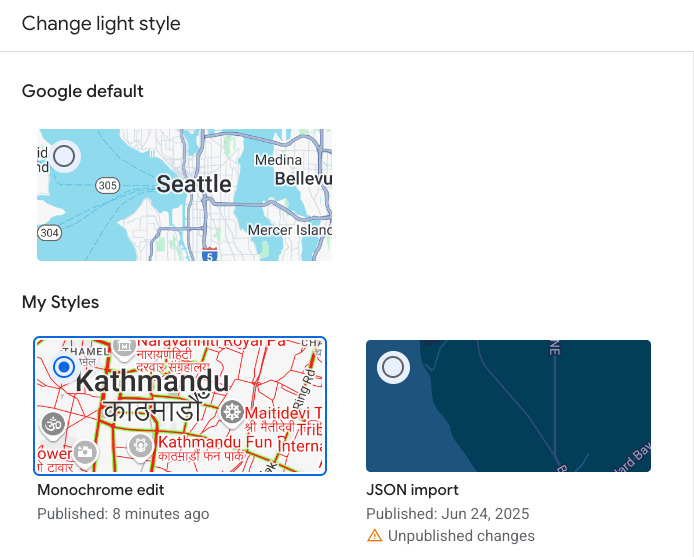
En Diseños de mapa, selecciona Cambiar diseño del modo claro para Modo claro.
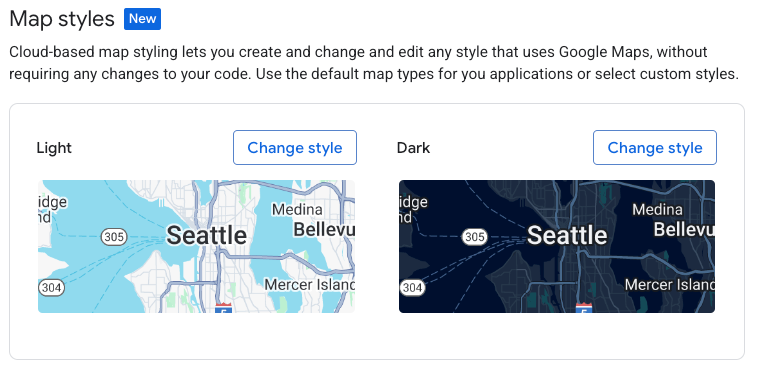
En Cambiar diseño claro, elige qué diseño de mapa usar para el modo claro en tus apps y selecciona Listo.
Selecciona Guardar. Ahora tu ID de mapa se encuentra asociado a tus diseños de mapa.
Paso 3: Agrega el ID de mapa a tus apps y sitios web
Ahora que ya tienes un ID de mapa asociado a un diseño de mapa publicado, puedes agregarlo a tus apps o sitios web y probarlo para asegurarte de que funcione correctamente.
Para obtener más información sobre cómo agregar un ID de mapa, consulta Cómo agregar el ID de mapa a tu mapa.
¿Cuáles son los siguientes pasos?
A continuación, puedes probar lo siguiente:
Actualiza un diseño. Para aplicar cambios a tu diseño de mapa y publicarlo, consulta Cómo cambiar un diseño.
ciencia Comprende cómo se aplica tu diseño a diferentes tipos de mapas. Para obtener más información, consulta Información sobre los modos y los tipos de mapas.
Prueba las actualizaciones de diseño de mapa. Si deseas probar los cambios de diseño antes de publicarlos, consulta Prueba las actualizaciones de diseño de mapa.
Crea diseños para niveles de zoom específicos. Por ejemplo, puedes personalizar el aspecto de los componentes de mapa específicos cuando alejas el mapa en comparación con cuando lo acercas. Para obtener más información, consulta Niveles de zoom de los diseños.
Usa la jerarquía de los componentes del mapa para establecer de manera eficiente los diseños que desees. Por ejemplo, puedes aplicar diseño al componente de mapa superior Natural>Tierra, y todos los componentes de esta categoría lo heredarán. Luego, puedes aplicar diseño personalizado solo en los componentes de mapa secundarios que deseas que sean diferentes. Para obtener más información, consulta Conceptos básicos sobre la herencia y la jerarquía de los diseños de mapas.