
Hướng dẫn này cho bạn biết cách thêm bản đồ Google vào ứng dụng Android. Bản đồ này có một điểm đánh dấu (còn gọi là ghim) để cho biết một vị trí cụ thể.
Làm theo hướng dẫn để tạo một ứng dụng Android bằng Maps SDK dành cho Android. Môi trường phát triển được đề xuất là Android Studio.
Lấy mã
Sao chép hoặc tải kho lưu trữ Mẫu Google Maps Android API phiên bản 2 xuống từ GitHub.
Xem phiên bản Java của hoạt động:
// Copyright 2020 Google LLC // // Licensed under the Apache License, Version 2.0 (the "License"); // you may not use this file except in compliance with the License. // You may obtain a copy of the License at // // http://www.apache.org/licenses/LICENSE-2.0 // // Unless required by applicable law or agreed to in writing, software // distributed under the License is distributed on an "AS IS" BASIS, // WITHOUT WARRANTIES OR CONDITIONS OF ANY KIND, either express or implied. // See the License for the specific language governing permissions and // limitations under the License. package com.example.mapwithmarker; import android.os.Bundle; import androidx.appcompat.app.AppCompatActivity; import com.google.android.gms.maps.CameraUpdateFactory; import com.google.android.gms.maps.GoogleMap; import com.google.android.gms.maps.OnMapReadyCallback; import com.google.android.gms.maps.SupportMapFragment; import com.google.android.gms.maps.model.LatLng; import com.google.android.gms.maps.model.MarkerOptions; /** * An activity that displays a Google map with a marker (pin) to indicate a particular location. */ public class MapsMarkerActivity extends AppCompatActivity implements OnMapReadyCallback { @Override protected void onCreate(Bundle savedInstanceState) { super.onCreate(savedInstanceState); // Retrieve the content view that renders the map. setContentView(R.layout.activity_maps); // Get the SupportMapFragment and request notification when the map is ready to be used. SupportMapFragment mapFragment = (SupportMapFragment) getSupportFragmentManager() .findFragmentById(R.id.map); mapFragment.getMapAsync(this); } /** * Manipulates the map when it's available. * The API invokes this callback when the map is ready to be used. * This is where we can add markers or lines, add listeners or move the camera. In this case, * we just add a marker near Sydney, Australia. * If Google Play services is not installed on the device, the user receives a prompt to install * Play services inside the SupportMapFragment. The API invokes this method after the user has * installed Google Play services and returned to the app. */ @Override public void onMapReady(GoogleMap googleMap) { // Add a marker in Sydney, Australia, // and move the map's camera to the same location. LatLng sydney = new LatLng(-33.852, 151.211); googleMap.addMarker(new MarkerOptions() .position(sydney) .title("Marker in Sydney")); googleMap.moveCamera(CameraUpdateFactory.newLatLng(sydney)); } }
Xem phiên bản Kotlin của hoạt động này:
// Copyright 2020 Google LLC // // Licensed under the Apache License, Version 2.0 (the "License"); // you may not use this file except in compliance with the License. // You may obtain a copy of the License at // // http://www.apache.org/licenses/LICENSE-2.0 // // Unless required by applicable law or agreed to in writing, software // distributed under the License is distributed on an "AS IS" BASIS, // WITHOUT WARRANTIES OR CONDITIONS OF ANY KIND, either express or implied. // See the License for the specific language governing permissions and // limitations under the License. package com.example.mapwithmarker import android.os.Bundle import android.widget.Toast import androidx.appcompat.app.AppCompatActivity import com.google.android.gms.maps.CameraUpdateFactory import com.google.android.gms.maps.GoogleMap import com.google.android.gms.maps.OnMapReadyCallback import com.google.android.gms.maps.SupportMapFragment import com.google.android.gms.maps.model.LatLng import com.google.android.gms.maps.model.MarkerOptions /** * An activity that displays a Google map with a marker (pin) to indicate a particular location. */ class MapsMarkerActivity : AppCompatActivity(), OnMapReadyCallback { override fun onCreate(savedInstanceState: Bundle?) { super.onCreate(savedInstanceState) // Retrieve the content view that renders the map. setContentView(R.layout.activity_maps) // Get the SupportMapFragment and request notification when the map is ready to be used. val mapFragment = supportFragmentManager.findFragmentById(R.id.map) as? SupportMapFragment mapFragment?.getMapAsync(this) } override fun onMapReady(googleMap: GoogleMap) { val sydney = LatLng(-33.852, 151.211) googleMap.addMarker( MarkerOptions() .position(sydney) .title("Marker in Sydney") ) googleMap.moveCamera(CameraUpdateFactory.newLatLng(sydney)) } }
Thiết lập dự án phát triển
Hãy làm theo các bước sau để tạo dự án hướng dẫn trong Android Studio.
- Tải xuống và cài đặt Android Studio.
- Thêm gói Dịch vụ Google Play vào Android Studio.
- Sao chép hoặc tải kho lưu trữ Mẫu API Google Maps cho Android phiên bản 2 xuống nếu bạn chưa làm việc này khi bắt đầu đọc hướng dẫn này.
Nhập dự án hướng dẫn:
- Trong Android Studio, hãy chọn File > New > Import Project (Tệp > Mới > Nhập dự án).
- Chuyển đến vị trí mà bạn đã lưu kho lưu trữ Google Maps Android API phiên bản 2 Samples sau khi tải xuống.
- Tìm dự án MapWithMarker tại vị trí này:
PATH-TO-SAVED-REPO/android-samples/tutorials/java/MapWithMarker(Java) hoặc
PATH-TO-SAVED-REPO/android-samples/tutorials/kotlin/MapWithMarker(Kotlin) - Chọn thư mục dự án, rồi nhấp vào Open (Mở). Giờ đây, Android Studio sẽ tạo dự án của bạn bằng công cụ bản dựng Gradle.
Bật các API cần thiết và lấy khoá API
Để hoàn tất hướng dẫn này, bạn cần có một dự án trên đám mây của Google Cloud đã bật các API cần thiết và một khoá API được uỷ quyền sử dụng Maps SDK cho Android. Để biết thêm thông tin, hãy xem:
Thêm khoá API vào ứng dụng
- Mở tệp
local.propertiescủa dự án. Thêm chuỗi sau, rồi thay thế
YOUR_API_KEYbằng giá trị khoá API của bạn:MAPS_API_KEY=YOUR_API_KEYKhi bạn tạo ứng dụng, Trình bổ trợ Secrets Gradle cho Android sẽ sao chép khoá API và cung cấp khoá này dưới dạng một biến bản dựng trong tệp kê khai Android, như giải thích bên dưới.
Tạo và chạy ứng dụng
Cách tạo bản dựng và chạy ứng dụng:
Kết nối thiết bị Android với máy tính. Làm theo hướng dẫn để bật tuỳ chọn cho nhà phát triển trên thiết bị Android và định cấu hình hệ thống để phát hiện thiết bị.
Ngoài ra, bạn có thể sử dụng Trình quản lý thiết bị Android ảo (AVD) để định cấu hình một thiết bị ảo. Khi chọn trình mô phỏng, hãy nhớ chọn một hình ảnh có chứa các API của Google. Để biết thêm thông tin chi tiết, hãy xem bài viết Thiết lập dự án Android Studio .
Trong Android Studio, hãy nhấp vào lựa chọn Run (Chạy) trong trình đơn (hoặc biểu tượng nút phát). Chọn một thiết bị theo lời nhắc.
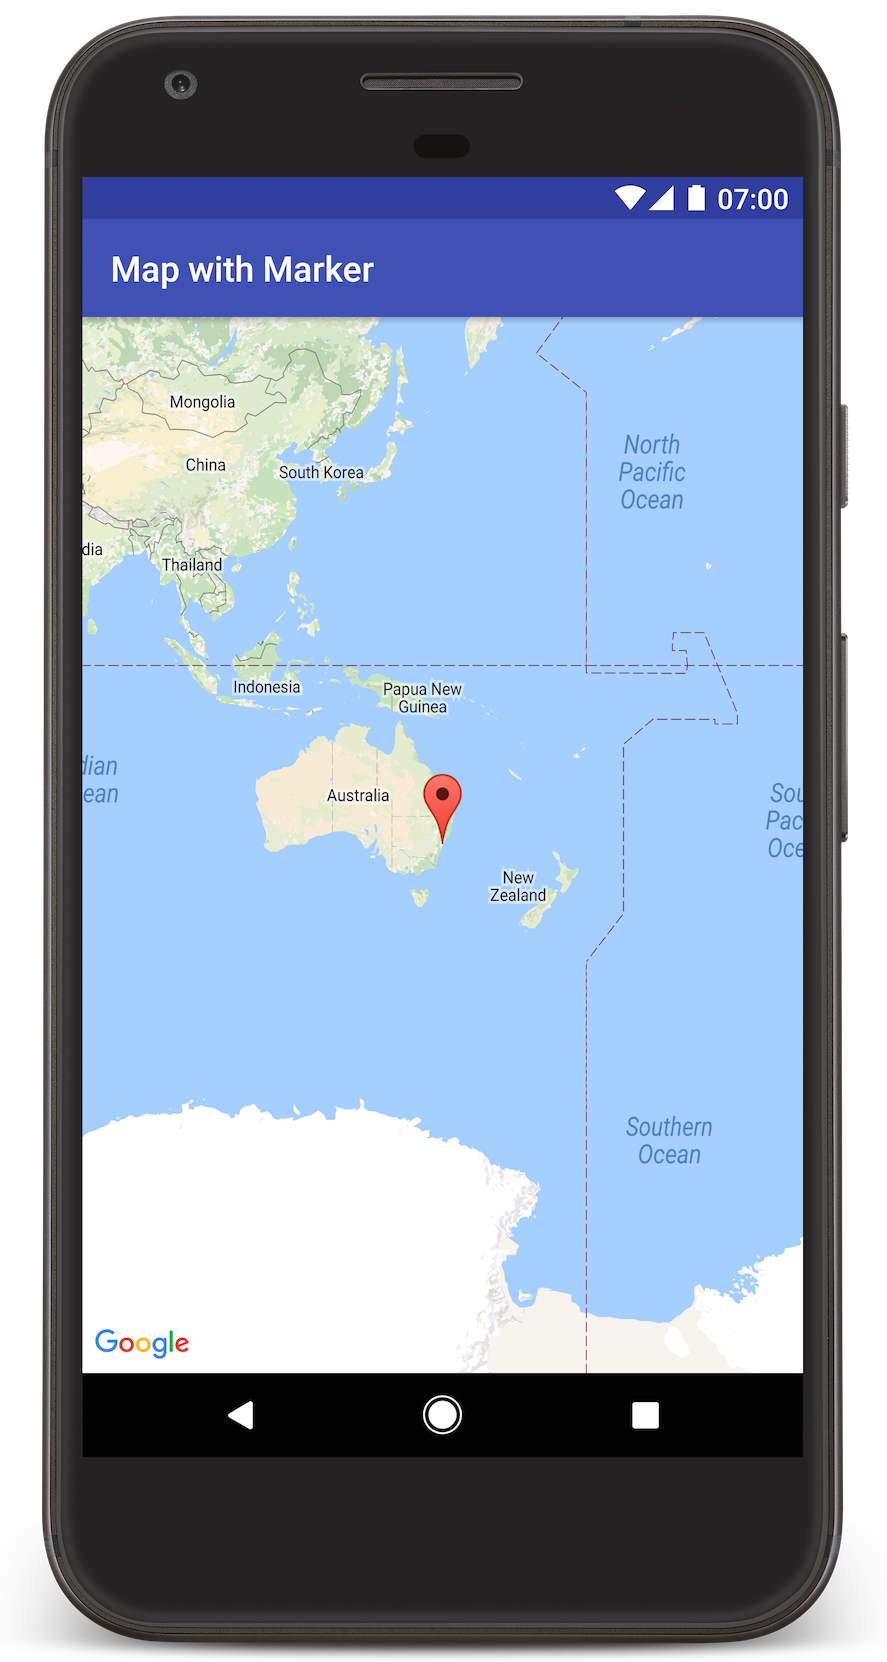
Android Studio sẽ gọi Gradle để tạo ứng dụng, sau đó chạy ứng dụng trên thiết bị hoặc trên trình mô phỏng. Bạn sẽ thấy một bản đồ có điểm đánh dấu chỉ vào Sydney ở bờ biển phía đông của Úc, tương tự như hình ảnh trên trang này.
Gỡ rối:
- Nếu bạn không thấy bản đồ, hãy kiểm tra để đảm bảo bạn đã lấy khoá API và thêm khoá đó vào ứng dụng, như mô tả ở trên. Kiểm tra nhật ký trong Android Monitor (Trình theo dõi Android) của Android Studio để xem thông báo lỗi về khoá API.
- Sử dụng công cụ gỡ lỗi của Android Studio để xem nhật ký và gỡ lỗi ứng dụng.
Tìm hiểu về mã
Phần này của hướng dẫn giải thích những phần quan trọng nhất của ứng dụng MapWithMarker để giúp bạn hiểu cách tạo một ứng dụng tương tự.
Kiểm tra tệp kê khai Android
Lưu ý các phần tử sau trong tệp AndroidManifest.xml của ứng dụng:
Thêm một phần tử
meta-datađể nhúng phiên bản Dịch vụ Google Play mà ứng dụng đã được biên dịch.<meta-data android:name="com.google.android.gms.version" android:value="@integer/google_play_services_version" />Thêm một phần tử
meta-datachỉ định khoá API của bạn. Mẫu đi kèm với hướng dẫn này sẽ liên kết giá trị cho khoá API với một biến bản dựng khớp với tên của khoá mà bạn đã xác định trước đó,MAPS_API_KEY. Khi bạn tạo ứng dụng, Trình bổ trợ Secrets Gradle cho Android sẽ cung cấp các khoá trong tệplocal.propertiesdưới dạng các biến bản dựng tệp kê khai.<meta-data android:name="com.google.android.geo.API_KEY" android:value="${MAPS_API_KEY}" />Trong tệp
build.gradle, dòng sau sẽ truyền khoá API của bạn đến tệp kê khai Android.id 'com.google.android.libraries.mapsplatform.secrets-gradle-plugin'
Dưới đây là ví dụ về một tệp kê khai đầy đủ:
<?xml version="1.0" encoding="utf-8"?>
<!--
 Copyright 2020 Google LLC

 Licensed under the Apache License, Version 2.0 (the "License");
 you may not use this file except in compliance with the License.
 You may obtain a copy of the License at

      http://www.apache.org/licenses/LICENSE-2.0

 Unless required by applicable law or agreed to in writing, software
 distributed under the License is distributed on an "AS IS" BASIS,
 WITHOUT WARRANTIES OR CONDITIONS OF ANY KIND, either express or implied.
 See the License for the specific language governing permissions and
 limitations under the License.
-->

<manifest xmlns:android="http://schemas.android.com/apk/res/android">

    <application
        android:allowBackup="true"
        android:icon="@mipmap/ic_launcher"
        android:label="@string/app_name"
        android:supportsRtl="true"
        android:theme="@style/AppTheme">

        <meta-data
            android:name="com.google.android.gms.version"
            android:value="@integer/google_play_services_version" />

        <!--
             The API key for Google Maps-based APIs.
        -->
        <meta-data
            android:name="com.google.android.geo.API_KEY"
            android:value="${MAPS_API_KEY}" />

        <activity
            android:name=".MapsMarkerActivity"
            android:label="@string/title_activity_maps"
            android:exported="true">
            <intent-filter>
                <action android:name="android.intent.action.MAIN" />

                <category android:name="android.intent.category.LAUNCHER" />
            </intent-filter>
        </activity>
    </application>

</manifest>
Thêm bản đồ
Hiển thị bản đồ bằng Maps SDK cho Android.
Thêm phần tử
<fragment>vào tệp bố cục của hoạt động,activity_maps.xml. Phần tử này xác định mộtSupportMapFragmentđể đóng vai trò là vùng chứa cho bản đồ và cung cấp quyền truy cập vào đối tượngGoogleMap. Hướng dẫn này sử dụng phiên bản thư viện hỗ trợ Android của mảnh bản đồ để đảm bảo khả năng tương thích ngược với các phiên bản trước của khung Android.<!-- Copyright 2020 Google LLC Licensed under the Apache License, Version 2.0 (the "License"); you may not use this file except in compliance with the License. You may obtain a copy of the License at http://www.apache.org/licenses/LICENSE-2.0 Unless required by applicable law or agreed to in writing, software distributed under the License is distributed on an "AS IS" BASIS, WITHOUT WARRANTIES OR CONDITIONS OF ANY KIND, either express or implied. See the License for the specific language governing permissions and limitations under the License. --> <fragment xmlns:android="http://schemas.android.com/apk/res/android" xmlns:tools="http://schemas.android.com/tools" android:id="@+id/map" android:name="com.google.android.gms.maps.SupportMapFragment" android:layout_width="match_parent" android:layout_height="match_parent" tools:context="com.example.mapwithmarker.MapsMarkerActivity" />
Trong phương thức
onCreate()của hoạt động, hãy đặt tệp bố cục làm khung hiển thị nội dung. Lấy handle đến fragment bản đồ bằng cách gọiFragmentManager.findFragmentById(). Sau đó, hãy dùnggetMapAsync()để đăng ký lệnh gọi lại bản đồ:Java
@Override protected void onCreate(Bundle savedInstanceState) { super.onCreate(savedInstanceState); // Retrieve the content view that renders the map. setContentView(R.layout.activity_maps); // Get the SupportMapFragment and request notification when the map is ready to be used. SupportMapFragment mapFragment = (SupportMapFragment) getSupportFragmentManager() .findFragmentById(R.id.map); mapFragment.getMapAsync(this); }
Kotlin
override fun onCreate(savedInstanceState: Bundle?) { super.onCreate(savedInstanceState) // Retrieve the content view that renders the map. setContentView(R.layout.activity_maps) // Get the SupportMapFragment and request notification when the map is ready to be used. val mapFragment = supportFragmentManager.findFragmentById(R.id.map) as? SupportMapFragment mapFragment?.getMapAsync(this) }
Triển khai giao diện
OnMapReadyCallbackvà ghi đè phương thứconMapReady()để thiết lập bản đồ khi đối tượngGoogleMapcó sẵn:Java
public class MapsMarkerActivity extends AppCompatActivity implements OnMapReadyCallback { // ... @Override public void onMapReady(GoogleMap googleMap) { LatLng sydney = new LatLng(-33.852, 151.211); googleMap.addMarker(new MarkerOptions() .position(sydney) .title("Marker in Sydney")); } }
Kotlin
class MapsMarkerActivity : AppCompatActivity(), OnMapReadyCallback { // ... override fun onMapReady(googleMap: GoogleMap) { val sydney = LatLng(-33.852, 151.211) googleMap.addMarker( MarkerOptions() .position(sydney) .title("Marker in Sydney") ) } }
Theo mặc định, Maps SDK cho Android sẽ hiển thị nội dung của cửa sổ thông tin khi người dùng nhấn vào một điểm đánh dấu. Bạn không cần thêm trình nghe lượt nhấp cho điểm đánh dấu nếu muốn sử dụng hành vi mặc định.
Các bước tiếp theo
Tìm hiểu thêm về đối tượng ánh xạ và những việc bạn có thể làm với điểm đánh dấu.