
加入含有標記的地圖
本教學課程說明如何在 iOS 應用程式中加入含有標記的 Google 地圖。適用對象為具備 Swift 或 Objective-C 初級或中級知識,且對 Xcode 有一般瞭解的使用者。如需建立地圖的進階指南,請參閱開發人員指南。
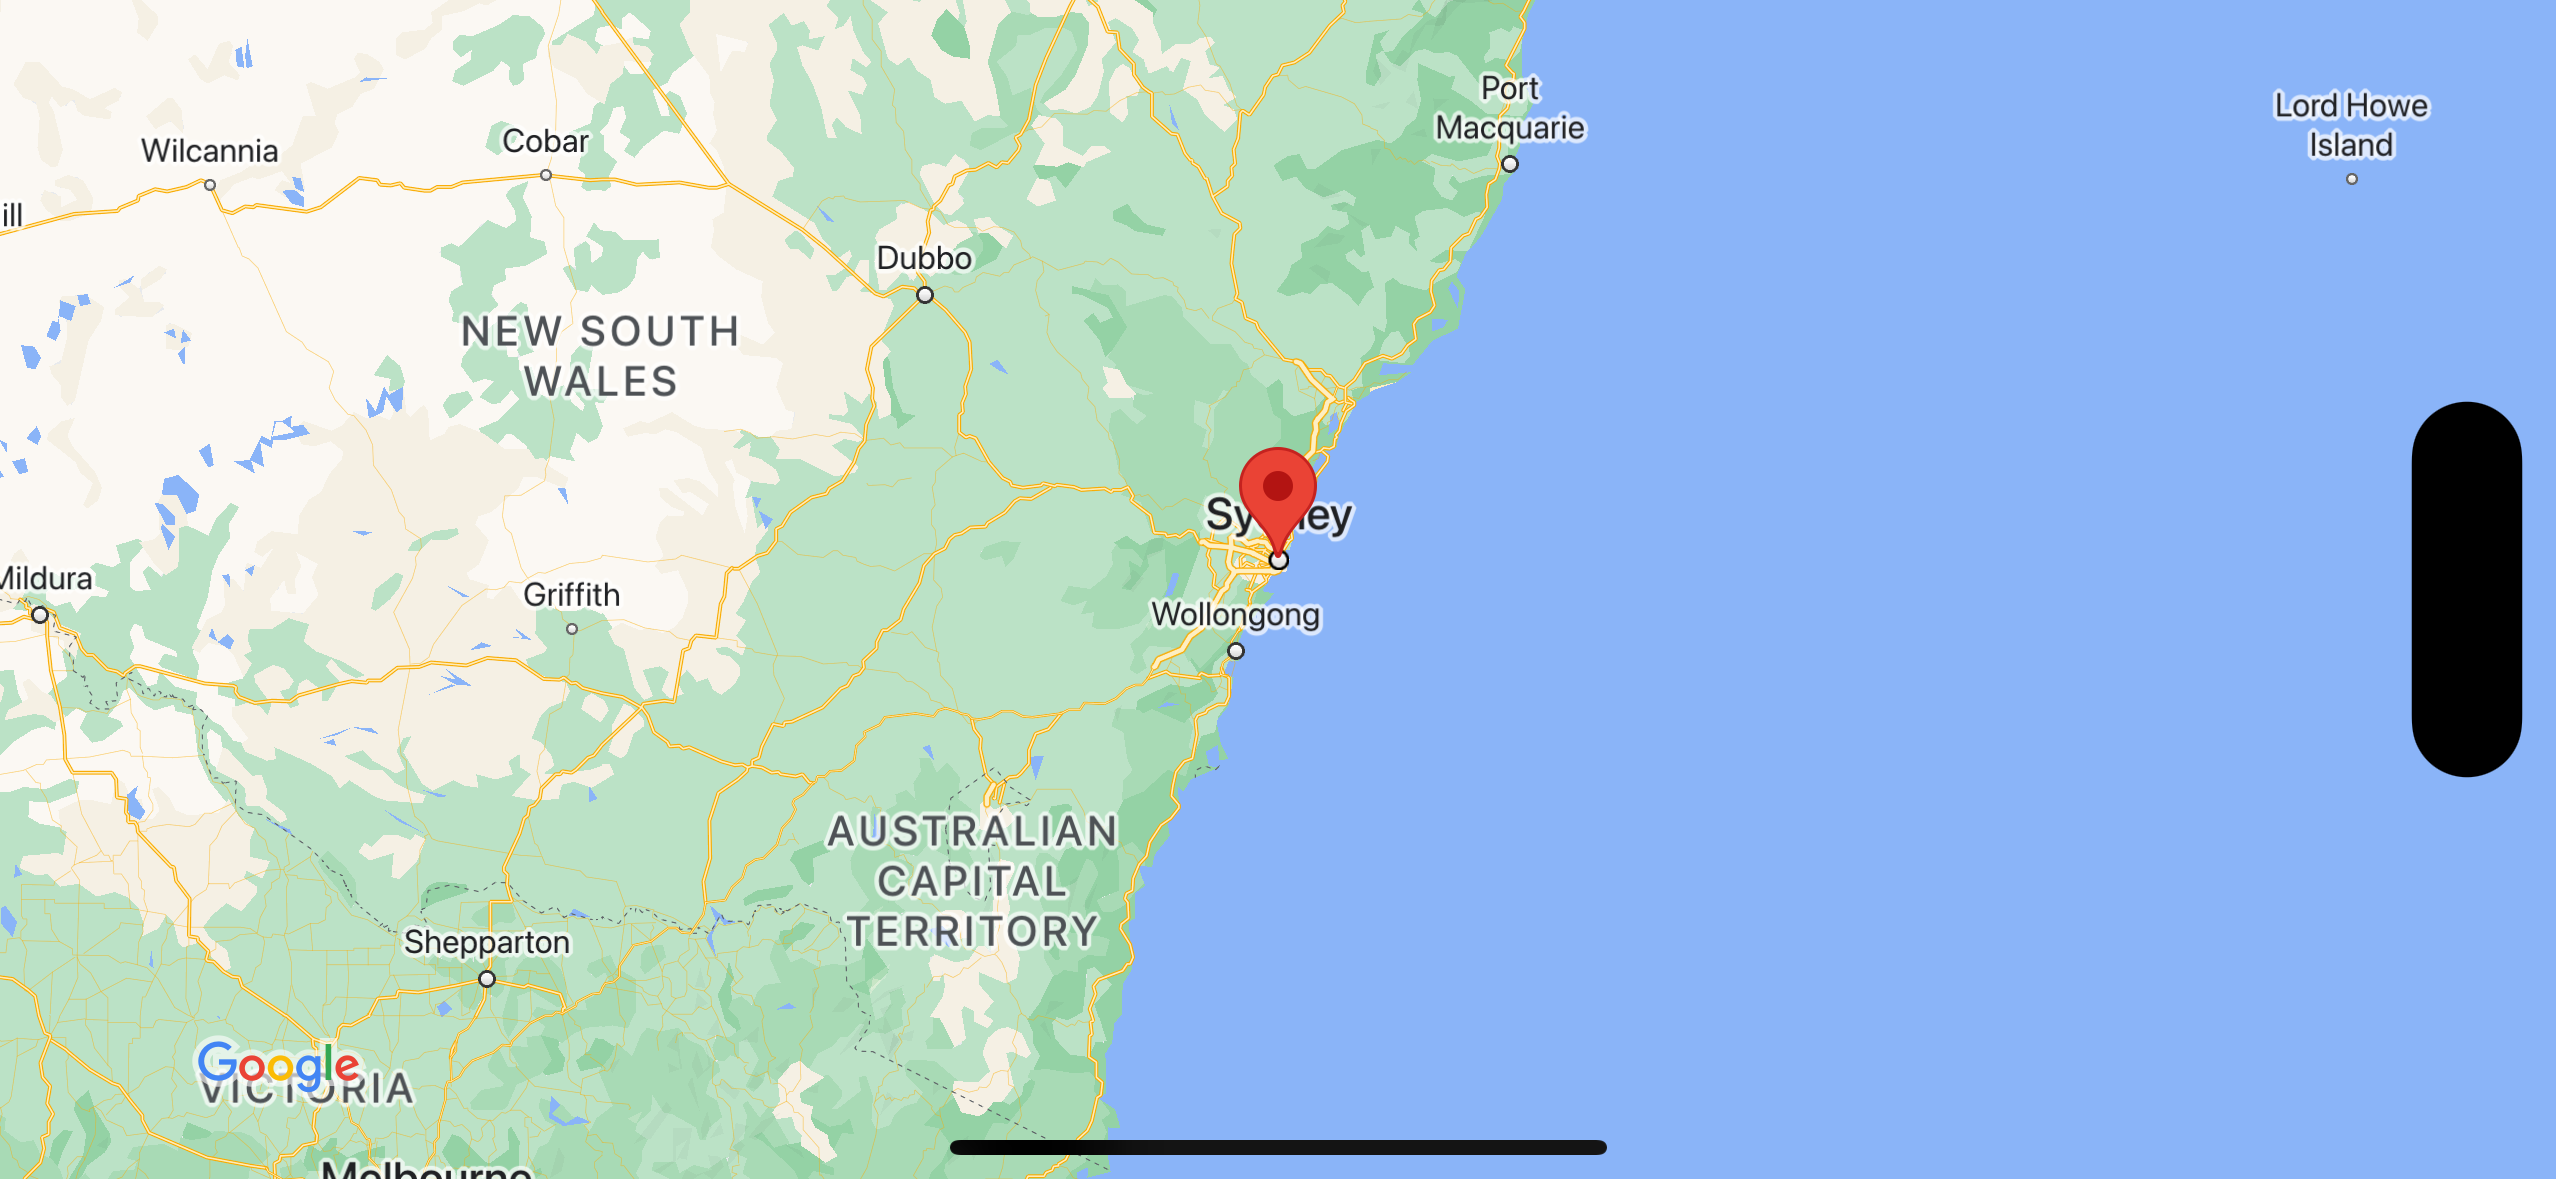
您將在本教學課程中建立下列地圖。標記位於澳洲雪梨。
取得程式碼
複製或下載 GitHub 上的 Google 地圖 iOS 範例存放區。
或者,您也可以點選下列按鈕下載原始碼:
Swift
import UIKit
import GoogleMaps

class ViewController: UIViewController {

    override func viewDidLoad() {
        super.viewDidLoad()
        // Do any additional setup after loading the view.
        // Create a GMSCameraPosition that tells the map to display the
        // coordinate -33.86,151.20 at zoom level 6.
        let camera = GMSCameraPosition.camera(withLatitude: -33.86, longitude: 151.20, zoom: 6.0)
        let mapView = GMSMapView.map(withFrame: self.view.frame, camera: camera)
        self.view.addSubview(mapView)

        // Creates a marker in the center of the map.
        let marker = GMSMarker()
        marker.position = CLLocationCoordinate2D(latitude: -33.86, longitude: 151.20)
        marker.title = "Sydney"
        marker.snippet = "Australia"
        marker.map = mapView
  }
}
Objective-C
#import "ViewController.h"
#import <GoogleMaps/GoogleMaps.h>

@interface ViewController ()

@end

@implementation ViewController

- (void)viewDidLoad {
    [super viewDidLoad];
  // Do any additional setup after loading the view.
  // Create a GMSCameraPosition that tells the map to display the
  // coordinate -33.86,151.20 at zoom level 6.
  GMSCameraPosition *camera = [GMSCameraPosition cameraWithLatitude:-33.86
                                                          longitude:151.20
                                                               zoom:6];
  GMSMapView *mapView = [GMSMapView mapWithFrame:self.view.frame camera:camera];
  mapView.myLocationEnabled = YES;
  [self.view addSubview:mapView];

  // Creates a marker in the center of the map.
  GMSMarker *marker = [[GMSMarker alloc] init];
  marker.position = CLLocationCoordinate2DMake(-33.86, 151.20);
  marker.title = @"Sydney";
  marker.snippet = @"Australia";
  marker.map = mapView;
}

@end
開始使用
Swift Package Manager
您可以使用 Swift Package Manager 安裝 Maps SDK for iOS。
- 移除所有現有的 Maps SDK for iOS 依附元件。
- 開啟終端機視窗,然後前往
tutorials/map-with-marker目錄。 - 關閉 Xcode 工作區,然後執行下列指令:
sudo gem install cocoapods-deintegrate cocoapods-clean
pod deintegrate
pod cache clean --all
rm Podfile
rm map-with-marker.xcworkspace
- 開啟 Xcode 專案並刪除 podfile。
- 依序前往「File」>「Add Package Dependencies」。
- 輸入 https://github.com/googlemaps/ios-maps-sdk 做為網址,按 Enter 鍵拉入套件,然後按一下「Add Package」(新增套件)。
- 您可能需要使用「File」>「Packages」>「Reset Package Cache」重設套件快取。
使用 CocoaPods
- 下載並安裝 Xcode 26.0 版以上版本。
- 如果您還沒有 CocoaPods,請在終端機上執行下列指令,即可在 macOS 中安裝這項工具:
sudo gem install cocoapods
- 前往
tutorials/map-with-marker目錄。 - 執行
pod install指令。此動作會安裝Podfile中指定的 Maps SDK 及其所有依附元件。 - 執行
pod outdated,比較已安裝的 Pod 版本與任何新更新。如果系統偵測到新版本,請執行pod update更新Podfile,並安裝最新版 SDK。詳情請參閱 CocoaPods 指南。 - 按兩下專案的 map-with-marker.xcworkspace 檔案,在 Xcode 中開啟專案。您必須使用
.xcworkspace檔案開啟專案。
取得 API 金鑰並啟用必要的 API
如想完成本教學課程,請取得具備 Maps SDK for iOS 使用授權的 Google API 金鑰。點選下方按鈕即可取得金鑰並啟用 API。
開始使用詳情請參閱「取得 API 金鑰」。
Add the API key to your application
將 API 金鑰新增到您的 AppDelegate.swift 中,如下所示:
- 請注意,下列匯入陳述式已加進檔案:
import GoogleMaps
- 編輯
application(_:didFinishLaunchingWithOptions:)方法中的下列程式碼行,並以您的 API 金鑰取代「YOUR_API_KEY」YOUR_API_KEY:GMSServices.provideAPIKey("YOUR_API_KEY")
建構並執行應用程式
- 將 iOS 裝置連線至電腦,或從 Xcode 方案選單選取模擬器。
- 如果使用裝置,請確認已啟用定位服務。 如果使用模擬器,請從「功能」選單中選取位置。
- 在 Xcode 中,按一下「Product/Run」選單選項 (或播放按鈕圖示)。
- Xcode 會建構應用程式,然後在裝置或模擬器上執行應用程式。
- 您應該會看到以澳洲東海岸的雪梨為中心的地圖,上面有一個標記,與本頁中的圖片類似。
疑難排解:
- 如未看到地圖,請檢查您是否已按照先前步驟,取得 API 金鑰並加入應用程式。檢查 Xcode 的偵錯控制台,看看是否有關於 API 金鑰的錯誤訊息。
- 如果您使用 iOS 軟體包 ID 限制 API 金鑰,請編輯金鑰,加入應用程式的軟體包 ID:
com.google.examples.map-with-marker。 - 確認 Wi-Fi 或 GPS 連線品質良好。
- 使用 Xcode 偵錯工具查看記錄檔並為應用程式偵錯。
瞭解程式碼
- 建立地圖,並將其設為
viewDidLoad()中的檢視畫面。Swift
// Create a GMSCameraPosition that tells the map to display the
// coordinate -33.86,151.20 at zoom level 6.
let camera = GMSCameraPosition.camera(withLatitude: -33.86, longitude: 151.20, zoom: 6.0)
let mapView = GMSMapView.map(withFrame: CGRect.zero, camera: camera)
view = mapView
Objective-C
// Create a GMSCameraPosition that tells the map to display the
// coordinate -33.86,151.20 at zoom level 6.
GMSCameraPosition *camera = [GMSCameraPosition cameraWithLatitude:-33.86
                                                        longitude:151.20
                                                             zoom:6.0];
GMSMapView *mapView = [[GMSMapView alloc] initWithFrame: CGRectZero camera:camera];
self.view = mapView;
- 在
viewDidLoad()中為地圖新增標記。Swift
// Creates a marker in the center of the map.
let marker = GMSMarker()
marker.position = CLLocationCoordinate2D(latitude: -33.86, longitude: 151.20)
marker.title = "Sydney"
marker.snippet = "Australia"
marker.map = mapView
Objective-C
// Creates a marker in the center of the map.
GMSMarker *marker = [[GMSMarker alloc] init];
marker.position = CLLocationCoordinate2DMake(-33.86, 151.20);
marker.title = @"Sydney";
marker.snippet = @"Australia";
marker.map = mapView;
根據預設,Maps SDK for iOS 會在使用者輕觸標記時顯示資訊視窗的內容。如果您可以接受使用預設行為,就不需要為標記新增點擊事件監聽器。
恭喜!您已經建構了一個能顯示 Google 地圖,且有標記指出特定位置的 iOS 應用程式。此外,您也已經學會如何使用 Maps SDK for iOS。