
En esta página, se explica un ejemplo de cómo agregar un mapa 3D básico a una app para Android con el SDK de Maps 3D para Android. En las instrucciones de esta página se supone que ya completaste los pasos de la configuración página y que tienes lo siguiente:
- Un proyecto de Google Cloud con el SDK de Maps 3D para Android habilitado
- Una clave de API configurada para usar con el SDK de Maps 3D para Android
- Un proyecto de Android Studio configurado para usar con el SDK de Maps 3D para Android
Para obtener más información sobre estos requisitos previos, consulta Configuración.
Parte 1: Actualiza el archivo de diseño (activity_main.xml) para agregar el componente Map3DView
El componente Map3DView es la vista que renderiza el mapa 3D dentro de la app. En los siguientes pasos, se agrega el componente y se configura el estado inicial del mapa, incluida la posición de la cámara y los atributos relacionados:
Abre el archivo de diseño de tu actividad principal, que suele ubicarse en
app/src/main/res/layout/activity_main.xml.En la raíz
ConstraintLayout(o tu elemento de diseño raíz), agrega el espacio de nombres XMLmap3d:xmlns:map3d="http://schemas.android.com/apk/res-auto"Borra el
<TextView>predeterminado que muestra "Hello World!".Agrega el componente
Map3DViewa tu diseño. Puedes personalizar la posición de la cámara y otros atributos:<?xml version="1.0" encoding="utf-8"?> <androidx.constraintlayout.widget.ConstraintLayout xmlns:android="http://schemas.android.com/apk/res/android" xmlns:app="http://schemas.android.com/apk/res-auto" xmlns:map3d="http://schemas.android.com/apk/res-auto" xmlns:tools="http://schemas.android.com/tools" android:id="@+id/main" android:layout_width="match_parent" android:layout_height="match_parent" tools:context=".MainActivity"> <com.google.android.gms.maps3d.Map3DView android:id="@+id/map3dView" android:layout_width="match_parent" android:layout_height="match_parent" map3d:mode="hybrid" map3d:centerLat="38.544012" map3d:centerLng="-107.670428" map3d:centerAlt="2427.6" map3d:heading="310" map3d:tilt="63" map3d:range="8266" map3d:roll="0" map3d:minAltitude="0" map3d:maxAltitude="1000000" map3d:minHeading="0" map3d:maxHeading="360" map3d:minTilt="0" map3d:maxTilt="90" app:layout_constraintBottom_toBottomOf="parent" app:layout_constraintEnd_toEndOf="parent" app:layout_constraintStart_toStartOf="parent" app:layout_constraintTop_toTopOf="parent" /> </androidx.constraintlayout.widget.ConstraintLayout>
Parte 2: Actualiza MainActivity.kt
En los siguientes pasos, se inicializa el componente Map3DView que se agregó al archivo activity_main.xml en la Parte 1 y se administran los eventos de ciclo de vida del componente.
Ten en cuenta que el SDK de Maps 3D para Android solo admite una instancia Map3DView
activa a la vez. No se admite mostrar varias instancias de Map3DView simultáneamente (p.ej., en el mismo diseño o en diferentes actividades o fragmentos visibles) y puede generar problemas de renderización, como pantallas negras en vistas secundarias.
Además, todos los Map3DView compartirán y reflejarán el mismo estado del mapa (p. ej., posición de la cámara, marcadores agregados, polígonos, etcétera), que persistirá incluso si se destruye un Map3DView (con onDestroy) y se crea otro, a menos que se borre de forma manual. Por ejemplo, si agregas marcadores a Map3DView1, luego lo destruyes y creas Map3DView2, esos mismos marcadores seguirán presentes en Map3DView2.
Responsabilidades del desarrollador:
- Una vista a la vez: Asegúrate de que solo un
Map3DViewesté en una parte activa de tu jerarquía de vistas en cualquier momento. - Limpieza manual: Cuando cambies de un
Map3DView(p.ej.,Map3DView1) a otro (p.ej.,Map3DView2), debes llamar aonDestroy()en la instancia anterior (Map3DView1). Debido a que el estado del mapa subyacente se comparte, para garantizar queMap3DView2comience con un estado nuevo o específico, eres responsable de borrar manualmente cualquier estado establecido porMap3DView1. Esto incluye quitar marcadores, superposiciones, etcétera, y restablecer la posición de la cámara con el objetoGoogleMap3Dobtenido enOnMap3DViewReadyCallback.
Abre tu archivo
MainActivity.kt, que suele ubicarse enapp/src/main/java/com/example/yourpackagename/MainActivity.kt.Agrega las importaciones necesarias para el SDK de Maps 3D para Android:
import com.google.android.gms.maps3d.GoogleMap3D
import com.google.android.gms.maps3d.Map3DView
import com.google.android.gms.maps3d.OnMap3DViewReadyCallback
Modifica la clase
MainActivitypara implementarOnMap3DViewReadyCallback:class MainActivity : AppCompatActivity(), OnMap3DViewReadyCallback {Declara variables para
Map3DViewyGoogleMap3D:private lateinit var map3DView: Map3DView private var googleMap3D: GoogleMap3D? = nullEn el método
onCreate, después desetContentView(...)y el bloqueViewCompat.setOnApplyWindowInsetsListener, inicializamap3DView, llama a su método de ciclo de vidaonCreatey solicita el mapa de forma asíncrona:override fun onCreate(savedInstanceState: Bundle?) { super.onCreate(savedInstanceState) enableEdgeToEdge() setContentView(R.layout.activity_main) ViewCompat.setOnApplyWindowInsetsListener(findViewById(R.id.main)) { v, insets -> val systemBars = insets.getInsets(WindowInsetsCompat.Type.systemBars()) v.setPadding(systemBars.left, systemBars.top, systemBars.right, systemBars.bottom) insets } map3DView = findViewById(R.id.map3dView) map3DView.onCreate(savedInstanceState) map3DView.getMap3DViewAsync(this) }Anula el método
onMap3DViewReady. Esta devolución de llamada se activa cuando el mapa está listo para utilizarse:override fun onMap3DViewReady(googleMap3D: GoogleMap3D) { // Interact with the googleMap3D object here this.googleMap3D = googleMap3D // You can now make calls to the googleMap3D object, e.g., // googleMap3D.cameraController.flyTo(camera { ... }) }Reenvía los eventos de ciclo de vida de tu actividad a
Map3DViewagregando las siguientes anulaciones aMainActivity:override fun onStart() { super.onStart() map3DView.onStart() } override fun onResume() { super.onResume() map3DView.onResume() } override fun onPause() { map3DView.onPause() super.onPause() } override fun onStop() { map3DView.onStop() super.onStop() } override fun onDestroy() { map3DView.onDestroy() super.onDestroy() } override fun onSaveInstanceState(outState: Bundle) { super.onSaveInstanceState(outState) map3DView.onSaveInstanceState(outState) } override fun onLowMemory() { super.onLowMemory() map3DView.onLowMemory() }
Parte 3: Sincroniza Gradle y ejecuta
Ahora que actualizaste el diseño y la actividad de tu app, puedes compilar y ejecutar la app para ver la vista del mapa 3D.
Para sincronizar tu proyecto con Gradle, selecciona File > Sync Project with Gradle Files.
Para compilar y ejecutar tu app en un emulador o un dispositivo físico, selecciona Run > Run.
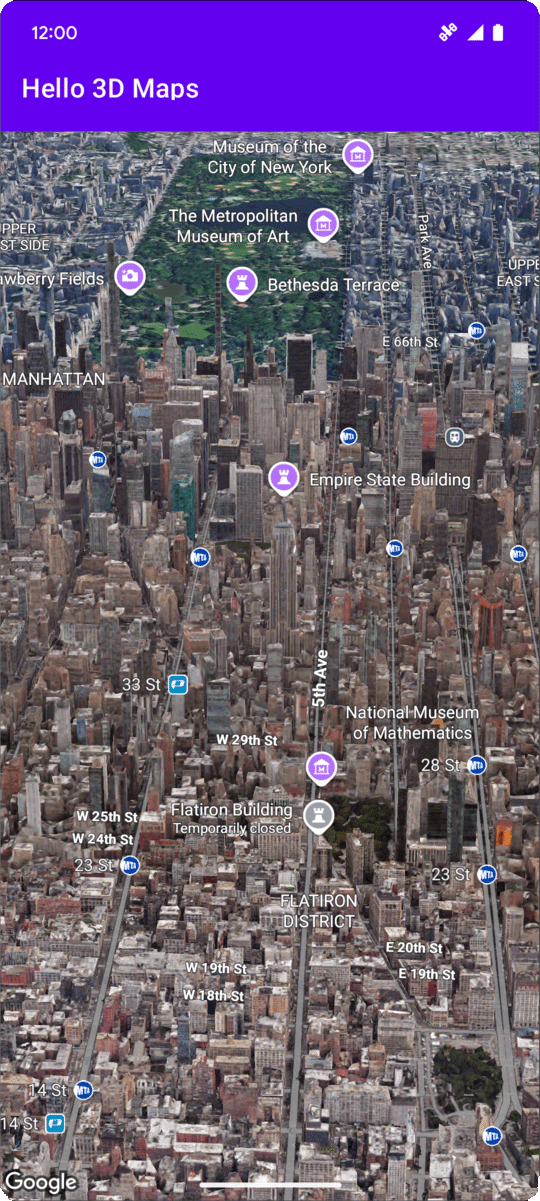
Si todo está configurado correctamente, deberías ver un mapa 3D en tu app, centrado cerca de las coordenadas especificadas en activity_main.xml.
Próximos pasos
Ahora que agregaste un mapa 3D básico a tu app, puedes explorar funciones más avanzadas del SDK de Maps 3D para Android, como animaciones de ruta de cámara, marcadores 3D o polígonos.
Escucha los eventos de clic en el mapa
Para escuchar los eventos de clic en el mapa, usa GoogleMap3D.setMap3DClickListener. Este objeto de escucha se activa cuando un usuario hace clic en el mapa y proporciona la ubicación y el ID de lugar del punto seleccionado.
En el siguiente ejemplo, se muestra cómo configurar un objeto de escucha de clic en el mapa:
googleMap3D.setMap3DClickListener { location, placeId ->
    lifecycleScope.launch(Dispatchers.Main) {
        if (placeId != null) {
            Toast.makeText(this@MainActivity, "Clicked on place with ID: $placeId", Toast.LENGTH_SHORT).show()
        } else {
            Toast.makeText(this@MainActivity, "Clicked on location: $location", Toast.LENGTH_SHORT).show()
        }
    }
}
Ten en cuenta que el controlador de clics no se ejecuta en el subproceso principal (o de IU). Si deseas realizar cambios en la IU (como mostrar un mensaje de Toast), debes cambiar al subproceso principal. En Kotlin, puedes hacerlo con lifecycleScope.launch(Dispatchers.Main).