
این صفحه مثالی از نحوهی افزودن یک نقشهی سهبعدی پایه به یک برنامهی اندروید با استفاده از Maps 3D SDK برای اندروید را ارائه میدهد. دستورالعملهای این صفحه فرض میکنند که شما مراحل صفحهی تنظیمات را قبلاً انجام دادهاید و موارد زیر را دارید:
- یک پروژه گوگل کلود با Maps 3D SDK فعال برای اندروید
- یک کلید API پیکربندی شده برای استفاده با Maps 3D SDK برای اندروید
- یک پروژه اندروید استودیو که برای استفاده با Maps 3D SDK برای اندروید تنظیم شده است
برای اطلاعات بیشتر در مورد این پیشنیازها، به بخش تنظیمات مراجعه کنید.
بخش ۱: بهروزرسانی فایل طرحبندی ( activity_main.xml ) برای افزودن کامپوننت Map3DView
کامپوننت Map3DView نمایی است که نقشه سهبعدی را درون برنامه رندر میکند. مراحل زیر این کامپوننت را اضافه کرده و وضعیت اولیه نقشه، از جمله موقعیت دوربین و ویژگیهای مرتبط را پیکربندی میکند:
فایل طرحبندی فعالیت اصلی خود را که معمولاً در
app/src/main/res/layout/activity_main.xmlقرار دارد، باز کنید.در
ConstraintLayoutریشه (یا عنصر طرحبندی ریشه خود)، فضای نامmap3dXML را اضافه کنید:xmlns:map3d="http://schemas.android.com/apk/res-auto"<TextView>پیشفرض که عبارت "Hello World!" را نمایش میدهد، حذف کنید.کامپوننت
Map3DViewرا به طرح خود اضافه کنید. میتوانید موقعیت دوربین و سایر ویژگیها را سفارشی کنید:<?xml version="1.0" encoding="utf-8"?> <androidx.constraintlayout.widget.ConstraintLayout xmlns:android="http://schemas.android.com/apk/res/android" xmlns:app="http://schemas.android.com/apk/res-auto" xmlns:map3d="http://schemas.android.com/apk/res-auto" xmlns:tools="http://schemas.android.com/tools" android:id="@+id/main" android:layout_width="match_parent" android:layout_height="match_parent" tools:context=".MainActivity"> <com.google.android.gms.maps3d.Map3DView android:id="@+id/map3dView" android:layout_width="match_parent" android:layout_height="match_parent" map3d:mode="hybrid" map3d:centerLat="38.544012" map3d:centerLng="-107.670428" map3d:centerAlt="2427.6" map3d:heading="310" map3d:tilt="63" map3d:range="8266" map3d:roll="0" map3d:minAltitude="0" map3d:maxAltitude="1000000" map3d:minHeading="0" map3d:maxHeading="360" map3d:minTilt="0" map3d:maxTilt="90" app:layout_constraintBottom_toBottomOf="parent" app:layout_constraintEnd_toEndOf="parent" app:layout_constraintStart_toStartOf="parent" app:layout_constraintTop_toTopOf="parent" /> </androidx.constraintlayout.widget.ConstraintLayout>
بخش ۲: بهروزرسانی MainActivity.kt
مراحل زیر، کامپوننت Map3DView اضافه شده به فایل activity_main.xml در بخش 1 را مقداردهی اولیه کرده و رویدادهای چرخه عمر کامپوننت را مدیریت میکنند.
توجه داشته باشید که Maps 3D SDK برای اندروید فقط از یک نمونه فعال Map3DView در یک زمان پشتیبانی میکند. نمایش چندین نمونه Map3DView به طور همزمان (مثلاً در یک طرحبندی یا Activityها یا Fragmentsهای قابل مشاهده مختلف) پشتیبانی نمیشود و میتواند منجر به مشکلات رندر، مانند صفحههای سیاه در نماهای ثانویه، شود.
علاوه بر این، تمام Map3DView وضعیت نقشه یکسانی (مثلاً موقعیت دوربین، نشانگرهای اضافه شده، چندضلعیها و غیره) را به اشتراک گذاشته و منعکس میکنند، که حتی اگر یک Map3DView از بین برود (با استفاده از onDestroy ) و دیگری ایجاد شود، مگر اینکه به صورت دستی پاک شود، همچنان پابرجا خواهد ماند. برای مثال، اگر نشانگرهایی را به Map3DView1 اضافه کنید، سپس آن را از بین ببرید و Map3DView2 را ایجاد کنید، همان نشانگرها همچنان در Map3DView2 وجود خواهند داشت.
مسئولیتهای توسعهدهنده:
- یک نما در هر زمان: مطمئن شوید که در هر لحظه فقط یک
Map3DViewدر بخش فعال سلسله مراتب نماهای شما قرار دارد. - پاکسازی دستی: هنگام تغییر از یک
Map3DView(مثلاًMap3DView1) به دیگری (مثلاًMap3DView2)، باید تابعonDestroy()روی نمونه قدیمی (Map3DView1) فراخوانی کنید. از آنجا که وضعیت نقشه اصلی به اشتراک گذاشته شده است، برای اطمینان از اینکهMap3DView2با یک وضعیت تازه یا خاص شروع میشود، شما مسئول پاک کردن دستی هر وضعیتی هستید که توسطMap3DView1تعیین شده است. این شامل حذف نشانگرها، پوششها و غیره و تنظیم مجدد موقعیت دوربین با استفاده از شیءGoogleMap3Dبه دست آمده درOnMap3DViewReadyCallbackمیشود.
فایل
MainActivity.ktخود را که معمولاً درapp/src/main/java/com/example/yourpackagename/MainActivity.ktقرار دارد، باز کنید.ایمپورتهای لازم برای Maps 3D SDK برای اندروید را اضافه کنید:
import com.google.android.gms.maps3d.GoogleMap3D
import com.google.android.gms.maps3d.Map3DView
import com.google.android.gms.maps3d.OnMap3DViewReadyCallback
کلاس
MainActivityرا برای پیادهسازیOnMap3DViewReadyCallbackتغییر دهید:class MainActivity : AppCompatActivity(), OnMap3DViewReadyCallback {متغیرهایی را برای
Map3DViewوGoogleMap3Dتعریف کنید:private lateinit var map3DView: Map3DView private var googleMap3D: GoogleMap3D? = nullدر متد
onCreate، پس ازsetContentView(...)و بلوکViewCompat.setOnApplyWindowInsetsListener،map3DViewرا مقداردهی اولیه کنید، متد چرخه عمرonCreateآن را فراخوانی کنید و نقشه را به صورت ناهمزمان درخواست کنید:override fun onCreate(savedInstanceState: Bundle?) { super.onCreate(savedInstanceState) enableEdgeToEdge() setContentView(R.layout.activity_main) ViewCompat.setOnApplyWindowInsetsListener(findViewById(R.id.main)) { v, insets -> val systemBars = insets.getInsets(WindowInsetsCompat.Type.systemBars()) v.setPadding(systemBars.left, systemBars.top, systemBars.right, systemBars.bottom) insets } map3DView = findViewById(R.id.map3dView) map3DView.onCreate(savedInstanceState) map3DView.getMap3DViewAsync(this) }متد
onMap3DViewReadyرا بازنویسی کنید. این تابع فراخوانی زمانی اجرا میشود که نقشه آماده استفاده باشد:override fun onMap3DViewReady(googleMap3D: GoogleMap3D) { // Interact with the googleMap3D object here this.googleMap3D = googleMap3D // You can now make calls to the googleMap3D object, e.g., // googleMap3D.cameraController.flyTo(camera { ... }) }با اضافه کردن override های زیر به
MainActivity، رویدادهای چرخه حیات را از Activity خود بهMap3DViewمنتقل کنید:override fun onStart() { super.onStart() map3DView.onStart() } override fun onResume() { super.onResume() map3DView.onResume() } override fun onPause() { map3DView.onPause() super.onPause() } override fun onStop() { map3DView.onStop() super.onStop() } override fun onDestroy() { map3DView.onDestroy() super.onDestroy() } override fun onSaveInstanceState(outState: Bundle) { super.onSaveInstanceState(outState) map3DView.onSaveInstanceState(outState) } override fun onLowMemory() { super.onLowMemory() map3DView.onLowMemory() }
بخش ۳: همگامسازی Gradle و اجرا
اکنون که طرحبندی و فعالیت برنامه خود را بهروزرسانی کردهاید، میتوانید برنامه را بسازید و اجرا کنید تا نمای نقشه سهبعدی را ببینید.
برای همگامسازی پروژه خود با Gradle، از منوی File گزینه Sync Project with Gradle Files را انتخاب کنید.
برای ساخت و اجرای برنامه خود روی یک شبیهساز یا یک دستگاه فیزیکی، Run > Run را انتخاب کنید.
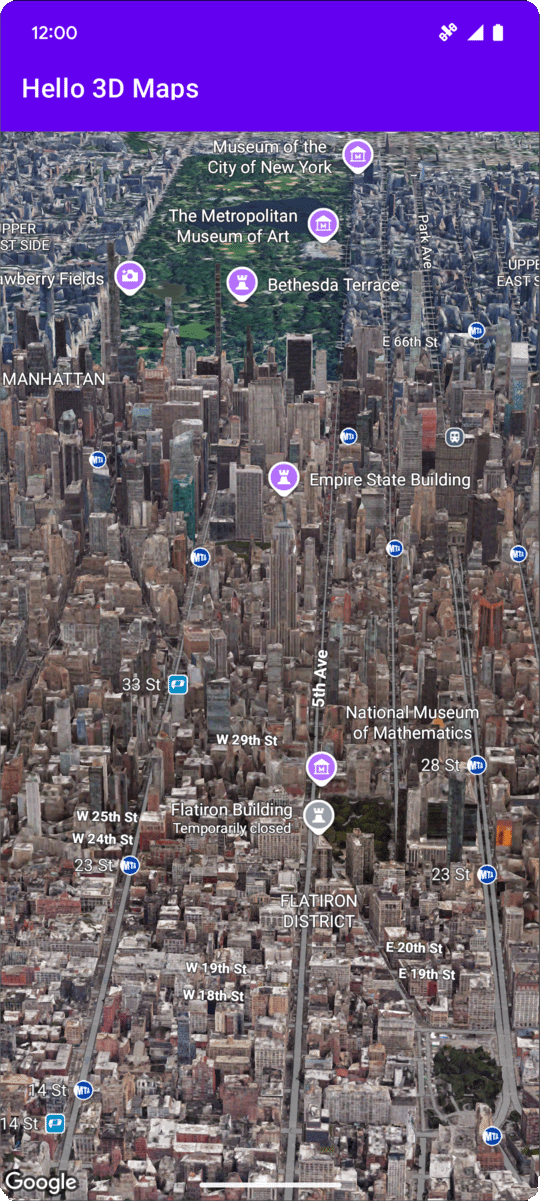
اگر همه چیز به درستی پیکربندی شده باشد، باید یک نقشه سهبعدی در برنامه خود مشاهده کنید که در مرکز مختصات مشخص شده در activity_main.xml شما قرار دارد.
مراحل بعدی
حالا که یک نقشه سهبعدی پایه به برنامهتان اضافه کردهاید، میتوانید ویژگیهای پیشرفتهتر Maps 3D SDK برای اندروید، مانند انیمیشنهای مسیر دوربین ، نشانگرهای سهبعدی یا چندضلعیها را بررسی کنید.
به رویدادهای کلیک روی نقشه گوش دهید
برای گوش دادن به رویدادهای کلیک روی نقشه، از GoogleMap3D.setMap3DClickListener استفاده کنید. این شنونده زمانی فعال میشود که کاربر روی نقشه کلیک کند و موقعیت و شناسه مکان نقطه کلیک شده را ارائه میدهد.
مثال زیر نحوه تنظیم شنونده کلیک نقشه را نشان میدهد:
googleMap3D.setMap3DClickListener { location, placeId ->
    lifecycleScope.launch(Dispatchers.Main) {
        if (placeId != null) {
            Toast.makeText(this@MainActivity, "Clicked on place with ID: $placeId", Toast.LENGTH_SHORT).show()
        } else {
            Toast.makeText(this@MainActivity, "Clicked on location: $location", Toast.LENGTH_SHORT).show()
        }
    }
}
توجه داشته باشید که کنترلکنندهی کلیک روی نخ اصلی (یا UI) اجرا نمیشود. اگر میخواهید تغییراتی در رابط کاربری ایجاد کنید (مانند نمایش یک پیام Toast)، باید به نخ اصلی بروید. برای کاتلین، میتوانید این کار را با استفاده از lifecycleScope.launch(Dispatchers.Main) انجام دهید.