
Nesta página, mostramos um exemplo de como adicionar um mapa 3D básico a um app Android usando o SDK do Maps 3D para Android. As instruções nesta página pressupõem que você já concluiu as etapas na página Configuração e tem o seguinte:
- Um projeto na nuvem do Google Cloud com o SDK do Maps 3D para Android ativado
- Uma chave de API configurada para uso com o SDK do Maps 3D para Android
- Um projeto do Android Studio configurado para uso com o SDK do Maps 3D para Android
Para mais informações sobre esses pré-requisitos, consulte Configuração.
Parte 1: atualizar o arquivo de layout (activity_main.xml) para adicionar o componente Map3DView
O componente Map3DView é a visualização que renderiza o mapa 3D no app.
As etapas a seguir adicionam o componente e configuram o estado inicial do
mapa, incluindo a posição da câmera e os atributos relacionados:
Abra o arquivo de layout da sua atividade principal, que geralmente está localizado em
app/src/main/res/layout/activity_main.xml.No
ConstraintLayoutraiz (ou elemento de layout raiz), adicione o namespace XMLmap3d:xmlns:map3d="http://schemas.android.com/apk/res-auto"Exclua o
<TextView>padrão que mostra "Hello World!".Adicione o componente
Map3DViewao layout. É possível personalizar a posição da câmera e outros atributos:<?xml version="1.0" encoding="utf-8"?> <androidx.constraintlayout.widget.ConstraintLayout xmlns:android="http://schemas.android.com/apk/res/android" xmlns:app="http://schemas.android.com/apk/res-auto" xmlns:map3d="http://schemas.android.com/apk/res-auto" xmlns:tools="http://schemas.android.com/tools" android:id="@+id/main" android:layout_width="match_parent" android:layout_height="match_parent" tools:context=".MainActivity"> <com.google.android.gms.maps3d.Map3DView android:id="@+id/map3dView" android:layout_width="match_parent" android:layout_height="match_parent" map3d:mode="hybrid" map3d:centerLat="38.544012" map3d:centerLng="-107.670428" map3d:centerAlt="2427.6" map3d:heading="310" map3d:tilt="63" map3d:range="8266" map3d:roll="0" map3d:minAltitude="0" map3d:maxAltitude="1000000" map3d:minHeading="0" map3d:maxHeading="360" map3d:minTilt="0" map3d:maxTilt="90" app:layout_constraintBottom_toBottomOf="parent" app:layout_constraintEnd_toEndOf="parent" app:layout_constraintStart_toStartOf="parent" app:layout_constraintTop_toTopOf="parent" /> </androidx.constraintlayout.widget.ConstraintLayout>
Parte 2: atualizar MainActivity.kt
As etapas a seguir inicializam o componente Map3DView adicionado ao
arquivo activity_main.xml na Parte 1 e gerenciam eventos do ciclo de vida do componente.
O SDK do Maps 3D para Android só é compatível com uma instância Map3DView ativa por vez. Não é possível mostrar várias instâncias de Map3DView simultaneamente (por exemplo, no mesmo layout ou em atividades ou fragmentos visíveis diferentes), e isso pode causar problemas de renderização, como telas pretas em visualizações secundárias.
Além disso, todos os Map3DView vão compartilhar e refletir o mesmo estado do mapa (por exemplo, posição da câmera, marcadores adicionados, polígonos etc.), que vai persistir mesmo que um Map3DView seja destruído (usando onDestroy) e outro seja criado, a menos que seja limpo manualmente. Por exemplo, se você adicionar marcadores a Map3DView1, destruir
e criar Map3DView2, esses mesmos marcadores ainda estarão presentes em
Map3DView2.
Responsabilidades do desenvolvedor:
- Uma visualização por vez:verifique se apenas um
Map3DViewestá em uma parte ativa da hierarquia de visualização a qualquer momento. - Limpeza manual:ao alternar de um
Map3DView(por exemplo,Map3DView1) para outro (por exemplo,Map3DView2), chameonDestroy()na instância antiga (Map3DView1). Como o estado do mapa subjacente é compartilhado, para garantir queMap3DView2comece com um estado novo ou específico, você é responsável por limpar manualmente qualquer estado definido porMap3DView1. Isso inclui remover marcadores, sobreposições etc. e redefinir a posição da câmera usando o objetoGoogleMap3Dobtido noOnMap3DViewReadyCallback.
Abra o arquivo
MainActivity.kt, que geralmente está localizado emapp/src/main/java/com/example/yourpackagename/MainActivity.kt.Adicione as importações necessárias para o SDK do Maps 3D para Android:
import com.google.android.gms.maps3d.GoogleMap3D
import com.google.android.gms.maps3d.Map3DView
import com.google.android.gms.maps3d.OnMap3DViewReadyCallback
Modifique a classe
MainActivitypara implementarOnMap3DViewReadyCallback:class MainActivity : AppCompatActivity(), OnMap3DViewReadyCallback {Declare variáveis para
Map3DVieweGoogleMap3D:private lateinit var map3DView: Map3DView private var googleMap3D: GoogleMap3D? = nullNo método
onCreate, depois desetContentView(...)e do blocoViewCompat.setOnApplyWindowInsetsListener, inicialize omap3DView, chame o método do ciclo de vidaonCreatee solicite o mapa de forma assíncrona:override fun onCreate(savedInstanceState: Bundle?) { super.onCreate(savedInstanceState) enableEdgeToEdge() setContentView(R.layout.activity_main) ViewCompat.setOnApplyWindowInsetsListener(findViewById(R.id.main)) { v, insets -> val systemBars = insets.getInsets(WindowInsetsCompat.Type.systemBars()) v.setPadding(systemBars.left, systemBars.top, systemBars.right, systemBars.bottom) insets } map3DView = findViewById(R.id.map3dView) map3DView.onCreate(savedInstanceState) map3DView.getMap3DViewAsync(this) }Modifique o método
onMap3DViewReady. Esse callback é acionado quando o mapa está pronto para ser usado:override fun onMap3DViewReady(googleMap3D: GoogleMap3D) { // Interact with the googleMap3D object here this.googleMap3D = googleMap3D // You can now make calls to the googleMap3D object, e.g., // googleMap3D.cameraController.flyTo(camera { ... }) }Encaminhe os eventos de ciclo de vida da sua atividade para o
Map3DViewadicionando as seguintes substituições aoMainActivity:override fun onStart() { super.onStart() map3DView.onStart() } override fun onResume() { super.onResume() map3DView.onResume() } override fun onPause() { map3DView.onPause() super.onPause() } override fun onStop() { map3DView.onStop() super.onStop() } override fun onDestroy() { map3DView.onDestroy() super.onDestroy() } override fun onSaveInstanceState(outState: Bundle) { super.onSaveInstanceState(outState) map3DView.onSaveInstanceState(outState) } override fun onLowMemory() { super.onLowMemory() map3DView.onLowMemory() }
Parte 3: sincronizar o Gradle e executar
Agora que você atualizou o layout e a atividade do app, crie e execute o app para ver a visualização do mapa em 3D.
Para sincronizar seu projeto com o Gradle, selecione File > Sync Project with Gradle Files.
Para criar e executar o app em um emulador ou dispositivo físico, selecione Run > Run.
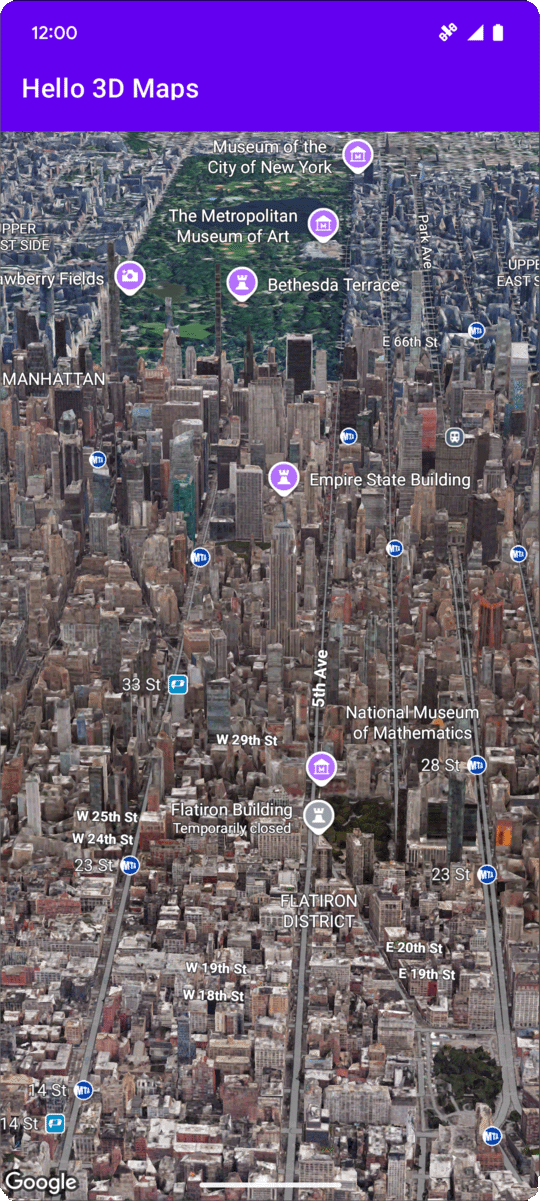
Se tudo estiver configurado corretamente, um mapa 3D vai aparecer no app, centralizado perto das coordenadas especificadas no activity_main.xml.
Próximas etapas
Agora que você adicionou um mapa 3D básico ao seu app, pode explorar recursos avançados do SDK do Maps 3D para Android, como animações de trajetória da câmera, marcadores 3D ou polígonos.
Detectar eventos de clique no mapa
Para detectar eventos de clique no mapa, use
GoogleMap3D.setMap3DClickListener. Esse listener é acionado quando um usuário
clica no mapa e fornece o local e o ID do lugar do ponto
clicado.
O exemplo a seguir mostra como definir um listener de clique no mapa:
googleMap3D.setMap3DClickListener { location, placeId ->
    lifecycleScope.launch(Dispatchers.Main) {
        if (placeId != null) {
            Toast.makeText(this@MainActivity, "Clicked on place with ID: $placeId", Toast.LENGTH_SHORT).show()
        } else {
            Toast.makeText(this@MainActivity, "Clicked on location: $location", Toast.LENGTH_SHORT).show()
        }
    }
}
O gerenciador de cliques não é executado na linha de execução principal (ou de interface). Se você
quiser fazer mudanças na UI (como mostrar uma mensagem Toast), mude
para a linha de execução principal. Para Kotlin, use
lifecycleScope.launch(Dispatchers.Main).