
If your Google Workspace Add-on connects to a third-party service or API that requires authorization, the add-on can prompt users to sign in and authorize access.
This page explains how to authenticate users using an authorization flow (such as OAuth), which includes the following steps:
- Detect when authorization is required.
- Return a card interface that prompts users to sign in to the service.
- Refresh the add-on so that users can access the service or protected resource.
If your add-on only requires the user identity, you can directly authenticate users by using their Google Workspace ID or email address. To use the email address for authentication, see validating JSON requests. If you've built your add-on using Google Apps Script, you can make this process easier by using the OAuth2 for Google Apps Script library (there is also an OAuth1 version).
Detect that authorization is required
When using your add-on, users might not be authorized to access a protected resource for a variety of reasons, such as the following:
- An access token to connect to the third-party service hasn't been generated yet or is expired.
- The access token doesn't cover the requested resource.
- The access token doesn't cover the request's required scopes.
Your add-on should detect these cases so that users can sign in and access your service.
If you're building in Apps Script, The OAuth library
hasAccess() function can tell you if you have access to a service.
Alternatively, when using
UrlFetchApp fetch()
requests, you can set the muteHttpExceptions parameter to true. This
prevents the request from throwing an exception on request failure and lets you
examine the request response code and content in the returned
HttpResponse object.
Prompt users to sign in to your service
When your add-on detects that authorization is required, the add-on must return a card interface to prompt users to sign in to the service. The sign-in card must redirect users to complete the third-party authentication and authorization process on your infrastructure.
When building your add-on using HTTP endpoints, we recommend that you guard the destination app with Google Sign-in, and get the user ID by using the identity token issued during sign-in. The sub-claim contains the user's unique ID and can be correlated with the ID from your add-on.
Build and return a sign-in card
For your service's sign-in card, you can use Google's basic authorization card, or you can customize a card to display additional information, such as your organization's logo. If you're publishing your add-on publicly, you must use a custom card.
Basic authorization card
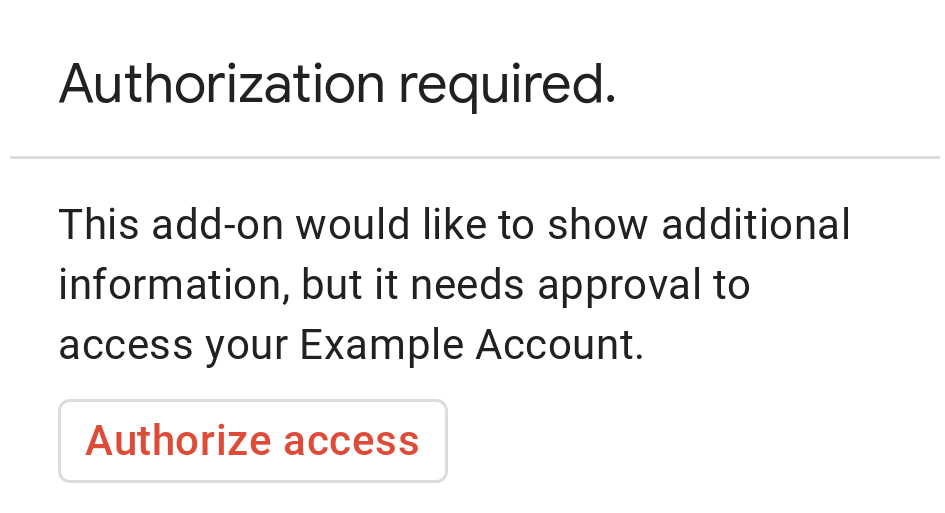
The following image shows an example of Google's basic authorization card:
The following code shows an example of using Google's basic authorization card:
Apps Script
CardService.newAuthorizationException()
    .setAuthorizationUrl('AUTHORIZATION_URL')
    .setResourceDisplayName('RESOURCE_DISPLAY_NAME')
    .throwException();
JSON
Return the following JSON response:
{
  "basic_authorization_prompt": {
    "authorization_url": "AUTHORIZATION_URL",
    "resource": "RESOURCE_DISPLAY_NAME"
  }
}
Replace the following:
AUTHORIZATION_URL: The URL for the web app that handles authorization.RESOURCE_DISPLAY_NAME: The display name for the protected resource or service. This name is displayed to the user on the authorization prompt. For example, if yourRESOURCE_DISPLAY_NAMEisExample Account, the prompt says "This add-on would like to show additional information, but it needs approval to access your Example Account."
After completing authorization, the user is prompted to refresh the add-on to access the protected resource.
Custom authorization card
To modify the authorization prompt, you can create a custom card for your service's sign-in experience.
If you're publishing your add-on publicly, you must use a custom authorization card. To learn more about publishing requirements for the Google Workspace Marketplace, see About app review.
The returned card must do the following:
- Make it clear to the user that the add-on is asking for permission to access a non-Google service on their behalf.
- Make it clear what the add-on is able to do if authorized.
- Contain a button or similar widget that takes the user to the service's authorization URL. Make sure this widget's function is obvious to the user.
- The above widget must use the
OnClose.RELOADsetting in itsOpenLinkobject to ensure that the add-on reloads after authorization is received. - All links opened from the authorization prompt must use HTTPS.
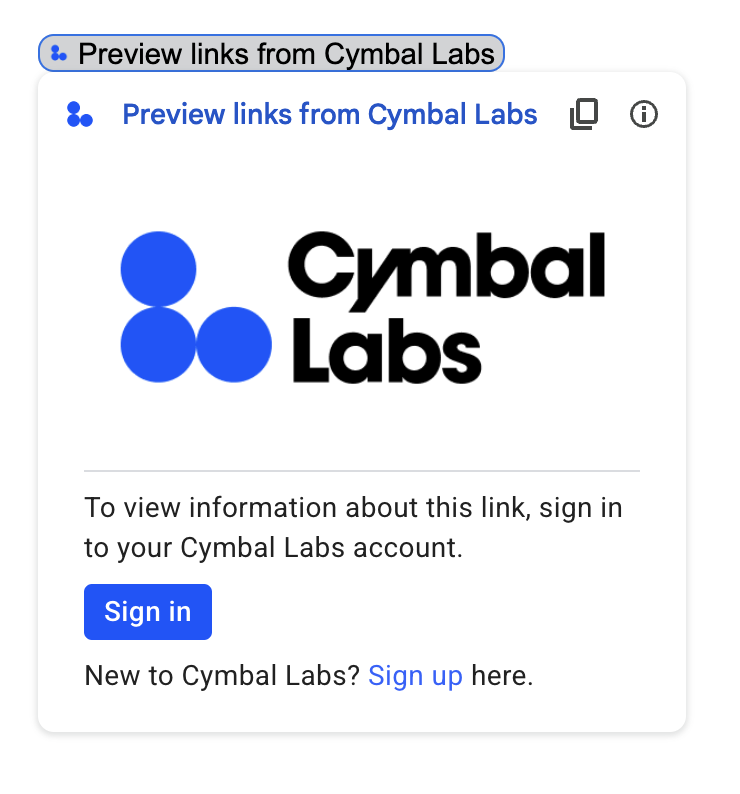
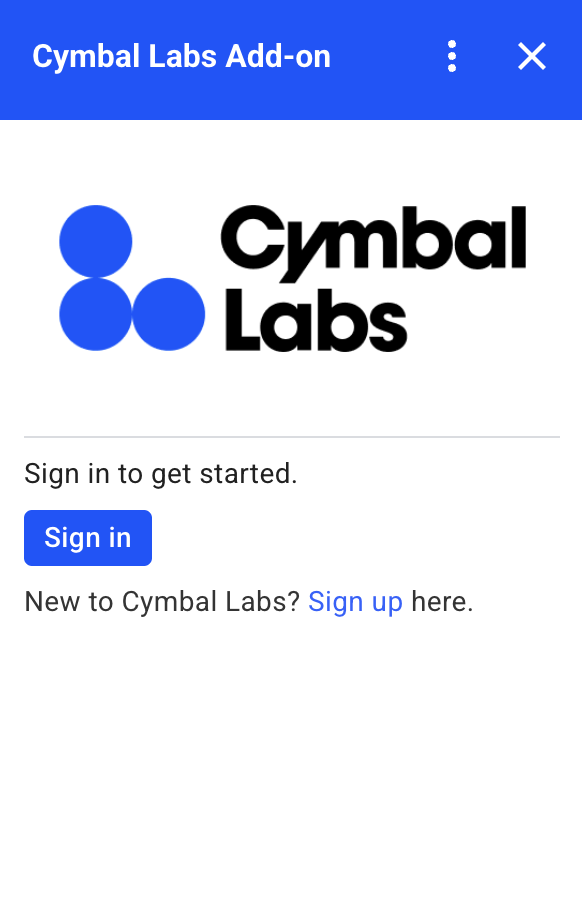
The following image shows an example custom authorization card for an add-on's homepage. The card includes a logo, description, and sign-in button:
The following code shows how to use this custom card example:
Apps Script
function customAuthorizationCard() {
    let cardSection1Image1 = CardService.newImage()
        .setImageUrl('LOGO_URL')
        .setAltText('LOGO_ALT_TEXT');

    let cardSection1Divider1 = CardService.newDivider();

    let cardSection1TextParagraph1 = CardService.newTextParagraph()
        .setText('DESCRIPTION');

    let cardSection1ButtonList1Button1 = CardService.newTextButton()
        .setText('Sign in')
        .setBackgroundColor('#0055ff')
        .setTextButtonStyle(CardService.TextButtonStyle.FILLED)
        .setAuthorizationAction(CardService.newAuthorizationAction()
            .setAuthorizationUrl('AUTHORIZATION_URL'));

    let cardSection1ButtonList1 = CardService.newButtonSet()
        .addButton(cardSection1ButtonList1Button1);

    let cardSection1TextParagraph2 = CardService.newTextParagraph()
        .setText('TEXT_SIGN_UP');

    let cardSection1 = CardService.newCardSection()
        .addWidget(cardSection1Image1)
        .addWidget(cardSection1Divider1)
        .addWidget(cardSection1TextParagraph1)
        .addWidget(cardSection1ButtonList1)
        .addWidget(cardSection1TextParagraph2);

    let card = CardService.newCardBuilder()
        .addSection(cardSection1)
        .build();
    return [card];
}

function startNonGoogleAuth() {
    CardService.newAuthorizationException()
        .setAuthorizationUrl('AUTHORIZATION_URL')
        .setResourceDisplayName('RESOURCE_DISPLAY_NAME')
        .setCustomUiCallback('customAuthorizationCard')
        .throwException();
  }
JSON
Return the following JSON response:
{
  "custom_authorization_prompt": {
    "action": {
      "navigations": [
        {
          "pushCard": {
            "sections": [
              {
                "widgets": [
                  {
                    "image": {
                      "imageUrl": "LOGO_URL",
                      "altText": "LOGO_ALT_TEXT"
                    }
                  },
                  {
                    "divider": {}
                  },
                  {
                    "textParagraph": {
                      "text": "DESCRIPTION"
                    }
                  },
                  {
                    "buttonList": {
                      "buttons": [
                        {
                          "text": "Sign in",
                          "onClick": {
                            "openLink": {
                              "url": "AUTHORIZATION_URL",
                              "onClose": "RELOAD",
                              "openAs": "OVERLAY"
                            }
                          },
                          "color": {
                            "red": 0,
                            "green": 0,
                            "blue": 1,
                            "alpha": 1,
                          }
                        }
                      ]
                    }
                  },
                  {
                    "textParagraph": {
                      "text": "TEXT_SIGN_UP"
                    }
                  }
                ]
              }
            ]
          }
        }
      ]
    }
  }
}
Replace the following:
LOGO_URL: The URL for a logo or image. Must be a public URL.LOGO_ALT_TEXT: Alt text for the logo or image, such asCymbal Labs Logo.DESCRIPTION: A call to action for users to sign in, such asSign in to get started.- To update the sign-in button:
AUTHORIZATION_URL: The URL for the web app that handles authorization.- Optional: To change the button color, update the
colorfield's RGBA float values. For Apps Script, update thesetBackgroundColor()method using hexadecimal values.
TEXT_SIGN_UP: A text that prompts users to create an account if they don't have one. For example,New to Cymbal Labs? <a href=\"https://www.example.com/signup\">Sign up</a> here.
Manage third-party logins across Google Workspace apps
One common application for Google Workspace Add-ons is to provide an interface for interacting with a third-party system from within a Google Workspace host application.
Third-party systems often require that the user sign in using a user ID, password, or other credential. When a user signs in to your third-party service while they're using one Google Workspace host, you must ensure they don’t have to sign in again when they switch to another Google Workspace host.
If you're building in Apps Script, you can prevent repeated login requests with user properties or ID tokens. These are explained in the following sections.
User properties
You can store a user's sign-in data in Apps Script’s user properties. For example, you could create your own JSON Web Token (JWT) from their login service and record that in a user property, or record the username and password for their service.
User properties are scoped such that they are only accessible by that user
within your add-on's script. Other users and other
scripts can't access these properties. See
PropertiesService
for more details.
ID tokens
You can use a Google ID token as the login credential for your service. This is a way to achieve single sign-on. Users are already logged into Google because they are in a Google host app.
Non-Google OAuth configuration example
The following Apps Script code sample shows how to configure an add-on to use a non-Google API requiring OAuth. This sample makes use of the OAuth2 for Apps Script library to construct a service for accessing the API.
Apps Script
/**
* Attempts to access a non-Google API using a constructed service
* object.
*
* If your add-on needs access to non-Google APIs that require OAuth,
* you need to implement this method. You can use the OAuth1 and
* OAuth2 Apps Script libraries to help implement it.
*
* @param {String} url         The URL to access.
* @param {String} method_opt  The HTTP method. Defaults to GET.
* @param {Object} headers_opt The HTTP headers. Defaults to an empty
*                             object. The Authorization field is added
*                             to the headers in this method.
* @return {HttpResponse} the result from the UrlFetchApp.fetch() call.
*/
function accessProtectedResource(url, method_opt, headers_opt) {
  var service = getOAuthService();
  var maybeAuthorized = service.hasAccess();
  if (maybeAuthorized) {
    // A token is present, but it may be expired or invalid. Make a
    // request and check the response code to be sure.

    // Make the UrlFetch request and return the result.
    var accessToken = service.getAccessToken();
    var method = method_opt || 'get';
    var headers = headers_opt || {};
    headers['Authorization'] =
        Utilities.formatString('Bearer %s', accessToken);
    var resp = UrlFetchApp.fetch(url, {
      'headers': headers,
      'method' : method,
      'muteHttpExceptions': true, // Prevents thrown HTTP exceptions.
    });

    var code = resp.getResponseCode();
    if (code >= 200 && code < 300) {
      return resp.getContentText("utf-8"); // Success
    } else if (code == 401 || code == 403) {
      // Not fully authorized for this action.
      maybeAuthorized = false;
    } else {
      // Handle other response codes by logging them and throwing an
      // exception.
      console.error("Backend server error (%s): %s", code.toString(),
                    resp.getContentText("utf-8"));
      throw ("Backend server error: " + code);
    }
  }

  if (!maybeAuthorized) {
    // Invoke the authorization flow using the default authorization
    // prompt card.
    CardService.newAuthorizationException()
        .setAuthorizationUrl(service.getAuthorizationUrl())
        .setResourceDisplayName("Display name to show to the user")
        .throwException();
  }
}

/**
* Create a new OAuth service to facilitate accessing an API.
* This example assumes there is a single service that the add-on needs to
* access. Its name is used when persisting the authorized token, so ensure
* it is unique within the scope of the property store. You must set the
* client secret and client ID, which are obtained when registering your
* add-on with the API.
*
* See the Apps Script OAuth2 Library documentation for more
* information:
*   https://github.com/googlesamples/apps-script-oauth2#1-create-the-oauth2-service
*
*  @return A configured OAuth2 service object.
*/
function getOAuthService() {
  return OAuth2.createService('SERVICE_NAME')
      .setAuthorizationBaseUrl('SERVICE_AUTH_URL')
      .setTokenUrl('SERVICE_AUTH_TOKEN_URL')
      .setClientId('CLIENT_ID')
      .setClientSecret('CLIENT_SECRET')
      .setScope('SERVICE_SCOPE_REQUESTS')
      .setCallbackFunction('authCallback')
      .setCache(CacheService.getUserCache())
      .setPropertyStore(PropertiesService.getUserProperties());
}

/**
* Boilerplate code to determine if a request is authorized and returns
* a corresponding HTML message. When the user completes the OAuth2 flow
* on the service provider's website, this function is invoked from the
* service. In order for authorization to succeed you must make sure that
* the service knows how to call this function by setting the correct
* redirect URL.
*
* The redirect URL to enter is:
* https://script.google.com/macros/d/<Apps Script ID>/usercallback
*
* See the Apps Script OAuth2 Library documentation for more
* information:
*   https://github.com/googlesamples/apps-script-oauth2#1-create-the-oauth2-service
*
*  @param {Object} callbackRequest The request data received from the
*                  callback function. Pass it to the service's
*                  handleCallback() method to complete the
*                  authorization process.
*  @return {HtmlOutput} a success or denied HTML message to display to
*          the user. Also sets a timer to close the window
*          automatically.
*/
function authCallback(callbackRequest) {
  var authorized = getOAuthService().handleCallback(callbackRequest);
  if (authorized) {
    return HtmlService.createHtmlOutput(
      'Success! <script>setTimeout(function() { top.window.close() }, 1);</script>');
  } else {
    return HtmlService.createHtmlOutput('Denied');
  }
}

/**
* Unauthorizes the non-Google service. This is useful for OAuth
* development/testing.  Run this method (Run > resetOAuth in the script
* editor) to reset OAuth to re-prompt the user for OAuth.
*/
function resetOAuth() {
  getOAuthService().reset();
}