
L'SDK Google User Messaging Platform (UMP) è uno strumento per la privacy e i messaggi che ti aiuta a gestire le scelte relative alla privacy. Per ulteriori informazioni, consulta Informazioni su Privacy e messaggi.
Crea un tipo di messaggio
Crea messaggi per gli utenti con uno dei tipi di messaggi per gli utenti disponibili nella scheda Privacy e messaggi del tuo account AdMob. L'SDK UMP tenta di visualizzare un messaggio sulla privacy creato dall'ID applicazione AdMob impostato nel progetto.
Per saperne di più, consulta Informazioni su privacy e messaggistica.
Importa l'SDK
CocoaPods (preferito)
Il modo più semplice per importare l'SDK in un progetto iOS è utilizzare CocoaPods. Apri il Podfile del progetto e aggiungi questa riga al target dell'app:
pod 'GoogleUserMessagingPlatform'
Quindi, esegui questo comando:
pod install --repo-updateSe non hai mai utilizzato CocoaPods, consulta Utilizzo di CocoaPods per informazioni dettagliate su come creare e utilizzare i Podfile.
Swift Package Manager
L'SDK UMP supporta anche Swift Package Manager. Segui questi passaggi per importare il pacchetto Swift.
In Xcode, installa il pacchetto Swift dell'SDK UMP andando a File > Add Packages… (File > Aggiungi pacchetti…).
Nel prompt visualizzato, cerca il repository GitHub del pacchetto Swift dell'SDK UMP:
https://github.com/googleads/swift-package-manager-google-user-messaging-platform.gitSeleziona la versione del pacchetto Swift dell'SDK UMP che vuoi utilizzare. Per i nuovi progetti, ti consigliamo di utilizzare l'opzione Fino alla prossima versione principale.
Xcode risolve quindi le dipendenze del pacchetto e le scarica in background. Per maggiori dettagli su come aggiungere le dipendenze dei pacchetti, consulta l'articolo di Apple.
Download manuale
L'altro modo per importare l'SDK è farlo manualmente.
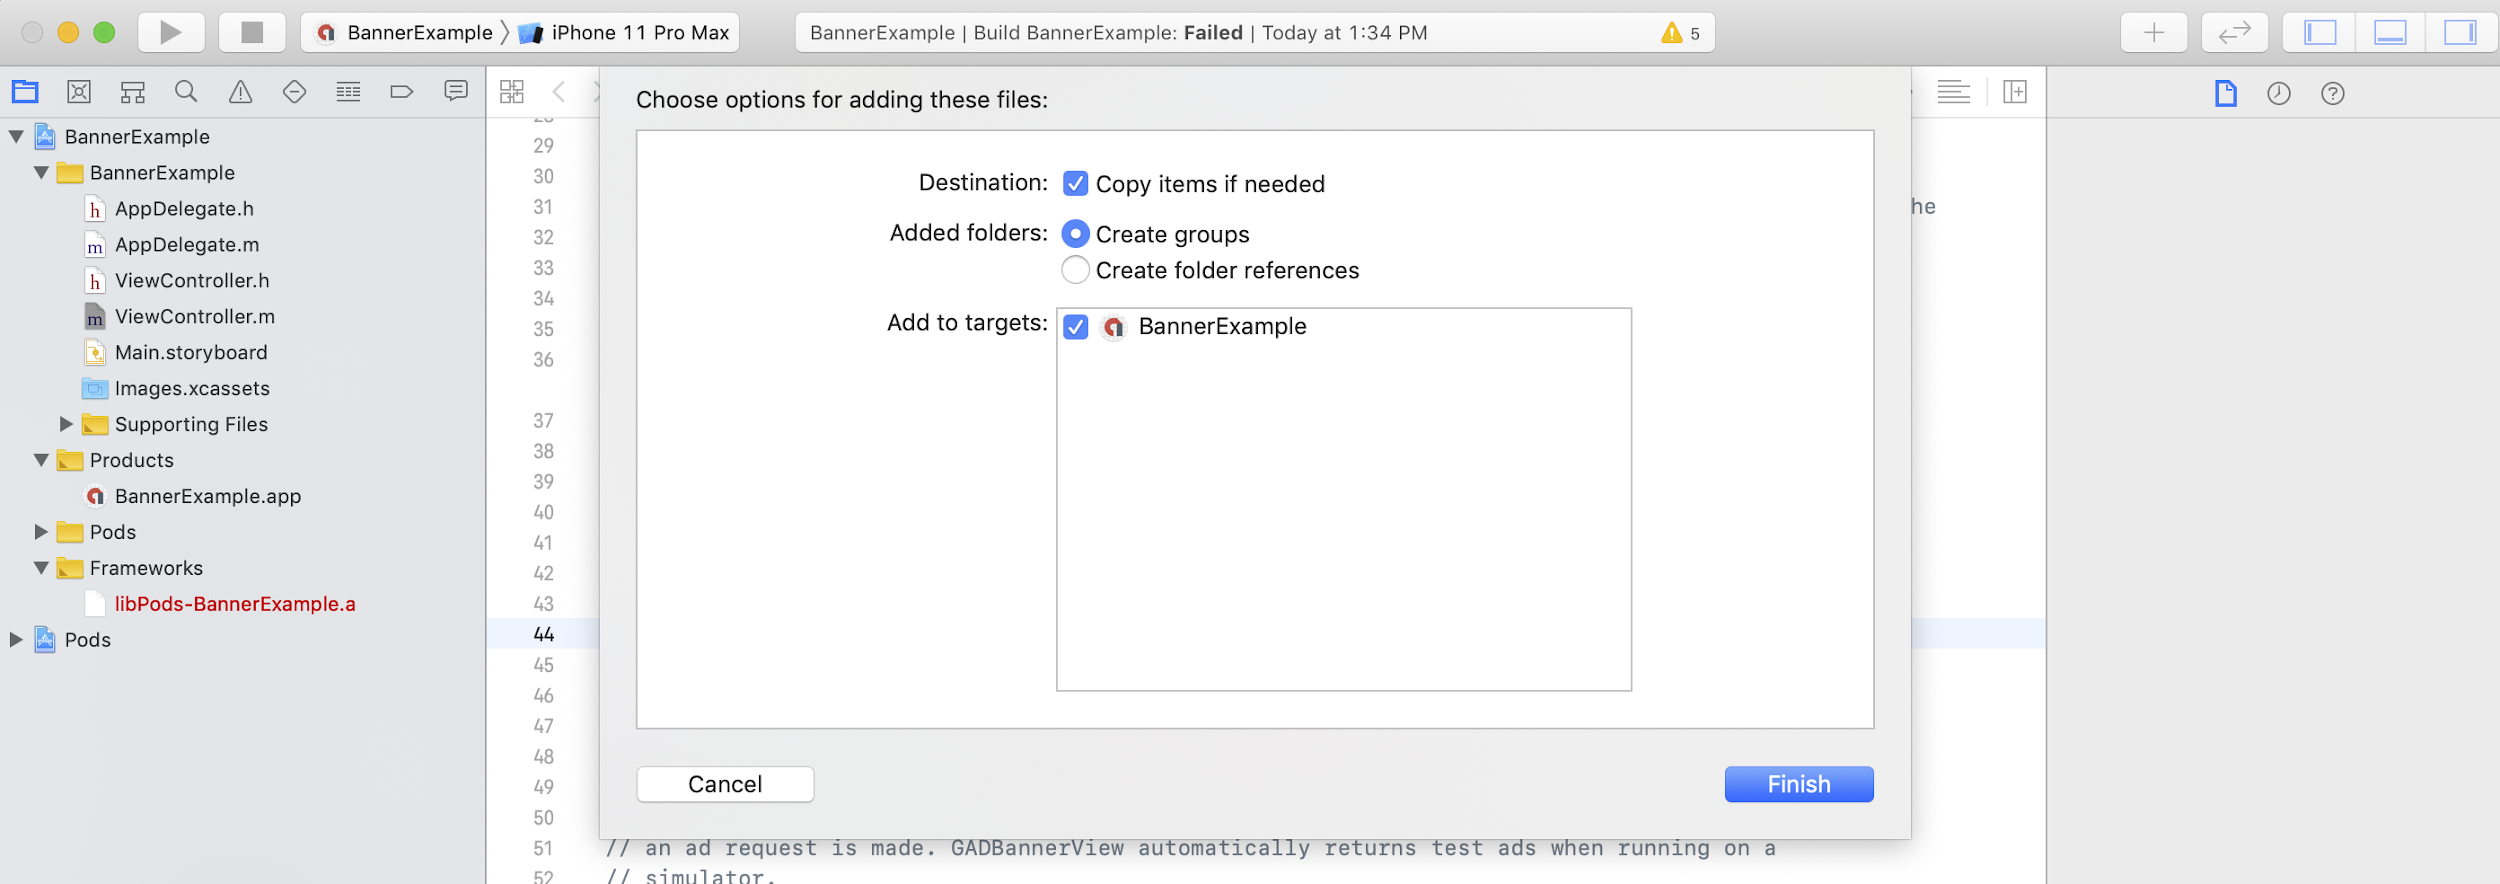
Poi, trascina il framework nel progetto Xcode, assicurandoti di selezionare Copia elementi se necessario.
Puoi quindi includere il framework in qualsiasi file di cui hai bisogno utilizzando:
Swift
import UserMessagingPlatform
Objective-C
#include <UserMessagingPlatform/UserMessagingPlatform.h>
Aggiungi l'ID applicazione
Puoi trovare l'ID applicazione nell'interfaccia utente di AdMob.
Aggiungi l'ID al tuo
Info.plist
con il seguente snippet di codice:
<key>GADApplicationIdentifier</key>
<string>ca-app-pub-xxxxxxxxxxxxxxxx~yyyyyyyyyy</string>
Ottenere le informazioni sul consenso dell'utente
Devi richiedere un aggiornamento delle informazioni sul consenso dell'utente a ogni avvio dell'app, utilizzando
requestConsentInfoUpdate(with:completionHandler:). Questa richiesta controlla quanto segue:
- Se è necessario il consenso. Ad esempio, il consenso è richiesto per la prima volta o la precedente decisione sul consenso è scaduta.
- Se è richiesto un punto di accesso alle opzioni sulla privacy. Alcuni messaggi relativi alla privacy richiedono alle app di consentire agli utenti di modificare le proprie opzioni per la privacy in qualsiasi momento.
Swift
// Requesting an update to consent information should be called on every app launch.
ConsentInformation.shared.requestConsentInfoUpdate(with: parameters) {
requestConsentError in
// ...
}
SwiftUI
// Requesting an update to consent information should be called on every app launch.
ConsentInformation.shared.requestConsentInfoUpdate(with: parameters) {
requestConsentError in
// ...
}
Objective-C
// Requesting an update to consent information should be called on every app launch.
[UMPConsentInformation.sharedInstance
requestConsentInfoUpdateWithParameters:parameters
completionHandler:^(NSError *_Nullable requestConsentError) {
// ...
}];
Carica e presenta il modulo del messaggio sulla privacy
Dopo aver ricevuto lo stato del consenso più aggiornato, chiama
loadAndPresentIfRequired(from:) per caricare i moduli necessari per
raccogliere il consenso degli utenti. Dopo il caricamento, i moduli vengono visualizzati immediatamente.
Swift
try await ConsentForm.loadAndPresentIfRequired(from: viewController)
SwiftUI
try await ConsentForm.loadAndPresentIfRequired(from: nil)
Objective-C
[UMPConsentForm
loadAndPresentIfRequiredFromViewController:viewController
completionHandler:^(NSError *_Nullable loadAndPresentError) {
// Consent gathering process is complete.
}];
Opzioni per la privacy
Alcuni moduli di messaggi relativi alla privacy vengono presentati da una sezione in cui specificare le opzioni di privacy visualizzata dall'editore, consentendo agli utenti di gestire le proprie opzioni di privacy in qualsiasi momento. Per scoprire di più su quale messaggio viene visualizzato dagli utenti nel punto di accesso alle opzioni per la privacy, consulta Tipi di messaggi per gli utenti disponibili.
Controllare se è richiesto un punto di accesso alle opzioni sulla privacy
Dopo aver chiamato
requestConsentInfoUpdate(with:completionHandler:), controlla
UMPConsentInformation.sharedInstance.privacyOptionsRequirementStatus per
determinare se è necessario un punto di accesso alle opzioni per la privacy per la tua app. Se è richiesto un punto di accesso, aggiungi un elemento UI visibile e interattivo alla tua app che
presenti il modulo delle opzioni per la privacy. Se non è necessario un punto di accesso alla privacy,
configura l'elemento UI in modo che non sia visibile e interattivo.
Swift
var isPrivacyOptionsRequired: Bool {
return ConsentInformation.shared.privacyOptionsRequirementStatus == .required
}
Objective-C
- (BOOL)isPrivacyOptionsRequired {
return UMPConsentInformation.sharedInstance.privacyOptionsRequirementStatus ==
UMPPrivacyOptionsRequirementStatusRequired;
}
Per l'elenco completo degli stati dei requisiti delle opzioni per la privacy, consulta
UMPPrivacyOptionsRequirementStatus.
Presentare il modulo delle opzioni per la privacy
Quando l'utente interagisce con l'elemento, presenta il modulo delle opzioni per la privacy:
Swift
try await ConsentForm.presentPrivacyOptionsForm(from: viewController)
SwiftUI
try await ConsentForm.presentPrivacyOptionsForm(from: nil)
Objective-C
[UMPConsentForm presentPrivacyOptionsFormFromViewController:viewController
completionHandler:completionHandler];
Richiedere annunci con il consenso dell'utente
Prima di richiedere annunci, utilizza
UMPConsentInformation.sharedInstance.canRequestAds per verificare se hai
ottenuto il consenso dell'utente:
Swift
ConsentInformation.shared.canRequestAds
Objective-C
UMPConsentInformation.sharedInstance.canRequestAds;
Di seguito sono elencati i luoghi in cui verificare se puoi richiedere annunci durante la raccolta del consenso:
- Dopo che l'SDK UMP ha raccolto il consenso nella sessione corrente.
- Subito dopo aver chiamato il numero
requestConsentInfoUpdate(with:completionHandler:). L'SDK UMP potrebbe aver ottenuto il consenso nella sessione precedente dell'app.
Se si verifica un errore durante la procedura di raccolta del consenso, verifica se puoi richiedere annunci. L'SDK UMP utilizza lo stato del consenso della sessione precedente dell'app.
Evitare il lavoro ridondante di richiesta di annunci
Quando controlli
UMPConsentInformation.sharedInstance.canRequestAds dopo aver raccolto il consenso e dopo aver chiamato
requestConsentInfoUpdate(with:completionHandler:), assicurati che la logica impedisca richieste di annunci ridondanti che
potrebbero comportare la restituzione di true per entrambi i controlli. Ad esempio, con una variabile
booleana.
Test
Se vuoi testare l'integrazione nella tua app durante lo sviluppo, segui questi passaggi per registrare in modo programmatico il tuo dispositivo di test. Assicurati di rimuovere il codice che imposta questi ID dispositivo di test prima di rilasciare l'app.
- Chiama il numero
requestConsentInfoUpdate(with:completionHandler:). Controlla l'output del log per un messaggio simile al seguente esempio, che mostra l'ID dispositivo e come aggiungerlo come dispositivo di test:
<UMP SDK>To enable debug mode for this device, set: UMPDebugSettings.testDeviceIdentifiers = @[2077ef9a63d2b398840261c8221a0c9b]Copia l'ID dispositivo di test negli appunti.
Modifica il codice per chiamare
UMPDebugSettings().testDeviceIdentifierse trasmettere un elenco degli ID dei tuoi dispositivi di test.Swift
let parameters = RequestParameters()
let debugSettings = DebugSettings()

debugSettings.testDeviceIdentifiers = ["TEST-DEVICE-HASHED-ID"]
parameters.debugSettings = debugSettings

// Include the UMPRequestParameters in your consent request.
ConsentInformation.shared.requestConsentInfoUpdate(
    with: parameters,
    completionHandler: { error in
      // ...
    })
Objective-C
UMPRequestParameters *parameters = [[UMPRequestParameters alloc] init];
UMPDebugSettings *debugSettings = [[UMPDebugSettings alloc] init];

debugSettings.testDeviceIdentifiers = @[ @"TEST-DEVICE-HASHED-ID" ];
parameters.debugSettings = debugSettings;

// Include the UMPRequestParameters in your consent request.
[UMPConsentInformation.sharedInstance
    requestConsentInfoUpdateWithParameters:parameters
                        completionHandler:^(NSError *_Nullable error){
                          // ...
}];
Forzare una regione
L'SDK UMP offre un modo per testare il comportamento della tua app come se il dispositivo si trovasse in varie regioni, ad esempio lo Spazio economico europeo (SEE), il Regno Unito e la Svizzera, utilizzando geography. Tieni presente che
le impostazioni di debug funzionano solo sui dispositivi di test.
Swift
let parameters = RequestParameters()
let debugSettings = DebugSettings()

debugSettings.testDeviceIdentifiers = ["TEST-DEVICE-HASHED-ID"]
debugSettings.geography = .EEA
parameters.debugSettings = debugSettings

// Include the UMPRequestParameters in your consent request.
ConsentInformation.shared.requestConsentInfoUpdate(
    with: parameters,
    completionHandler: { error in
      // ...
    })
Objective-C
UMPRequestParameters *parameters = [[UMPRequestParameters alloc] init];
UMPDebugSettings *debugSettings = [[UMPDebugSettings alloc] init];

debugSettings.testDeviceIdentifiers = @[ @"TEST-DEVICE-HASHED-ID" ];
debugSettings.geography = UMPDebugGeographyEEA;
parameters.debugSettings = debugSettings;

// Include the UMPRequestParameters in your consent request.
[UMPConsentInformation.sharedInstance
    requestConsentInfoUpdateWithParameters:parameters
                         completionHandler:^(NSError *_Nullable error){
                           // ...
}];
Reimposta lo stato del consenso
Quando testi la tua app con l'SDK UMP, potrebbe essere utile reimpostare lo stato dell'SDK per simulare l'esperienza di prima installazione di un utente.
L'SDK fornisce il metodo reset per farlo.
Swift
ConsentInformation.shared.reset()
Objective-C
[UMPConsentInformation.sharedInstance reset];
Esempi su GitHub
Vedi un esempio completo dell'integrazione dell'SDK UMP trattata in questa pagina in