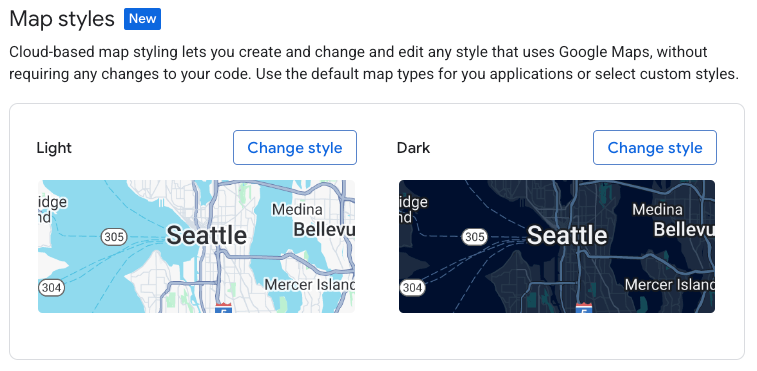
נכנסים למסוף Google Cloud ובוחרים באפשרות Map Styles. בוחרים פרויקט או יוצרים פרויקט חדש, אם צריך.
בוחרים באפשרות יצירת סגנון.
בחלק התחתון של תיבת הדו-שיח, בוחרים באפשרות התאמה אישית.
עיצוב רשת הדרכים
בקטע Map Features (תכונות המפה), מרחיבים את Infrastructure (תשתית) ובוחרים באפשרות Road
network (רשת כבישים).
בחלונית שמופיעה בצד שמאל, בקטע קו פוליגוני, לוחצים על צבע המילוי ובוחרים את תיבת הצבע.
בוחרים צבע בהיר. כשמשנים את הצבע, התיבה צבע מילוי מסומנת אוטומטית.
בקטע רוחב הקו של האותיות, מגדירים את רוחב הקו ל-5px.
במפה, מתקרבים ומתרחקים כדי לראות את ההשפעה של השינויים. בחרת תכונה במפה שנמצאת יחסית גבוה בהיררכיה, ולכן כל סוגי הכבישים שמתחתיה ירשו את השינויים שלך.
שמירה ופרסום של סגנון המפה
בפינה השמאלית העליונה, בוחרים באפשרות שמירה.
בקטע שמירה ופרסום של סגנון המפה, מזינים שם ותיאור (אופציונלי) לסגנון המפה.
לוחצים על שמירה. סגנון המפה נשמר ומתפרסם.
שלב 2: יצירה וקישור של מזהה מפה
מזהה מפה מאפשר לכם להשתמש בסגנון המפה באפליקציות ובאתרים. אם מבצעים שינויים בסגנון המפה שמשויך למזהה מפה, השינויים בסגנון מתפרסמים כשמפרסמים את המפה, כך שלא צריך לבצע עדכונים בתוכנה או באפליקציה.
יצירת מזהה מפה
במסוף Google Cloud, בוחרים באפשרות Map Management (ניהול המיפוי).
בחלק העליון, לוחצים על יצירת מזהה מפה.
מוסיפים שם למזהה המפה, ואם רוצים מוסיפים גם תיאור.
בוחרים את סוג המפה של מזהה המפה, בהתאם למקום שבו רוצים להשתמש בסגנון המפה.
בחלק התחתון של הדף, בחר באפשרות שמור. נוצר מזהה המפה.
קישור מזהה המפה לסגנון המפה
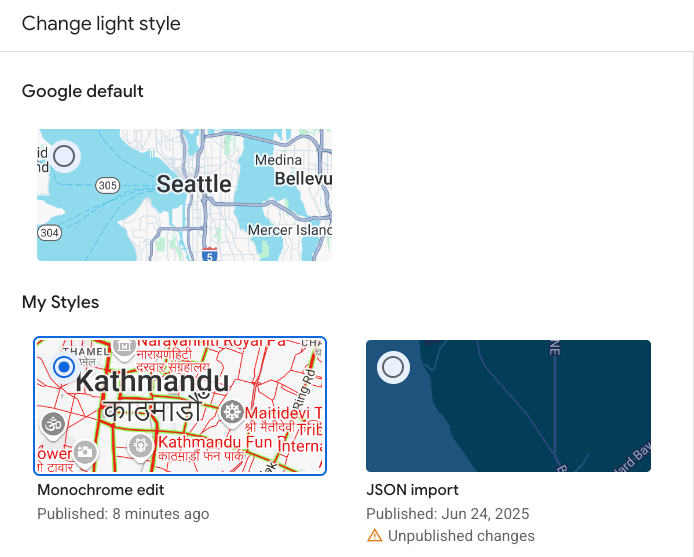
בקטע סגנון מפה, בוחרים באפשרות שינוי סגנון לצד בהיר.
בקטע שינוי סגנון התאורה, בוחרים את סגנון המפה שרוצים להשתמש בו במצב בהיר באפליקציות, ולוחצים על סיום.
חוזרים על הפעולה על ידי בחירה באפשרות שינוי סגנון לצד כהה ובחירה בסגנון מפה למצב כהה.
לוחצים על שמירה. מזהה המפה משויך עכשיו לסגנונות המפה.
שלב 3: מוסיפים את מזהה המפה לאפליקציות או לאתרים
עכשיו, אחרי שיש לכם מזהה מפה שמשויך לסגנון מפה שפורסם,
אתם יכולים להוסיף אותו לאפליקציות או לאתרים שלכם ולבדוק שהוא פועל
כצפוי.
עדכון סגנון. לבצע שינויים בסגנון המפה ולפרסם אותה,
ולראות את השינויים מופיעים באופן אוטומטי באפליקציות ובאתרים. אם רוצים לבדוק את השינויים לפני שהם מתפרסמים, אפשר לעיין במאמר בנושא בדיקת עדכונים בסגנון המפה.
שימוש בהיררכיית הרכיבים במפה כדי לקבל ביעילות את הסגנונות הרצויים.
לדוגמה, אפשר להגדיר סגנון למאפיין המפה ברמה הגבוהה Natural>Land, וכל מאפייני המפה של הקרקע שמתחתיו יקבלו את הסגנון הזה. אחר כך תוכלו להחיל סגנון מותאם אישית רק על התכונות במפת הצאצא שאתם רוצים שיהיו שונות.
[null,null,["עדכון אחרון: 2025-08-31 (שעון UTC)."],[],[],null,["# Tutorial - Highlight a road network\n\nSelect platform: [Android](/maps/documentation/android-sdk/cloud-customization/tut \"View this page for the Android platform docs.\") [iOS](/maps/documentation/ios-sdk/cloud-customization/tut \"View this page for the iOS platform docs.\") [JavaScript](/maps/documentation/javascript/cloud-customization/tut \"View this page for the JavaScript platform docs.\") [Web Service](/maps/documentation/maps-static/cloud-customization/tut \"View this page for the Web Service platform docs.\")\n\n\u003cbr /\u003e\n\nThis tutorial walks you through the steps to create and use a map style that\nhighlights the road network:\n\n1. **[Create and publish a map style](#tut1)** so it's available to use.\n\n2. **[Create and connect a map ID](#tut2)** that lets you use your style in\n apps and websites.\n\n3. **[Add the map ID to your apps and websites](#tut3)** so your apps use\n your map style.\n\nStep 1: Create and publish a map style\n--------------------------------------\n\n### Open cloud-based maps styling\n\n1. Go to the Google Cloud console, and select [**Map Styles**](https://console.cloud.google.com/project/_/google/maps-apis/studio/styles). Select or create a project, if needed.\n\n2. Select **Create Style**.\n\n3. At the bottom of the dialog, select **Customize**.\n\n### Style the Road network\n\n1. Under **Map Features** , expand **Infrastructure** , then select **Road\n network**.\n\n2. On the panel that pops up on the right, under **Polyline** ,\n then **Fill color**, select the color box.\n\n3. Choose a bright color. Changing the color automatically checks\n the **Fill color** box.\n\n | **Note:** A solid dot appears next to the map feature to indicate it has a custom style.\n4. Under **Stroke width**, set the stroke width to 5px.\n\n5. On the map, zoom in and out to see the effect of your changes. Because\n you selected a map feature that is relatively high in the hierarchy,\n all road types underneath it have inherited your changes.\n\n### Save and publish your map style\n\n1. At the top right, select **Save**.\n\n2. In **Save and publish map style**, enter a name and, optionally, a\n description for your map style.\n\n3. Select **Save**. Your map style is saved and published.\n\n| **Note:** The first time you save a map style, it is published automatically since it's the first version. When you subsequently update a map style, you can save changes as drafts as you go, and then publish when you're finished and want the style updated.\n\nStep 2: Create and connect a map ID\n-----------------------------------\n\nA map ID lets you use your map style on apps and websites. If you make changes\nto the map style associated with a map ID, your style changes\ngo live when you publish, so no software or app updates are needed.\n\n### Create a map ID\n\n1. In the Google Cloud console, select **Map Management**.\n\n2. At the top, select **Create map ID**.\n\n3. Add a name for your map ID, and optionally, a description.\n\n4. Select the map type for the map ID, depending on where you want to use your\n map style.\n\n | **Note:** If you want to use your map style for different types of applications or websites, create a new map ID for each type, and then connect them all to the same map style.\n5. At the bottom of the page, select **Save**. Your map ID is created.\n\n### Connect the map ID to your map style\n\n1. Under **Map style** , select **Change style** next to **Light**.\n\n2. Under **Change light style** , choose what map style to\n use for light mode in your apps, and select **Done**.\n\n3. Repeat by selecting **Change Style** next to **Dark** and select a dark\n mode map style.\n\n | **Note:** If you don't select a dark style, or have not created any dark mode map styles, you can select the Google default dark map style.\n4. Select **Save**. Your map ID is now associated with your map styles.\n\nStep 3: Add the map ID to your apps or websites\n-----------------------------------------------\n\nNow that you have a map ID that is associated with a published map style,\nyou can add it to your apps or websites and test to make sure it functions\nas expected.\n\nFor more information about adding a map ID, see\n[Add the map ID to your map](/maps/documentation/get-map-id#add-a-map-id-to-your-app).\n\nWhat's next\n-----------\n\nHere are some things you can try next:\n\n- **Update a style** . Make changes to your map style and publish it,\n and see the changes show up automatically in your apps and websites. If you\n want to test your changes before they go live, see\n [Test map style updates](/maps/documentation/ios-sdk/cloud-customization/test-style-updates).\n\n- **Use the map feature hierarchy to efficiently get the styles you want** .\n For example, you can style the high-level map feature **Natural\\\u003eLand**,\n and all of the land map features under it inherit the styling. You can\n then do custom styling on just the child map features that you want to\n be different."]]