
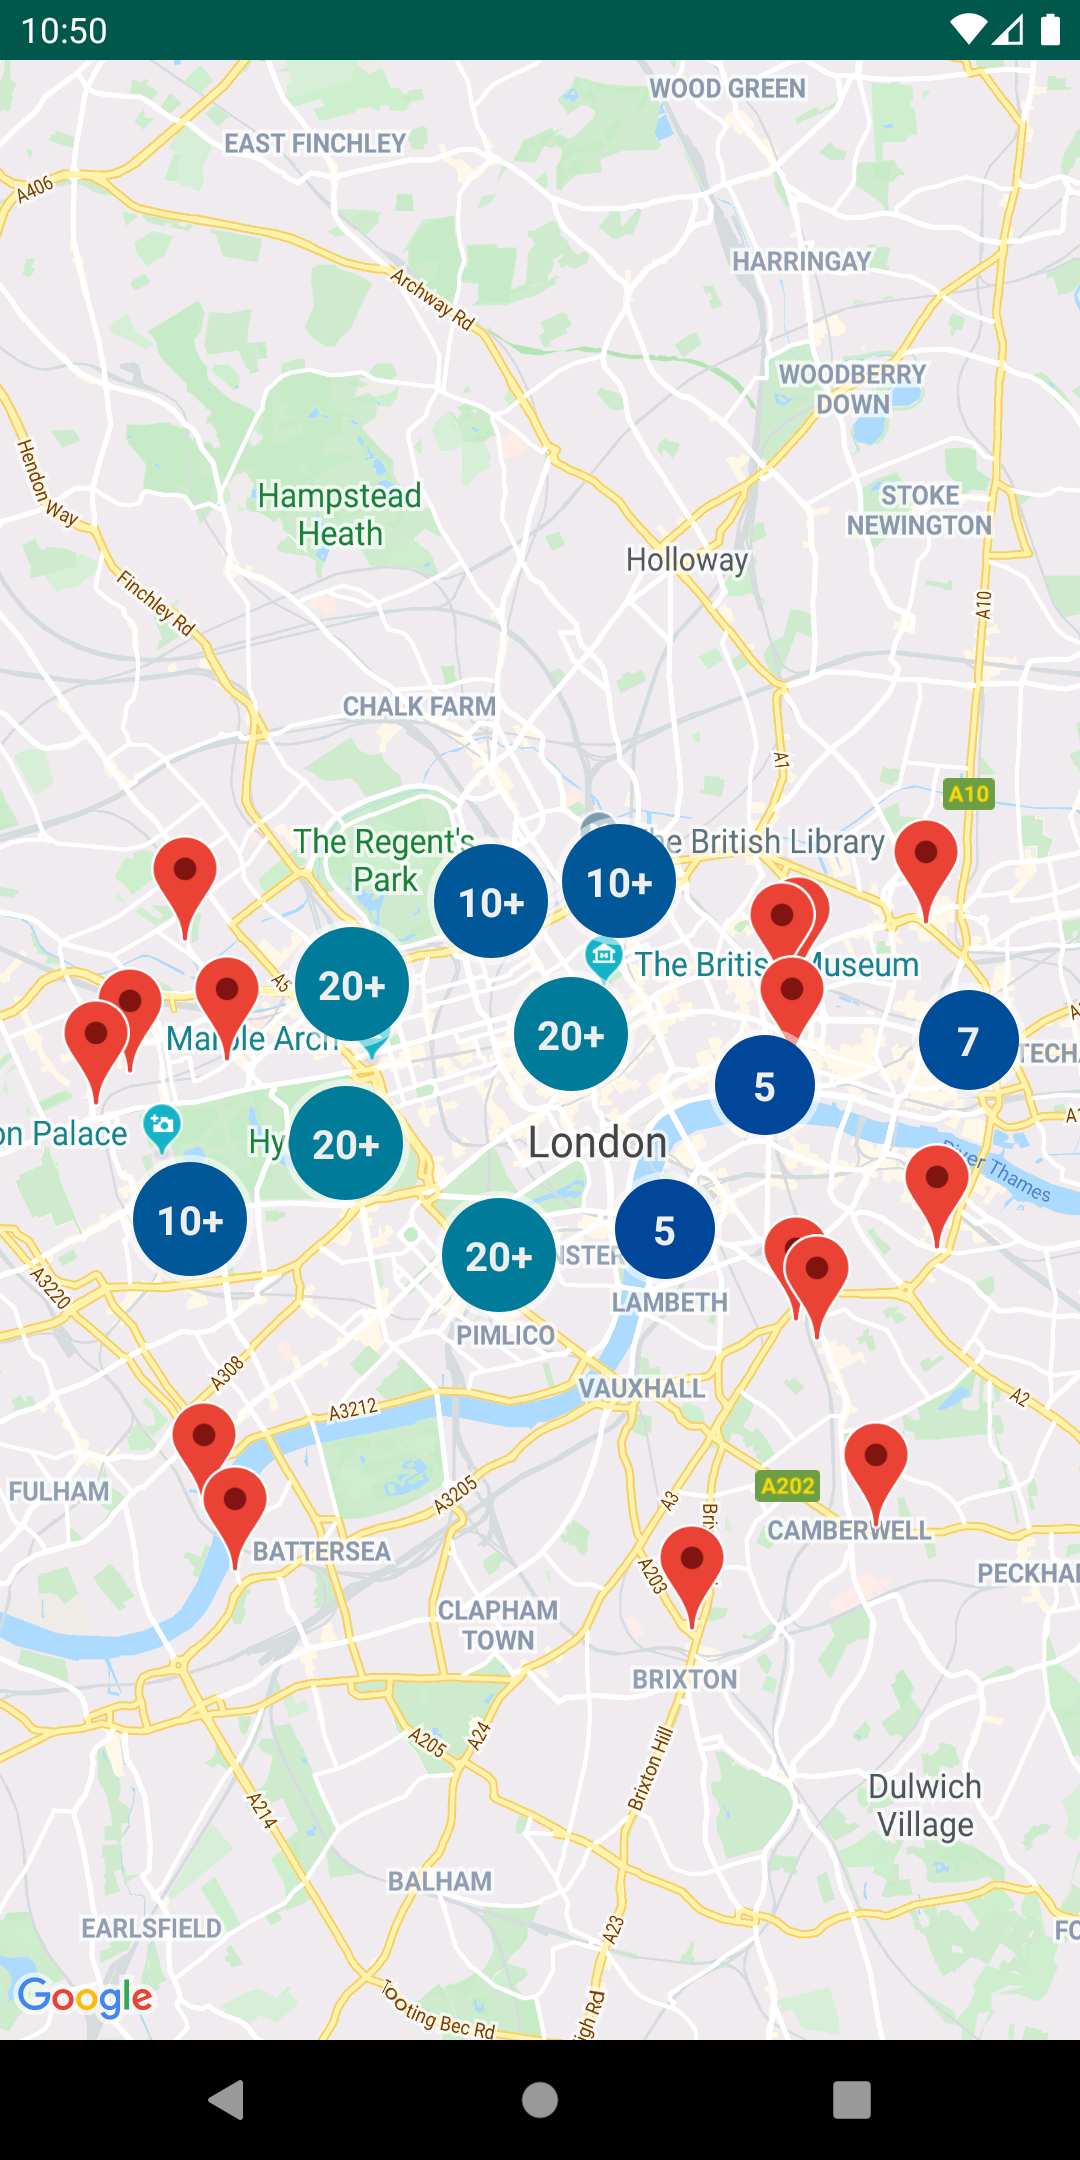
การรวมกลุ่มเครื่องหมายเข้าด้วยกันทำให้คุณสามารถวางเครื่องหมายจำนวนมากบนแผนที่ โดยไม่ต้องทำให้แผนที่อ่านยาก
บทนำ
วิดีโอนี้จะกล่าวถึงการใช้การจัดกลุ่มเครื่องหมายเมื่อ ข้อมูลของคุณจำเป็นต้องมีจุดข้อมูลจำนวนมากบนแผนที่
ยูทิลิตีการจัดกลุ่มเครื่องหมายจะช่วยคุณจัดการเครื่องหมายหลายตัวที่ ระดับการซูม สรุปง่ายๆ ก็คือ "เครื่องหมาย" ที่จริงแล้วเป็น "items" ถึงตรงนี้ และกลายเป็น "Markers" เท่านั้น เมื่อแสดงผล แต่เพื่อความชัดเจน เอกสารนี้จะตั้งชื่อว่า "เครื่องหมาย" โดยทั่วกัน
เมื่อผู้ใช้ดูแผนที่ในระดับการย่อ/ขยายระดับสูง ผู้ใช้ เครื่องหมายแสดงบนแผนที่ เมื่อผู้ใช้ซูมออก เครื่องหมายจะรวบรวม รวมเป็นกลุ่มเพื่อให้ดูแผนที่ได้ง่ายขึ้น การจัดกลุ่มเครื่องหมาย ยูทิลิตีนี้เป็นส่วนหนึ่งของ Maps SDK สำหรับ Android Utility Library หากยังไม่ได้ตั้งค่าไลบรารี ทำตามคู่มือการตั้งค่า ก่อนที่จะอ่านส่วนที่เหลือของหน้านี้
หากต้องการใช้ยูทิลิตีการจัดกลุ่มเครื่องหมาย คุณจะต้องเพิ่มเครื่องหมายเป็น
ClusterItem ออบเจ็กต์ไปยัง ClusterManager
ClusterManager ส่งเครื่องหมายไปที่ Algorithm
ซึ่งเปลี่ยนรูปแบบเป็นชุดคลัสเตอร์ ClusterRenderer
ดูแลการแสดงผลโดยการเพิ่มและนำคลัสเตอร์ออก
ปากกามาร์กเกอร์ ClusterRenderer และ Algorithm
สามารถเสียบปลั๊กและปรับแต่งได้
ไลบรารียูทิลิตีมาพร้อมกับแอปเดโมที่แสดงตัวอย่างการใช้งาน ของยูทิลิตีการจัดกลุ่มเครื่องหมาย สำหรับความช่วยเหลือในการเรียกใช้แอปเดโม โปรดดู คู่มือการตั้งค่า เดโม แอปมีตัวอย่างการจัดกลุ่มเครื่องหมายต่อไปนี้
ClusteringDemoActivity: กิจกรรมง่ายๆ ที่แสดง การจัดกลุ่มเครื่องหมายBigClusteringDemoActivity: คลัสเตอร์ด้วย 2,000 ปากกามาร์กเกอร์CustomMarkerClusteringDemoActivity: การสร้างการออกแบบที่กำหนดเอง สำหรับเครื่องหมายที่จัดกลุ่มไว้
เพิ่มการคลัสเตอร์เครื่องหมายแบบง่าย
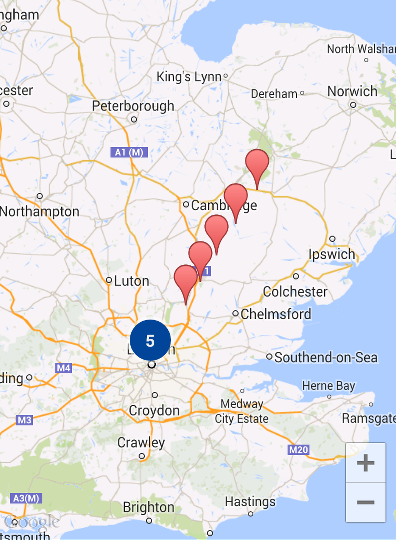
ทำตามขั้นตอนด้านล่างเพื่อสร้างคลัสเตอร์ง่ายๆ ที่มีเครื่องหมาย 10 รายการ ผลลัพธ์ จะมีลักษณะดังนี้ แม้ว่าจำนวนเครื่องหมายที่แสดง/คลัสเตอร์ จะเปลี่ยนไปตามระดับการซูม ดังนี้
ข้อมูลสรุปเกี่ยวกับขั้นตอนที่จำเป็นมีดังนี้
- ใช้งาน
ClusterItemเพื่อแสดงเครื่องหมายบนแผนที่ รายการคลัสเตอร์จะแสดงตำแหน่งของเครื่องหมาย เป็นออบเจ็กต์ LatLng และชื่อหรือตัวอย่างข้อมูลที่ไม่บังคับ - เพิ่มใหม่
ClusterManagerเพื่อจัดกลุ่มรายการคลัสเตอร์ (เครื่องหมาย) ตามระดับการซูม - ตั้งค่า
OnCameraIdleListener()ของแผนที่เป็นClusterManagerเนื่องจากมีการใช้ClusterManagerผู้ฟัง - หากต้องการเพิ่มฟังก์ชันเฉพาะเพื่อตอบสนองการคลิกเครื่องหมาย
กิจกรรม ให้ตั้งค่า
OnMarkerClickListener()ของแผนที่เป็นClusterManagerเนื่องจากมีการใช้ClusterManagerผู้ฟัง - ป้อนเครื่องหมายลงใน
ClusterManager
เมื่อดูขั้นตอนอย่างละเอียดมากขึ้น: ในการสร้างคลัสเตอร์อย่างง่ายซึ่งมีสิบรายการ
เครื่องหมาย ให้สร้างคลาส MyItem ที่จะนำไปใช้
ClusterItem
Kotlin
inner class MyItem(
    lat: Double,
    lng: Double,
    title: String,
    snippet: String
) : ClusterItem {

    private val position: LatLng
    private val title: String
    private val snippet: String

    override fun getPosition(): LatLng {
        return position
    }

    override fun getTitle(): String {
        return title
    }

    override fun getSnippet(): String {
        return snippet
    }

    override fun getZIndex(): Float {
        return 0f
    }

    init {
        position = LatLng(lat, lng)
        this.title = title
        this.snippet = snippet
    }
}
Java
public class MyItem implements ClusterItem {
    private final LatLng position;
    private final String title;
    private final String snippet;

    public MyItem(double lat, double lng, String title, String snippet) {
        position = new LatLng(lat, lng);
        this.title = title;
        this.snippet = snippet;
    }

    @Override
    public LatLng getPosition() {
        return position;
    }

    @Override
    public String getTitle() {
        return title;
    }

    @Override
    public String getSnippet() {
        return snippet;
    }

    @Nullable
    @Override
    public Float getZIndex() {
        return 0f;
    }
}
ในกิจกรรมแผนที่ของคุณ ให้เพิ่ม ClusterManager และป้อน
รายการคลัสเตอร์ โปรดทราบ
ประเภท
<MyItem> ซึ่งประกาศพารามิเตอร์
ClusterManager ให้เป็นประเภท MyItem
Kotlin
// Declare a variable for the cluster manager.
private lateinit var clusterManager: ClusterManager<MyItem>

private fun setUpClusterer() {
    // Position the map.
    map.moveCamera(CameraUpdateFactory.newLatLngZoom(LatLng(51.503186, -0.126446), 10f))

    // Initialize the manager with the context and the map.
    // (Activity extends context, so we can pass 'this' in the constructor.)
    clusterManager = ClusterManager(context, map)

    // Point the map's listeners at the listeners implemented by the cluster
    // manager.
    map.setOnCameraIdleListener(clusterManager)
    map.setOnMarkerClickListener(clusterManager)

    // Add cluster items (markers) to the cluster manager.
    addItems()
}

private fun addItems() {

    // Set some lat/lng coordinates to start with.
    var lat = 51.5145160
    var lng = -0.1270060

    // Add ten cluster items in close proximity, for purposes of this example.
    for (i in 0..9) {
        val offset = i / 60.0
        lat += offset
        lng += offset
        val offsetItem =
            MyItem(lat, lng, "Title $i", "Snippet $i")
        clusterManager.addItem(offsetItem)
    }
}
Java
// Declare a variable for the cluster manager.
private ClusterManager<MyItem> clusterManager;

private void setUpClusterer() {
    // Position the map.
    map.moveCamera(CameraUpdateFactory.newLatLngZoom(new LatLng(51.503186, -0.126446), 10));

    // Initialize the manager with the context and the map.
    // (Activity extends context, so we can pass 'this' in the constructor.)
    clusterManager = new ClusterManager<MyItem>(context, map);

    // Point the map's listeners at the listeners implemented by the cluster
    // manager.
    map.setOnCameraIdleListener(clusterManager);
    map.setOnMarkerClickListener(clusterManager);

    // Add cluster items (markers) to the cluster manager.
    addItems();
}

private void addItems() {

    // Set some lat/lng coordinates to start with.
    double lat = 51.5145160;
    double lng = -0.1270060;

    // Add ten cluster items in close proximity, for purposes of this example.
    for (int i = 0; i < 10; i++) {
        double offset = i / 60d;
        lat = lat + offset;
        lng = lng + offset;
        MyItem offsetItem = new MyItem(lat, lng, "Title " + i, "Snippet " + i);
        clusterManager.addItem(offsetItem);
    }
}
นอกจากนี้ คุณยังเลือกปิดใช้ภาพเคลื่อนไหวในการจัดกลุ่มขณะซูมเข้าและออกได้ด้วย
หากภาพเคลื่อนไหวปิดอยู่ เครื่องหมายจะจัดเข้าที่
การย้ายข้อมูลเข้าและออกจากคลัสเตอร์
หากต้องการปิดใช้ภาพเคลื่อนไหว ให้ใช้ setAnimation() ใน ClusterManager
ดังที่แสดงด้านล่าง
Kotlin
clusterManager.setAnimation(false)
Java
clusterManager.setAnimation(false);
เพิ่มหน้าต่างข้อมูลสำหรับเครื่องหมายที่จัดกลุ่มแต่ละรายการ
ในการเพิ่มหน้าต่างข้อมูลสำหรับตัวทำเครื่องหมายคลัสเตอร์ที่เฉพาะเจาะจง ให้เพิ่มสตริงชื่อและตัวอย่างข้อมูลลงใน
เครื่องมือสร้างการติดตั้งใช้งาน ClusterItem
ตัวอย่างต่อไปนี้จะเพิ่มเครื่องหมายพร้อมด้วยหน้าต่างข้อมูล
ในเมธอด addItems() โดยการตั้งค่าชื่อและข้อมูลโค้ด
Kotlin
// Set the lat/long coordinates for the marker.
val lat = 51.5009
val lng = -0.122

// Set the title and snippet strings.
val title = "This is the title"
val snippet = "and this is the snippet."

// Create a cluster item for the marker and set the title and snippet using the constructor.
val infoWindowItem = MyItem(lat, lng, title, snippet)

// Add the cluster item (marker) to the cluster manager.
clusterManager.addItem(infoWindowItem)
Java
// Set the lat/long coordinates for the marker.
double lat = 51.5009;
double lng = -0.122;

// Set the title and snippet strings.
String title = "This is the title";
String snippet = "and this is the snippet.";

// Create a cluster item for the marker and set the title and snippet using the constructor.
MyItem infoWindowItem = new MyItem(lat, lng, title, snippet);

// Add the cluster item (marker) to the cluster manager.
clusterManager.addItem(infoWindowItem);
ปรับแต่งกลุ่มเครื่องหมาย
ตัวสร้าง ClusterManager สร้าง
DefaultClusterRenderer และ
NonHierarchicalDistanceBasedAlgorithm คุณสามารถเปลี่ยน
ClusterRenderer และAlgorithm
โดยใช้ setAlgorithm(Algorithm<T> algorithm) และ
setRenderer(ClusterRenderer<T> view) เมธอดของ
ClusterManager
คุณสามารถใช้ ClusterRenderer เพื่อปรับแต่งการแสดงผลของ
คลัสเตอร์ DefaultClusterRenderer เป็นฐานที่ดีในการ
เริ่มจาก การแยกประเภทย่อยเป็น DefaultClusterRenderer ทำให้คุณสามารถ
แทนที่ค่าเริ่มต้น
ดูตัวอย่างการกำหนดค่าโดยละเอียดได้ที่
CustomMarkerClusteringDemoActivity ในแอปเดโมที่จัดส่ง
ด้วยไลบรารียูทิลิตี
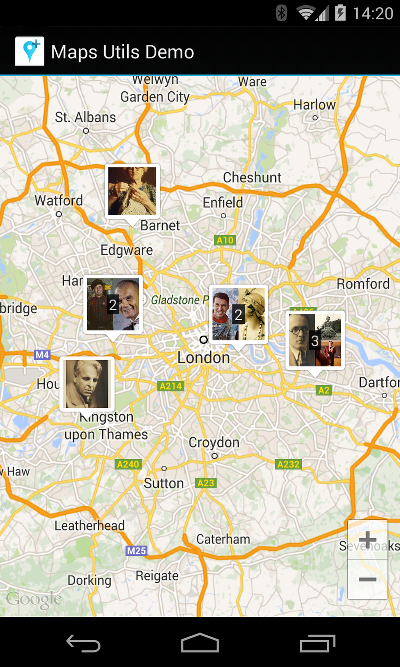
CustomMarkerClusteringDemoActivity กำหนดคลัสเตอร์ของตัวเอง
Person และแสดงผลโดยการขยาย
DefaultClusterRenderer ในนาม PersonRenderer
การสาธิตยังแสดงวิธีการใช้
ClusterManager.OnClusterClickListener<Person>อินเทอร์เฟซไปยัง
แสดงข้อมูลเพิ่มเติมเกี่ยวกับบุคคลเมื่อมีการคลิกคลัสเตอร์นั้น คุณสามารถ
และติดตั้งใช้งานด้วย
ClusterManager.OnClusterItemClickListener<Person> ใน
คล้ายๆ กัน
สำหรับความช่วยเหลือในการเรียกใช้แอปเดโม โปรดดู คู่มือการตั้งค่า