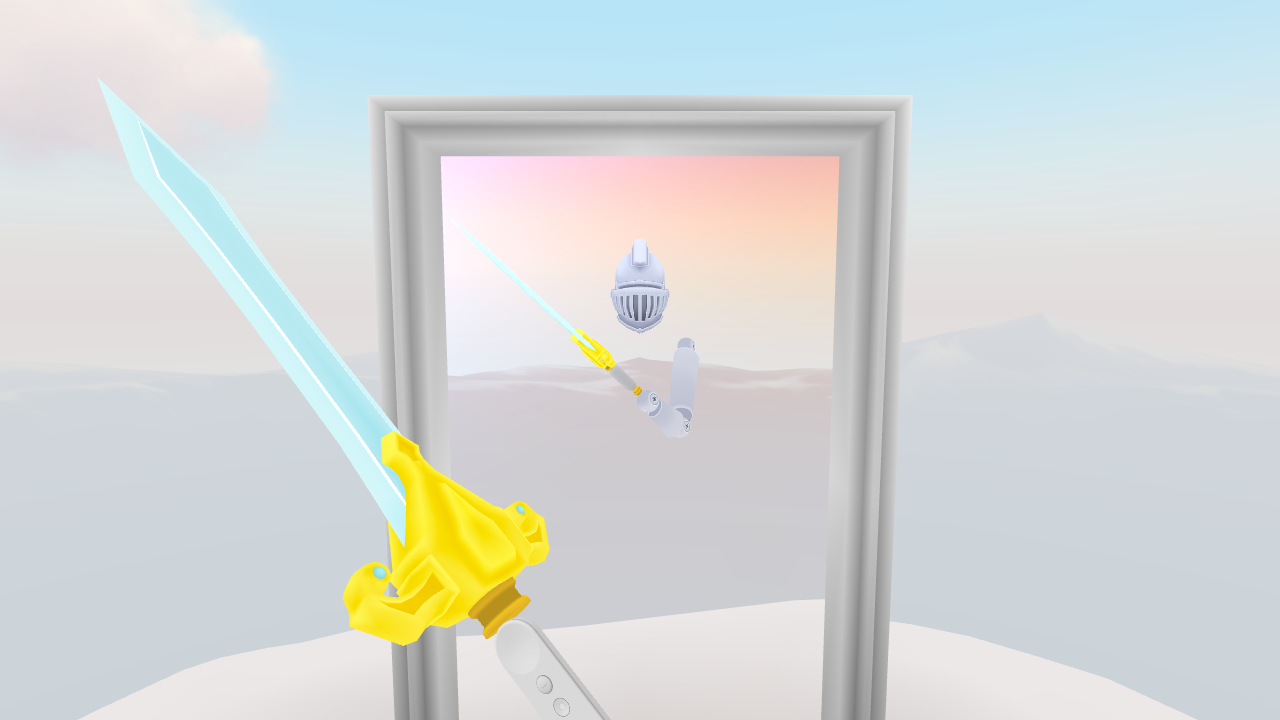
An Arm Model is a mathematical model to make the 3D controller visual in VR approximate the physical location of the Daydream controller. Arm models can enable developers to achieve 6DoF style controller interactions with only a 3DoF controller. Tuning custom arm models from scratch can be a complex process. However, when it is done correctly the arm model can provide the user with fluid and natural interface for a wide range of different gestures. This element shows how it works and how it can be specifically modified to create different types of controller interactions.
The Element consists of the following parts:
- Swinging (Sword)
- Showcases a modified version of the Arm Model that can be used to approximate the motion of swinging an object. In this case, a sword is used for demonstration.
- Shooting (Zapper)
- Showcases how to use the arm model to point and shoot.
- Throwing
- Showcases how to use the arm model to pick up and throw objects.
- Customize
- Allows you to modify the properties of the arm model in real-time and see how it impacts the motion.
Getting Started
Daydream Elements includes prefabs that contain instances of the script 'GvrArmModel'
that are tuned for throwing and shooting. There is also a script
called SwingArmModel that extends GvrArmModel for use cases that require a
swinging motion, like a sword.
Swinging
- Add an instance of
GvrControllerPointerinto your scene. - Set the position of
GvrControllerPointer->ControllerVisualto (0, 0, 0). - Add an instance of the prefab
SwingArminto your scene. - Drag the
SwingArminstance onto the Arm Model property of the scriptGvrTrackedControlleron theGvrControllerPointerinstance. - Add a 3D model to represent the sword as a child of the
GvrControllerPointerinstance.
Shooting
- Add an instance of
GvrControllerPointerinto your scene. - Set the position of
GvrControllerPointer->ControllerVisualto (0, 0, 0) - Add an instance of the prefab
ShootArminto your scene. - Drag the
ShootArminstance onto the Arm Model property of the scriptGvrTrackedControlleron theGvrControllerPointerinstance. - Add a 3D model to represent the zapper as a child of the
GvrControllerPointerinstance.
Throwing
- Add an instance of
GvrControllerPointerinto your scene. - Set the position of
GvrControllerPointer->ControllerVisualto (0, 0, 0) - Add an instance of the prefab
ThrowArminto your scene as a child ofGvrControllerPointer. - Set the position of the
ThrowArminstance to (0.0, 0.0, 0.12). This is the location that objects will be held, and can be adjusted. - Drag the ThrowArm instance onto the Arm Model property of the script
GvrTrackedControlleron theGvrControllerPointerinstance. - Assign the property HeldThrowable on the script
ThrowControllerto the object that you would like to throw.
Swinging (Sword)

The class SwingArmModel is a subclass of GvrArmModel, and modifies how
the rotation of the controller is distributed to the rotation of each joint to
create a swinging motion. While all of these factors are customizable, in this
specific implementation of the model, 50% of the controller's X and Y rotation
is applied top the shoulder joint, 30% to the elbow joint, and 20% to the wrist.
As the controller is rotated backwards, the distribution shifts so that 10% is
applied to the shoulder joint, 40% to the elbow joint, and 50% to the wrist
joint. This is done to prevent the arm from spinning as it faces the back and
bending in seemingly impossible ways. This demo utilizes the SwingArmModel for
a sword, but it could also be used for other things, like a tennis racket.
Shooting (Zapper)

The zapper shows how to use the GvrArmModel for the use case of shooting.
It is tuned to reduce the armExtensionOffset property slightly. This change
makes it easier to aim without the zapper occluding the user's vision.
Additionally, the zapper is positioned relative to the controller to make the
user feel like they are holding the handle of the zapper, not the barrel. When
holding a virtual object, it is important that it is aligned correctly to the
real world controller. This helps the user maintain correct proprioception, or
"hand presence."
Throwing

Throwing combines multiple arm models. The first is an instance of
GvrArmModel with the armExtensionOffset property modified so that as the
user rotates the controller upwards, the arm model moves upwards, to the side
(which side depends on the handedness setting of the user), and a bit backwards.
This creates a motion where the controller appears to arch backwards to wind up
a throw.
The second arm model used is called TransitionArmModel. This is used to smoothly
transition between different arm models depending upon the context. Before the
ball is picked up, the default arm model is used. When the ball is picked up, it
transitions to using the arm model tuned for throwing. The TransitionArmModel
does not simply interpolate between the two arm models over time, because this
shift feels jarring. Instead, It interpolates to the new arm model based on the
angular velocity of the controller so that the transition only happens as the
controller is moving.
When throwing the ball by releasing the touch pad, the velocity is calculated as an exponential moving average based on the positional changes of the ball as it was held up to the point of release. Then, the direction of the throw is weighted by two factors. First, it is weighted in the forward direction of the controller. Then, the direction is weighted towards the direction that the user is looking.
Customizing

This mode allows the user to experiment with changing the properties of the Arm Model and seeing how it impacts the motion. In the mirror, two arms will be visible simultaneously. One is the modified arm model and one is the default arm model (for comparison). Drag the sliders to and observe how the arm model changes.