
Questo tutorial ti guida nella procedura per creare e utilizzare uno stile di mappa in modalità chiara che mette in evidenza la rete stradale:
Crea e pubblica uno stile di mappa in modo che sia disponibile per l'uso.
Crea e collega un ID mappa che ti consenta di utilizzare lo stile in app e siti web.
Aggiungi l'ID mappa alle tue app e ai tuoi siti web in modo che le app utilizzino lo stile di mappa.
Passaggio 1: crea e pubblica uno stile di mappa
Apri la personalizzazione delle mappe basata su cloud
Vai alla console Google Cloud e seleziona Stili mappa. Se necessario, seleziona o crea un progetto.
Seleziona Crea stile.
Seleziona Chiaro.
Nella parte inferiore della finestra di dialogo, seleziona Personalizza.
Applica uno stile alla rete stradale
In Elementi della mappa, espandi Infrastruttura, quindi seleziona Rete stradale.
Nel riquadro dello stile della rete stradale, in Polilinea, quindi Colore di riempimento, seleziona la casella del colore.
Scegli un colore chiaro. Se modifichi il colore, la casella Colore riempimento viene selezionata automaticamente.
In Ampiezza tratto, imposta l'ampiezza del tratto su 5 px.
Sulla mappa, aumenta e diminuisci lo zoom per vedere l'effetto delle modifiche. Poiché hai selezionato un elemento della mappa relativamente alto nella gerarchia, tutti i tipi di strade sottostanti hanno ereditato le modifiche.

Salva e pubblica lo stile di mappa
In alto a destra, seleziona Salva.
In Salva e pubblica stile mappa, inserisci un nome e, facoltativamente, una descrizione per lo stile di mappa.
Seleziona Salva. Lo stile di mappa viene salvato e pubblicato.

Passaggio 2: crea e collega un ID mappa
Un ID mappa ti consente di utilizzare lo stile di mappa su app e siti web. Se apporti modifiche allo stile di mappa associato a un ID mappa, le modifiche allo stile diventano effettive quando pubblichi, quindi non sono necessari aggiornamenti di software o app.
Crea un ID mappa
Nella console Google Cloud, seleziona Gestione mappa.
In alto, seleziona Crea ID mappa.

Aggiungi un nome per l'ID mappa e, facoltativamente, una descrizione.
Seleziona il tipo di mappa per l'ID mappa, a seconda di dove vuoi utilizzare lo stile di mappa.

Seleziona Salva in basso alla pagina. L'ID mappa viene creato.
Collega l'ID mappa allo stile di mappa
In Stili mappa, seleziona Cambia stile modalità chiara per la modalità chiara.
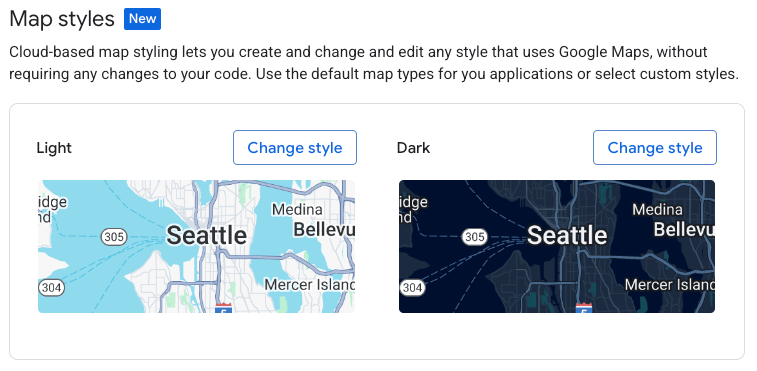
In Cambia stile chiaro, scegli lo stile di mappa da utilizzare per la modalità chiara nelle tue app e seleziona Fine.
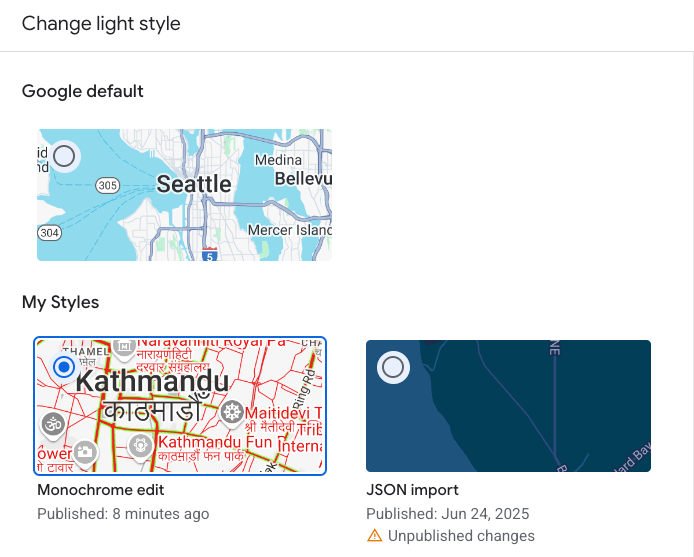
Seleziona Salva. L'ID mappa è ora associato agli stili di mappa.
Passaggio 3: aggiungi l'ID mappa alle tue app o ai tuoi siti web
Ora che hai un ID mappa associato a uno stile di mappa pubblicato, puoi aggiungerlo alle tue app o ai tuoi siti web e testarlo per assicurarti che funzioni come previsto.
Per ulteriori informazioni sull'aggiunta di un ID mappa, consulta Aggiungere l'ID mappa alla mappa.
Passaggi successivi
Ecco alcune cose che puoi provare a fare:
Aggiorna uno stile. Per apportare modifiche allo stile di mappa e pubblicarlo, consulta Modificare uno stile.
science Scopri come lo stile viene applicato a diversi tipi di mappe. Per ulteriori informazioni, consulta Informazioni su modalità e tipi di mappe.
Testa gli aggiornamenti dello stile di mappa. Se vuoi testare le modifiche allo stile prima che diventino effettive, consulta Testare gli aggiornamenti dello stile di mappa.
Crea stili per livelli di zoom specifici. Ad esempio, puoi personalizzare l'aspetto di elementi della mappa specifici quando riduci lo zoom rispetto a quando lo aumenti. Per ulteriori informazioni, consulta Stili per livelli di zoom.
Utilizza la gerarchia degli elementi della mappa per ottenere in modo efficiente gli stili che ti interessano. Ad esempio, puoi applicare uno stile all'elemento della mappa di alto livello Naturale>Terra e tutti gli elementi della mappa della terra sottostanti ereditano lo stile. Puoi quindi applicare uno stile personalizzato solo agli elementi della mappa secondari che vuoi che siano diversi. Per ulteriori informazioni, consulta Informazioni sull'ereditarietà e sulla gerarchia degli stili di mappa.