Android NDK 快速入门
使用集合让一切井井有条
根据您的偏好保存内容并对其进行分类。

设置您的开发环境
安装 Android Studio 3.1 或更高版本,以及 Android SDK Platform 7.0(API 级别 24)或更高版本。
使用 SDK 管理器安装 Android 原生开发套件 (NDK) 和 CMake,让 Android Studio 做好原生开发准备。如需了解详情,请参阅 NDK 入门指南。
您需要获取 ARCore SDK for Android。您可以执行以下任一项操作:
准备设备或模拟器
您可以在受支持的设备上或 Android 模拟器中运行 AR 应用。您必须先在模拟器上更新 Google Play 服务(适用于 AR),然后才能运行应用。如需了解详情,请参阅在 Android 模拟器中运行 AR 应用 。
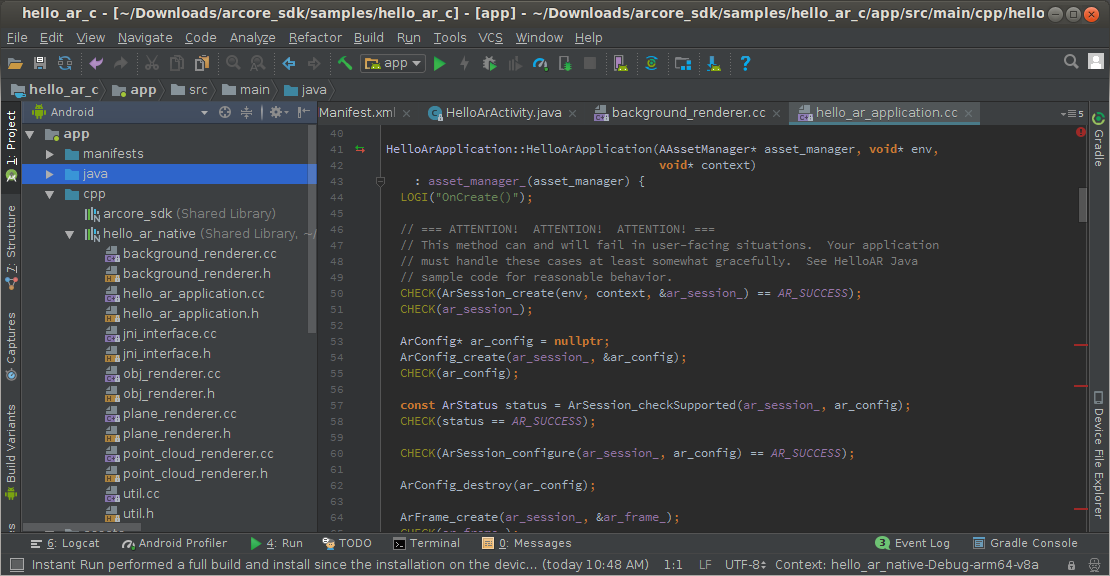
打开示例项目
在 Android Studio 中,在 <ARCore SDK Folder>/samples/hello_ar_c
中打开 hello_ar_c 示例项目。
示例项目对特定版本的软件(例如 Gradle 和 Android SDK)具有构建依赖项。如果未安装所需的依赖项,Android Studio 会请求您授予在计算机上下载并安装这些依赖项的权限。
运行示例
确保您的 Android 设备已连接到开发机器,然后点击 Android Studio 中的 Run
。
Android Studio 会将您的项目构建为可调试的 APK,安装 APK,然后在您的设备上运行应用。如需了解详情,请参阅构建和运行应用。

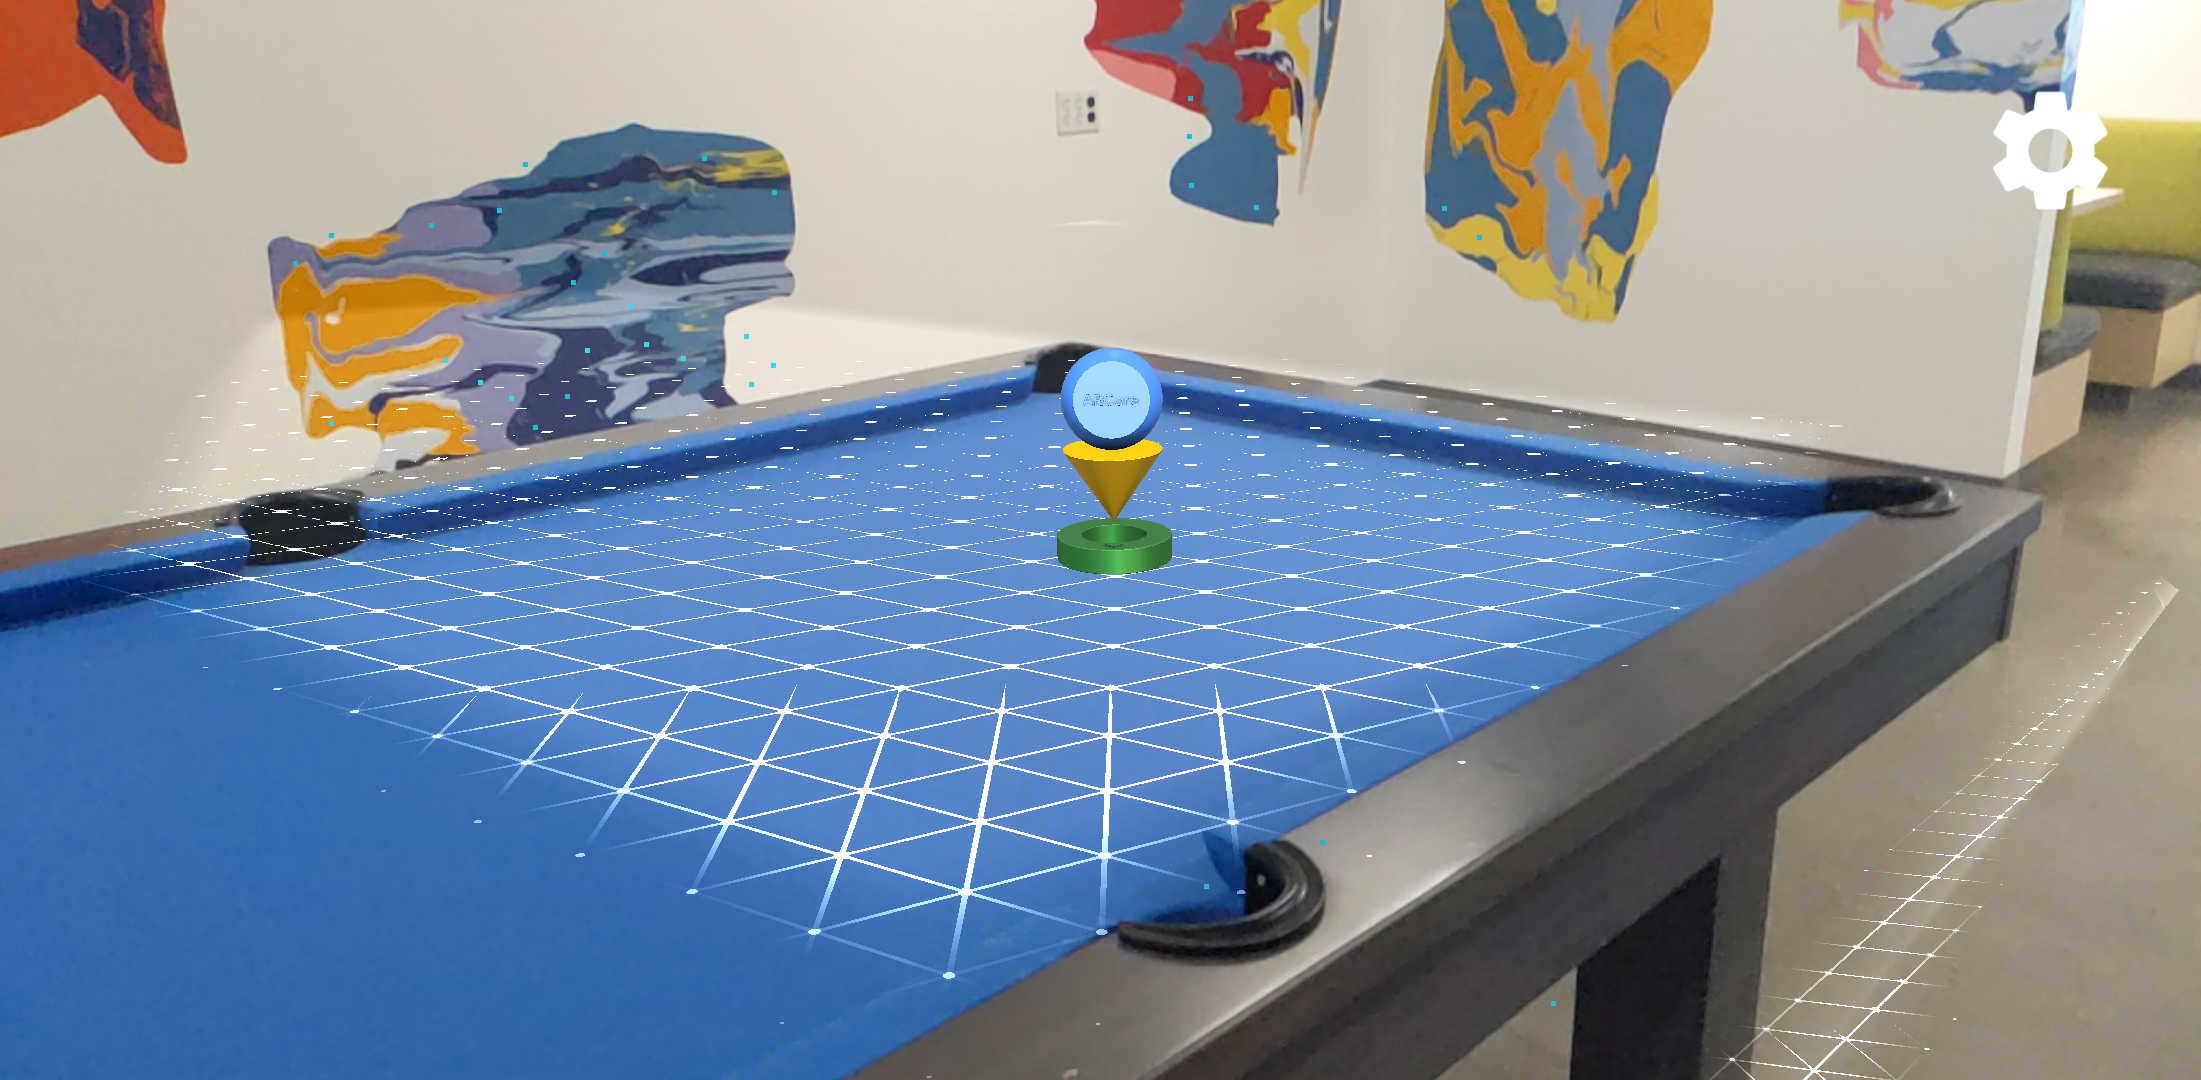
当您移动设备时,应用会自动检测平面并绘制菱形网格。点按网格可在表面上放置一个三维 ARCore 棋子。
使用即时展示位置
借助 Instant Placement API,用户无需等待 ARCore 检测 Surface 几何图形,即可在屏幕上放置 AR 对象。随着用户在环境中进一步移动,系统会实时优化对象放置。当 ARCore 在放置 AR 对象的区域检测到正确的姿势后,该对象会自动更新以使其姿势准确无误。
点按屏幕以放置对象。看到全息对象显示在屏幕上后,请务必继续移动设备,以便 ARCore 获取足够的周围环境数据,从而准确锚定虚拟对象。

在图 1 中,即时展示位置已停用,并且 Surface 几何图形未定义。放置在桌球桌右侧地板上的物体(四个蓝色小圆点)看起来像是被推倒了,其姿势未定义。
在图 2 中,通过齿轮图标下的菜单启用了即时展示位置。
在图 3 中,启用“即时放置”后,系统会在场景中放置一个新对象。它以灰度(而非彩色)显示,表示尚未校正为准确的姿势。
在图 4 中,当检测到表面几何图形(由可跟踪网格线描述)时,新对象会变为彩色,并且其姿势准确无误。
使用深度
启用深度后,ARCore 会考虑场景中对象的几何图形和位置,并计算放置在场景中的对象相对于场景中其他对象的位置。它允许放置的对象被场景中的对象遮挡,并为您的应用增添真实感。

在图 1 中,“深度”已停用。将一个物体放在桌球桌下。
在图 2 中,当设备在桌球桌周围移动时,对象似乎会跟随设备移动,而不会受到场景中其他对象的影响。
在图 3 中,“深度”已启用。
在图 4 中,随着设备在场景中移动,对象现在似乎被桌球桌遮挡了。
后续步骤
如未另行说明,那么本页面中的内容已根据知识共享署名 4.0 许可获得了许可,并且代码示例已根据 Apache 2.0 许可获得了许可。有关详情,请参阅 Google 开发者网站政策。Java 是 Oracle 和/或其关联公司的注册商标。
最后更新时间 (UTC):2025-07-26。
[null,null,["最后更新时间 (UTC):2025-07-26。"],[[["\u003cp\u003eInstall Android Studio and the necessary components like NDK, CMake, and the ARCore SDK to set up your development environment.\u003c/p\u003e\n"],["\u003cp\u003eRun AR apps on a supported device or in the Android emulator, ensuring Google Play Services for AR is updated.\u003c/p\u003e\n"],["\u003cp\u003eExplore the sample project "hello_ar_c" to understand basic AR functionalities, including surface detection and object placement.\u003c/p\u003e\n"],["\u003cp\u003eUtilize Instant Placement for faster object placement and Depth API for realistic occlusion and depth perception in your AR experiences.\u003c/p\u003e\n"],["\u003cp\u003eEnhance your AR apps with features like Augmented Images, Cloud Anchors, and adhere to design guidelines and runtime considerations for optimal performance.\u003c/p\u003e\n"]]],[],null,["# Quickstart for Android NDK\n\nSet up your development environment\n-----------------------------------\n\n- Install [Android Studio](https://developer.android.com/studio/index.html)\n version 3.1 or higher with Android SDK Platform version 7.0 (API level 24)\n or higher.\n\n- Prepare Android Studio for native development by installing Android Native\n Development Kit (NDK) and CMake with the [SDK Manager](https://developer.android.com/studio/intro/update.html#sdk-manager). For more information, see\n [Getting Started with the NDK](https://developer.android.com/ndk/guides/index.html).\n\n- You will need to get the ARCore SDK for Android. You can either:\n\n - Download the [ARCore SDK for Android](https://github.com/google-ar/arcore-android-sdk/releases) and\n extract it.\n\n -or-\n - Clone the repository with the following command:\n\n ```\n git clone https://github.com/google-ar/arcore-android-sdk.git\n ```\n\nPrepare your device or emulator\n-------------------------------\n\nYou can run AR apps on a [supported device](/ar/devices) or\nin the Android Emulator. You must update Google Play Services for AR\non the emulator before running the app. See\n[Run AR Apps in Android Emulator](/ar/develop/java/emulator#update-arcore) for more\ninformation.\n\nOpen the sample project\n-----------------------\n\nIn Android Studio, open the **hello_ar_c** sample project in `\u003cARCore SDK Folder\u003e/samples/hello_ar_c`.\n\nThe sample project has build dependencies on certain versions of software, such\nas Gradle and the Android SDK. If the required dependencies are not installed,\nAndroid Studio will ask you for permission to download and install them on your\nmachine.\n\nRun the sample\n--------------\n\nMake sure your Android device is connected to the development machine and click\n**Run** in Android\nStudio.\n\nAndroid Studio builds your project into a debuggable APK, installs the APK, and\nthen runs the app on your device. For more information, see\n[Build and Run Your App](https://developer.android.com/studio/run/index.html).\n\nAs you move your device, the app automatically detects flat surfaces and draws a\ndiamond grid. Tap the grid to place a three-dimensional ARCore pawn on the\nsurface.\n\nUse Instant Placement\n---------------------\n\nThe Instant Placement API allows the user to place an AR object on the screen\nwithout having to wait for ARCore to detect surface geometry. Object placement\nis refined in real time as the user moves further around the environment. Once\nARCore detects the correct pose in the region where the AR object is placed, the\nobject automatically updates to be pose-accurate.\n\nTap on the screen to place an object. Make sure to continue moving the device\naround after seeing the holographic object appear on screen, so that ARCore can\nget sufficient data about your surroundings to accurately anchor the virtual\nobject.\n\nIn Figure 1, Instant Placement is disabled and surface geometry is undefined.\nObjects placed on the floor to the right of the pool table (four small blue dots)\nappear knocked-over, their poses are undefined.\n\nIn Figure 2, Instant Placement is enabled from the menu under the gear icon.\n\nIn Figure 3, with Instant Placement enabled, a new object is placed in the scene.\nIt appears in grayscale, instead of colored, to denote that it has not been\ncorrected for an accurate pose yet.\n\nIn Figure 4, the new object becomes colored, and its pose is accurate, when the\nsurface geometry (described by the *trackable* grid lines) is detected.\n\n### Use Depth\n\nWhen [Depth](/ar/develop/depth) is enabled, ARCore takes into account the geometry and location of objects in the scene, and computes the location of\nobjects placed in the scene relative to other objects in the scene. It allows\nplaced objects to be occluded by objects in the scene, and lends realism to\nyour app.\n\nIn Figure 1, Depth is disabled. An object is placed under the pool table.\n\nIn Figure 2, as the device moves around the pool table, the object appears\nto follow the device irrespective of objects in the scene.\n\nIn Figure 3, Depth is enabled.\n\nIn Figure 4, the object now appears occluded by the pool table as the device\nmoves around the scene.\n\nNext steps\n----------\n\n- Learn how to [Enable ARCore](/ar/develop/c/enable-arcore) in your app.\n- Use [Augmented Images](/ar/develop/c/augmented-images) to build apps that can respond to 2D images, such as posters or logos, in the user's environment.\n- Use [Cloud Anchors](/ar/develop/c/cloud-anchors/cloud-anchors-overview-c)\n- Use the [Depth API](/ar/develop/c/depth/overview) to ensure accurate depth for realistic and immersive user experiences.\n- Use [Instant Placement](/ar/develop/c/instant-placement/overview) to quickly place AR objects on the screen.\n- Review [Runtime Considerations](/ar/develop/c/runtime).\n- Review [Design Guidelines](/ar/develop/developer-guides/design-guidelines)."]]