AI-generated Key Takeaways
-
Defining agent information is a required step before submitting an agent for verification and launch, and it can be done using the API or the Business Communications Developer Console.
-
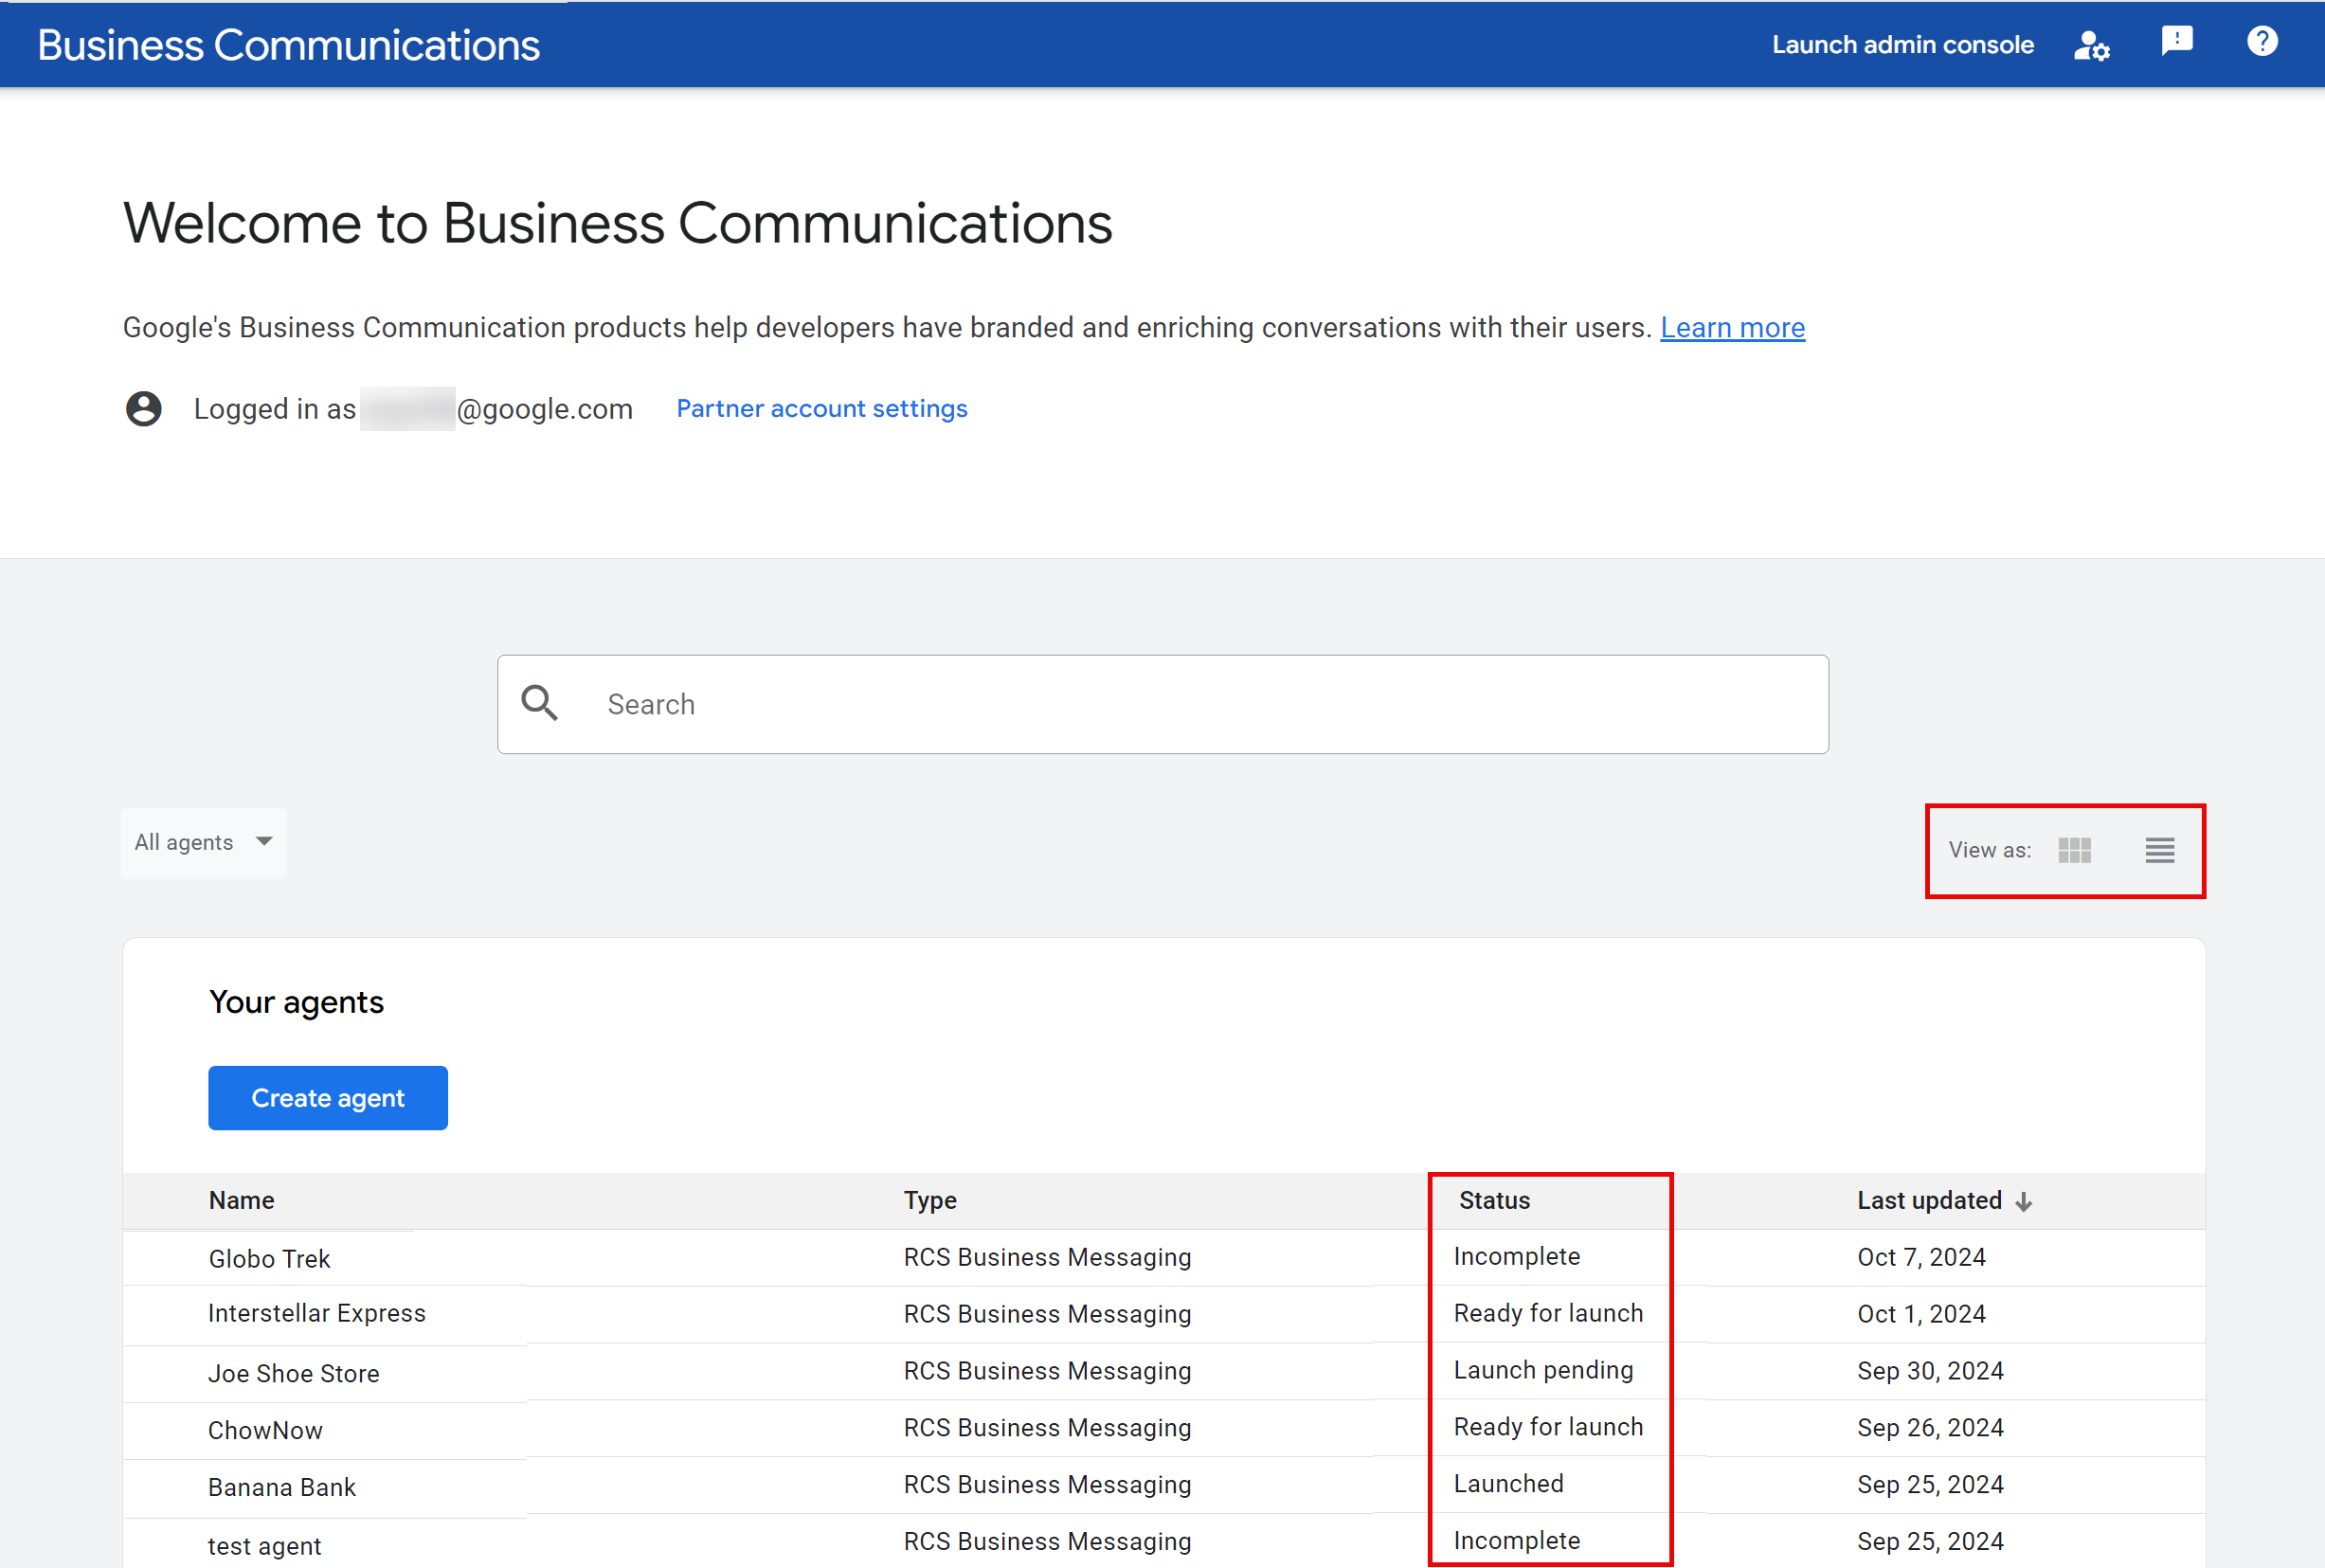
Agent status, visible in the Console's tile view, includes stages like Incomplete, Ready for launch, Launch pending, and Launched, indicating the agent's progress toward becoming active on carriers.
-
You cannot edit agent information after the agent's verification details have been submitted.
-
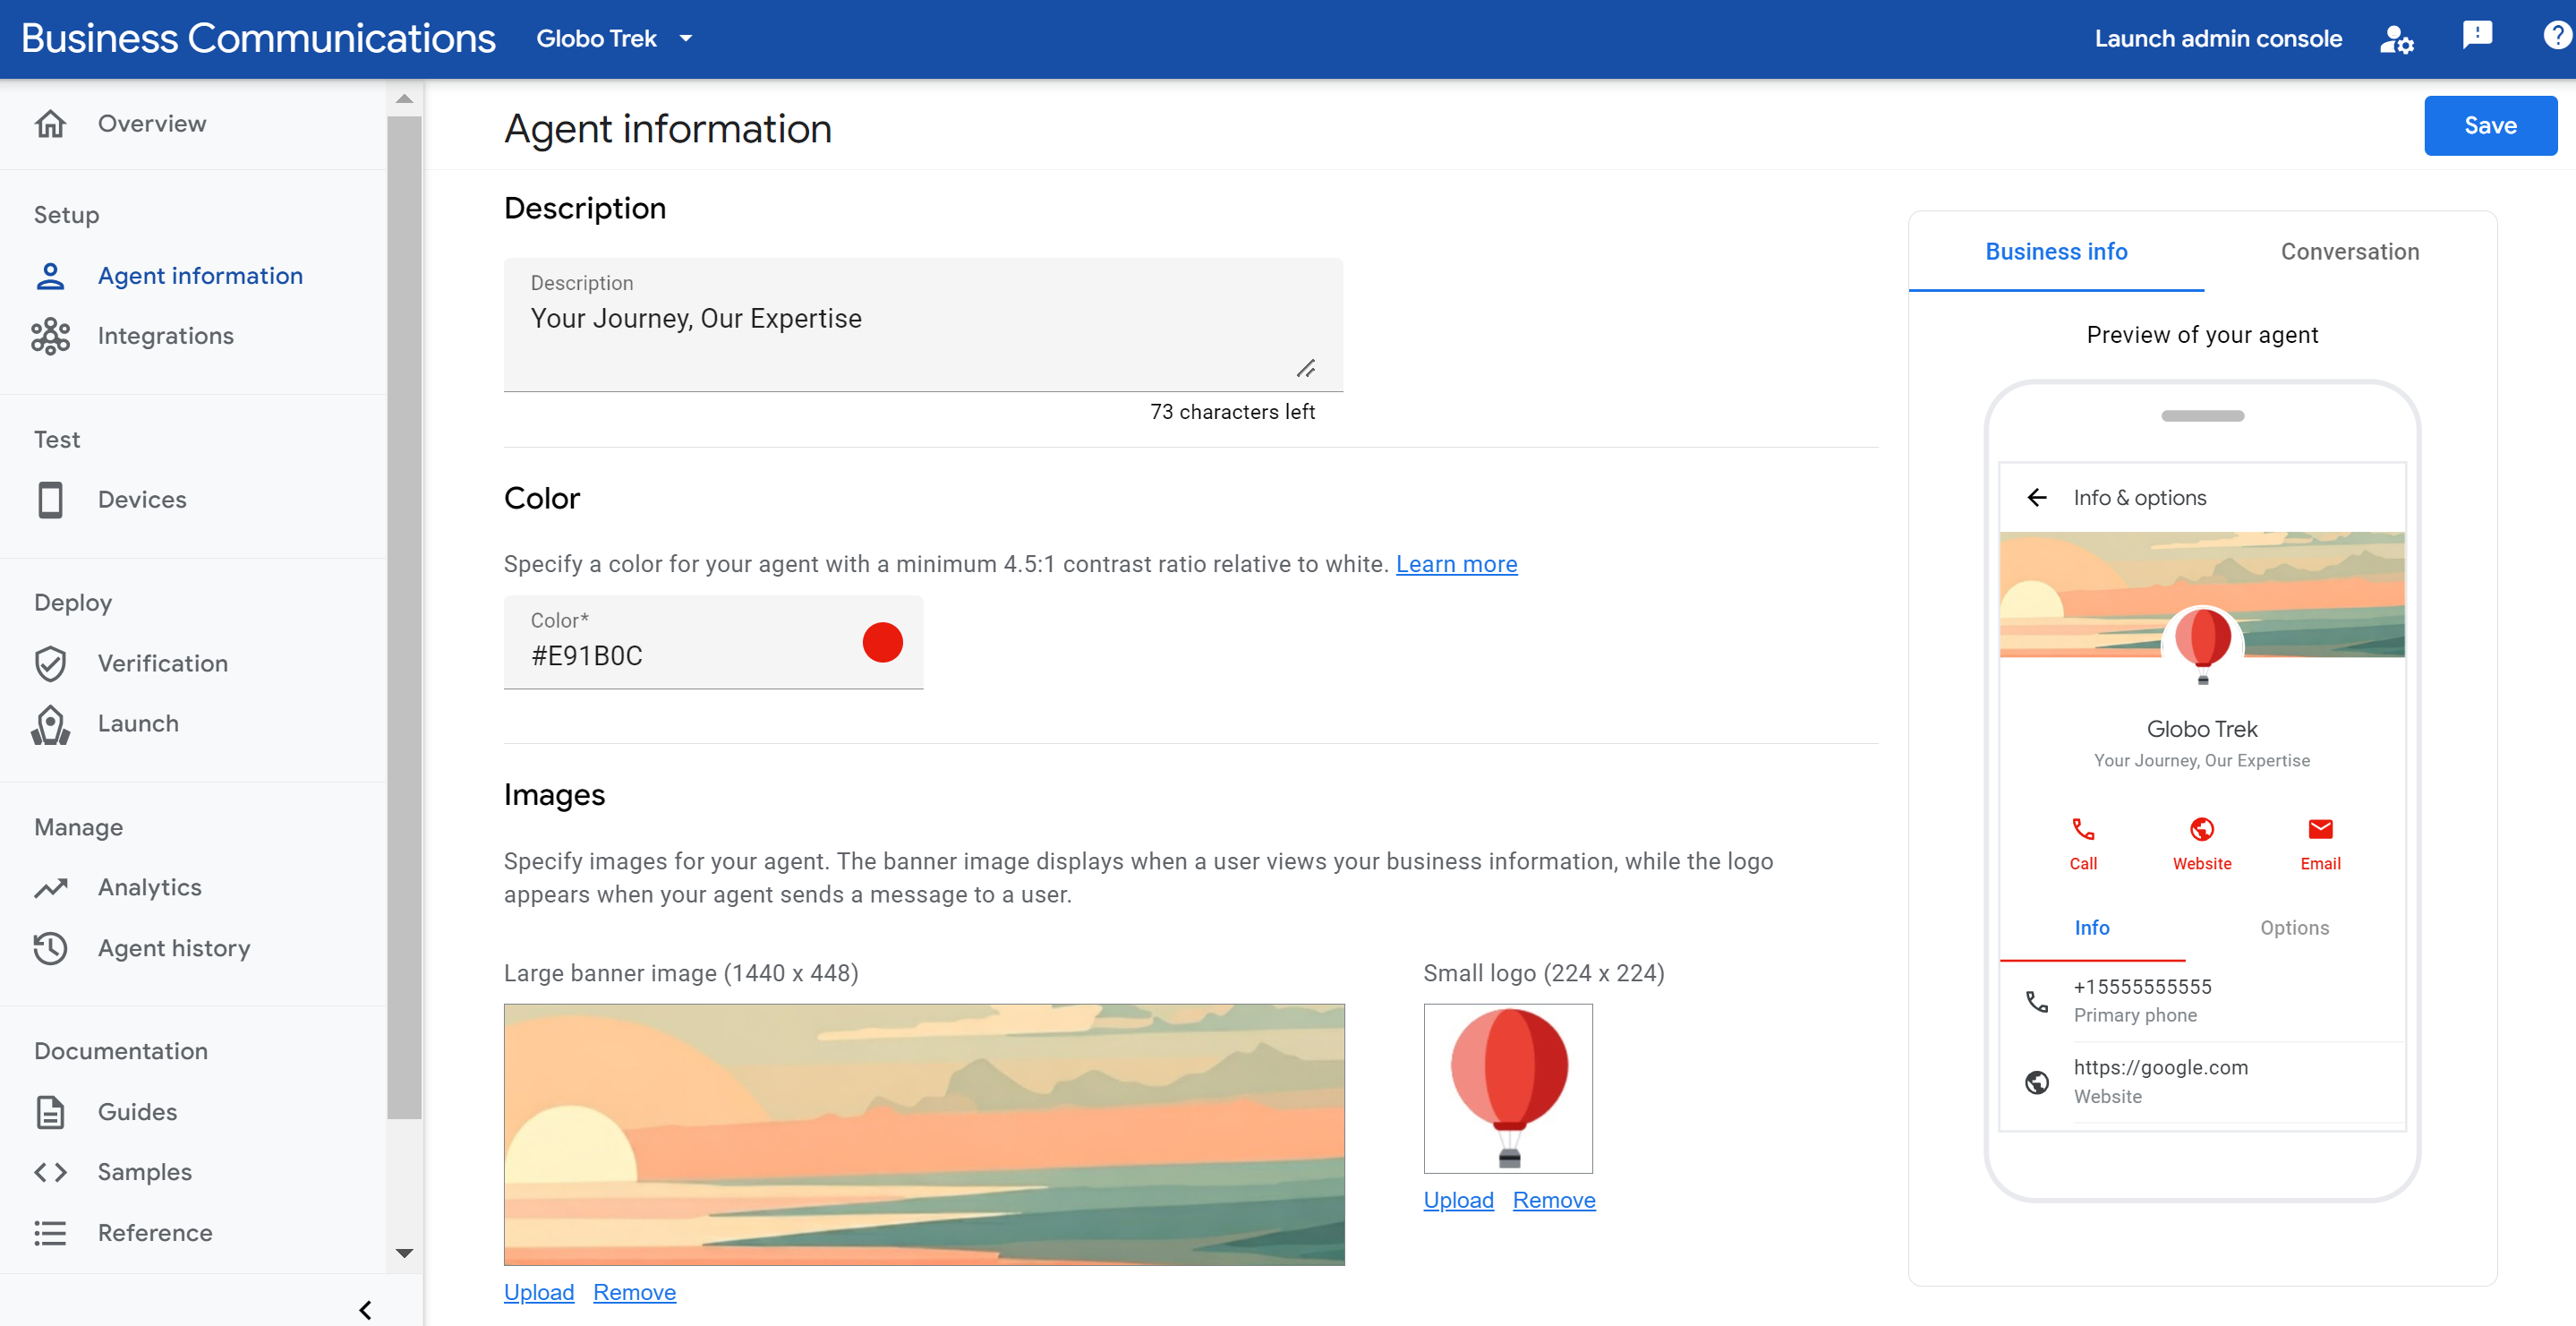
To edit agent information via the Business Communications Developer Console, navigate to the Agent information section after selecting your agent and make the necessary updates, including display name, description, color, images, contact details, and privacy/terms links.
-
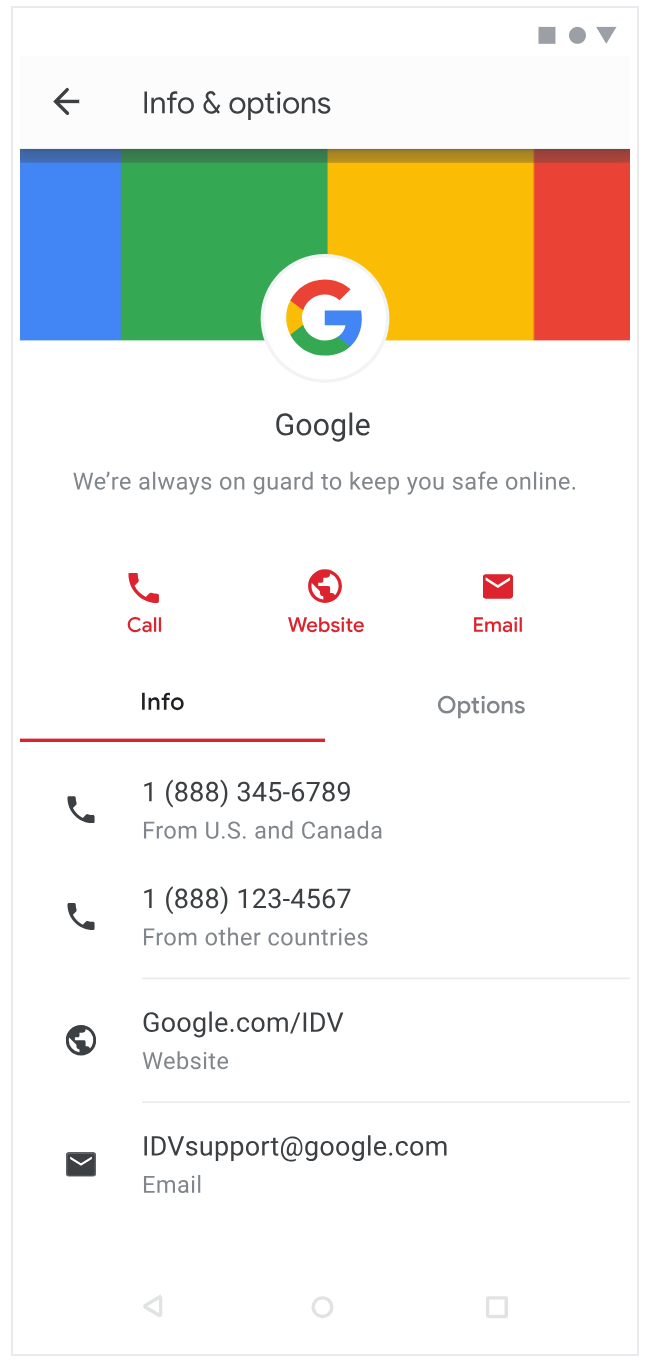
Guidelines for formatting and cropping logos and hero images are provided to ensure a visually appealing and professional appearance for your agent.
Once you've created an agent, you'll need to define the agent information. This is required before you can submit the agent for verification and launch. You can define and edit the agent information using the API or the Business Communications Developer Console. If you switch to the tile view in the Console, you'll see the status of the agent.
- Incomplete: The agent has been created, and the initial details like brand name, agent name, hosting region, billing category, and use case have been provided. However, additional information is still needed for launch.
- Ready for launch: All agent and verification details have been provided, but the launch questionnaire and/or carrier selection is pending.
- Launch pending: The agent has been submitted for launch and is awaiting final approval.
- Launched: The agent is launched on at least one carrier.
You cannot edit agent information after your agent's verification information is submitted. See Verify and launch your agent for more information.
Edit your agent's information
The following steps describe how you can edit your agent's information in the Business Communications Developer Console. You can also edit an agent with the RBM Management API.
- Go to the Console and sign in with your RBM partner Google Account.
- On the homepage, select your agent from the list.
- On the sidebar, select Agent information.
Provide the following information for your agent. As you enter this information, the agent preview updates automatically.
Field
Description
Details
Display name
Name that displays to users when they interact with your agent. Typically, this is the brand name.
Description
Brief description or tagline of the brand.
The following list of content is not allowed:
- Script content
- JSON
- HTML
- Escapes such as
%2e|%2f|%5c|%25 - Templates
- OS paths
- Unix commands
- Nested scopes such as
{This is outer content (This is inner content)}or([another example {nested}])
Color
Color of certain elements displayed above the phone number. Use this to match your brand colors.
A minimum 4.5:1 contrast ratio to white (for example, #E91B0C). For more details, see Check the contrast ratio.
Images
Images for your agent. The banner image displays when a user views your business information, while the logo appears when your agent sends a message to a user.
Banner image: 1440x448 px JPEG, JPG, or PNG file, no larger than 200 kB.
Logo: 224x224 px, no larger than 50 kB. In conversations, logos display as 224 px diameter circles.
To check if your logo displays well as a circle, use the Logo preview tool.
You can remove the publicly accessible URLs for your images after updating your agent, as a copy will be saved during the agent update process.
Contact
Primary phone number that your users can reach out to in case of queries.
Required if email and website are not provided.
Phone numbers should ideally be in E.164 format (
+[country code][subscriber number]). For local and toll-free numbers, an unformatted string excluding "+", prefix, country code, and special characters (for example, 5554443333) is also accepted and will be internally converted to E.164.However, if your agent's phone number cannot be expressed in standard E.164 format (for example, certain 1800 toll-free numbers in India), please enter a placeholder and contact rbm-support@google.com for manual processing.
To add multiple phone numbers, click + Add phone number.
Label for primary phone number
For example, Customer care number
Primary website
Required if phone number and email are not provided.
To add multiple websites, click + Add website.
Label for primary website
For example, ABC website
Primary email
Required if phone number and website are not provided.
Verify that the email is an individual address, and that the person is part of the brand organization.
To add multiple websites, click + Add email.
Label for primary email
For example, Customer care email
Privacy and terms of service
Your Privacy Policy and Terms of Service URLs.
Required for launching your agent on RBM. Verify you've provided valid links for both your Terms of Service and Privacy Policy.
Click Save.
The Overview and Agent information pages preview how your agent appears in the Messages app.
Check the contrast ratio
Contrast ratio is a comparison of the contrast and ease of distinguishing between two colors. A high contrast ratio between two colors, such as between a background and text, increases readability in bad lighting and for people with accessibility considerations. WCAG 2.0 defines 4.5:1 as a minimum contrast ratio for text.
You can verify that the agent color you identified has at least a 4.5:1 contrast ratio to white using online tools like the WebAIM Contrast Checker.
Format and crop your logo
A visually appealing logo and hero image can significantly boost your agent's credibility and engagement with users. Verify that your logo is well-formatted and cropped to maintain a professional appearance. Follow these tips to create a good looking logo:
Logo:
- Remember that logos are cropped into circles, even if the original image is rectangular. So, always check how your logo appears when cropped into a circle.
- You don't need to worry about the border around logos, it won't overlap the logo itself.
Hero images:
- Remember that hero images, displayed in the agent's Info & options screen, partially overlap with the logo, so design accordingly for a visually pleasing result.
- Create hero images with a 45:14 aspect ratio so they display correctly alongside the logo.
Logo tips
Leave sufficient space in your image to account for cropping. When a logo takes up the entire height and width of the image parts of the logo often get cropped out.
Practice Good example Bad example Spacing logo 
Spacing logo in cropping circle 
Cropping logo in mock Space your logo equidistant from all sides of the image to make sure it displays properly and fully.
Practice Good example Logo with equal measurements from image borders 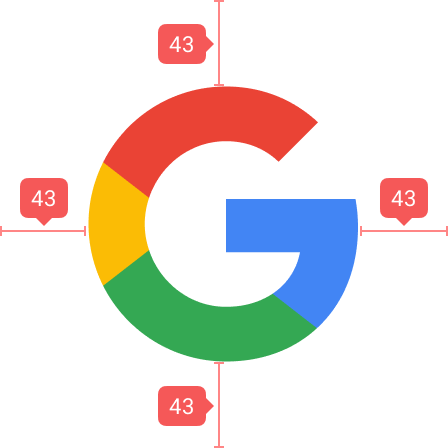
Logo with equal measurements from image borders in cropping circle 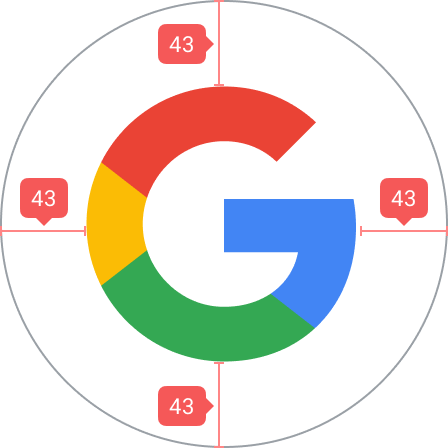
Use a 45:14 aspect ratio for hero images, and keep in mind that the logo partially overlaps the hero image.
Practice Good example Bad example Using 45:14 aspect ratio for hero images 
If a hero image doesn't match the correct aspect ratio, parts of the hero image get cropped out. The result is an image that doesn't look good or represent your agent well.
Practice Good example Bad example Cropping hero image in mock Avoid images with transparencies. Logos without sufficient contrast bend into dark mode backgrounds and suffer reduced visibility. If a transparent background doesn't suit your logo, use a white background.
Practice Good example Bad example Encounting dark mode
Resources
Use the following resources to help you design your logo or troubleshoot issues.
Circle logo template as a base for agent logos you create.

Rectangle hero image template as a base for agent hero images you create.

Logo preview tool.
Enter a URL for your logo to see how it would look to users.
Edit your agent's details for launched agents
Each carrier is responsible for approving the agents that are live on their network. After initial approval, carriers also need to sign off on any later changes to the agent, including their information and account ownership. Be aware that some changes may affect the carrier's billing reports, so sufficient lead time is necessary for carriers to update their billing systems.
After the agent has been launched on any carrier-managed networks, RBM partners can request updates to their agent details by following the RBM Troubleshooting guide.
Next steps
Now that you've specified the agent information, you can invite test devices, send messages, make other calls from the API reference, or use a sample agent.
For security reasons, you can't delete an RBM agent. Contact RBM Support for assistance.


